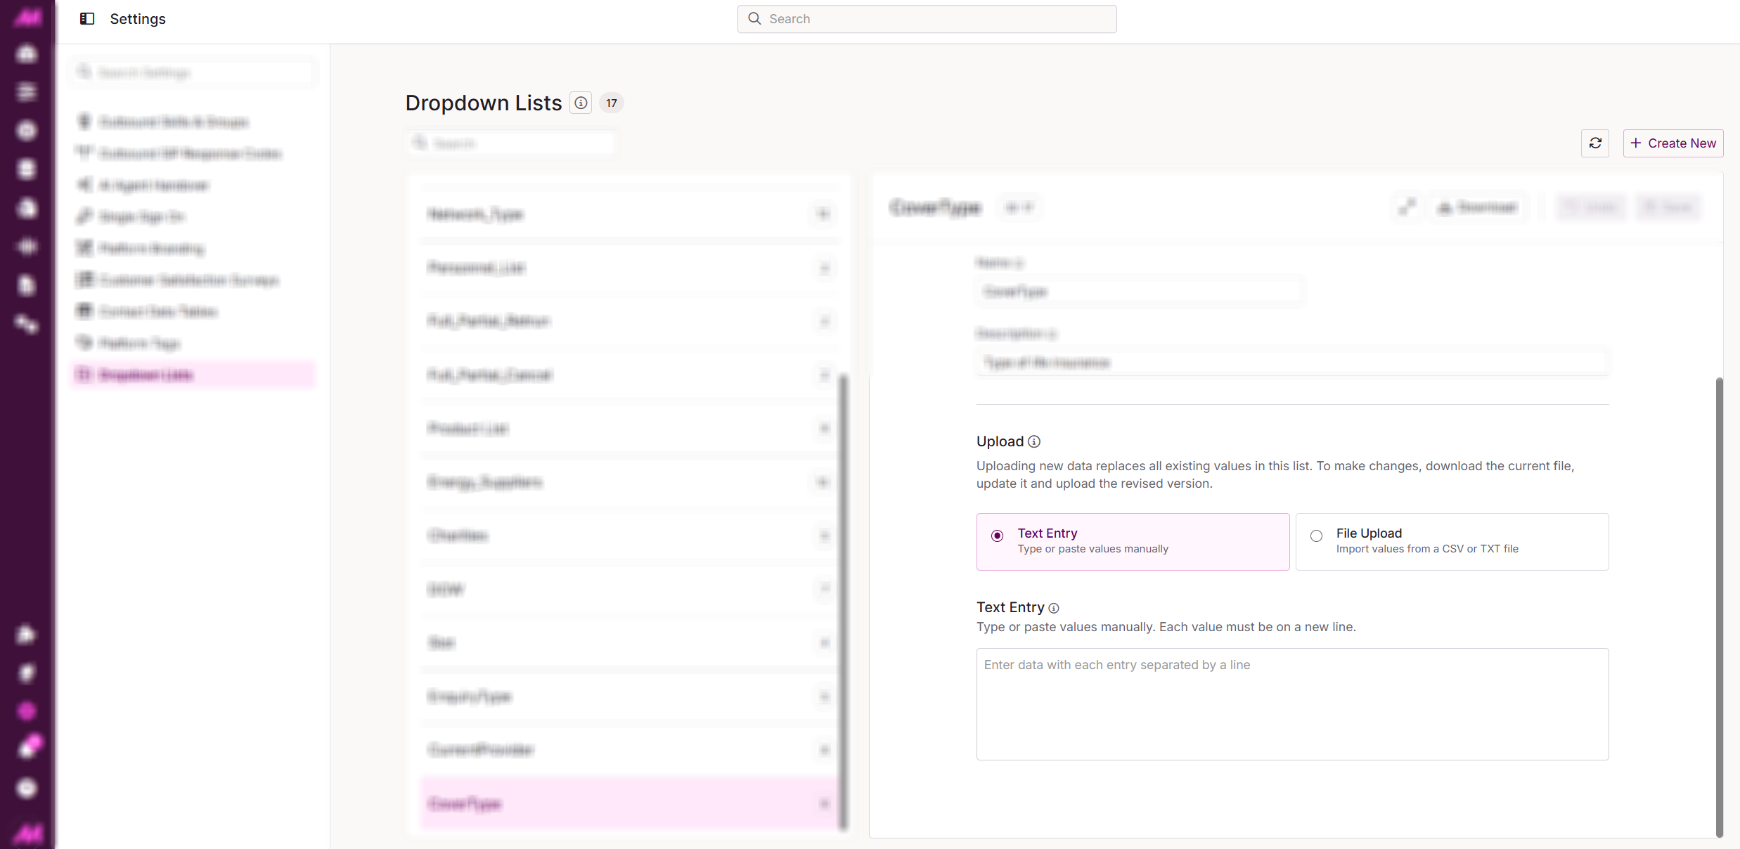
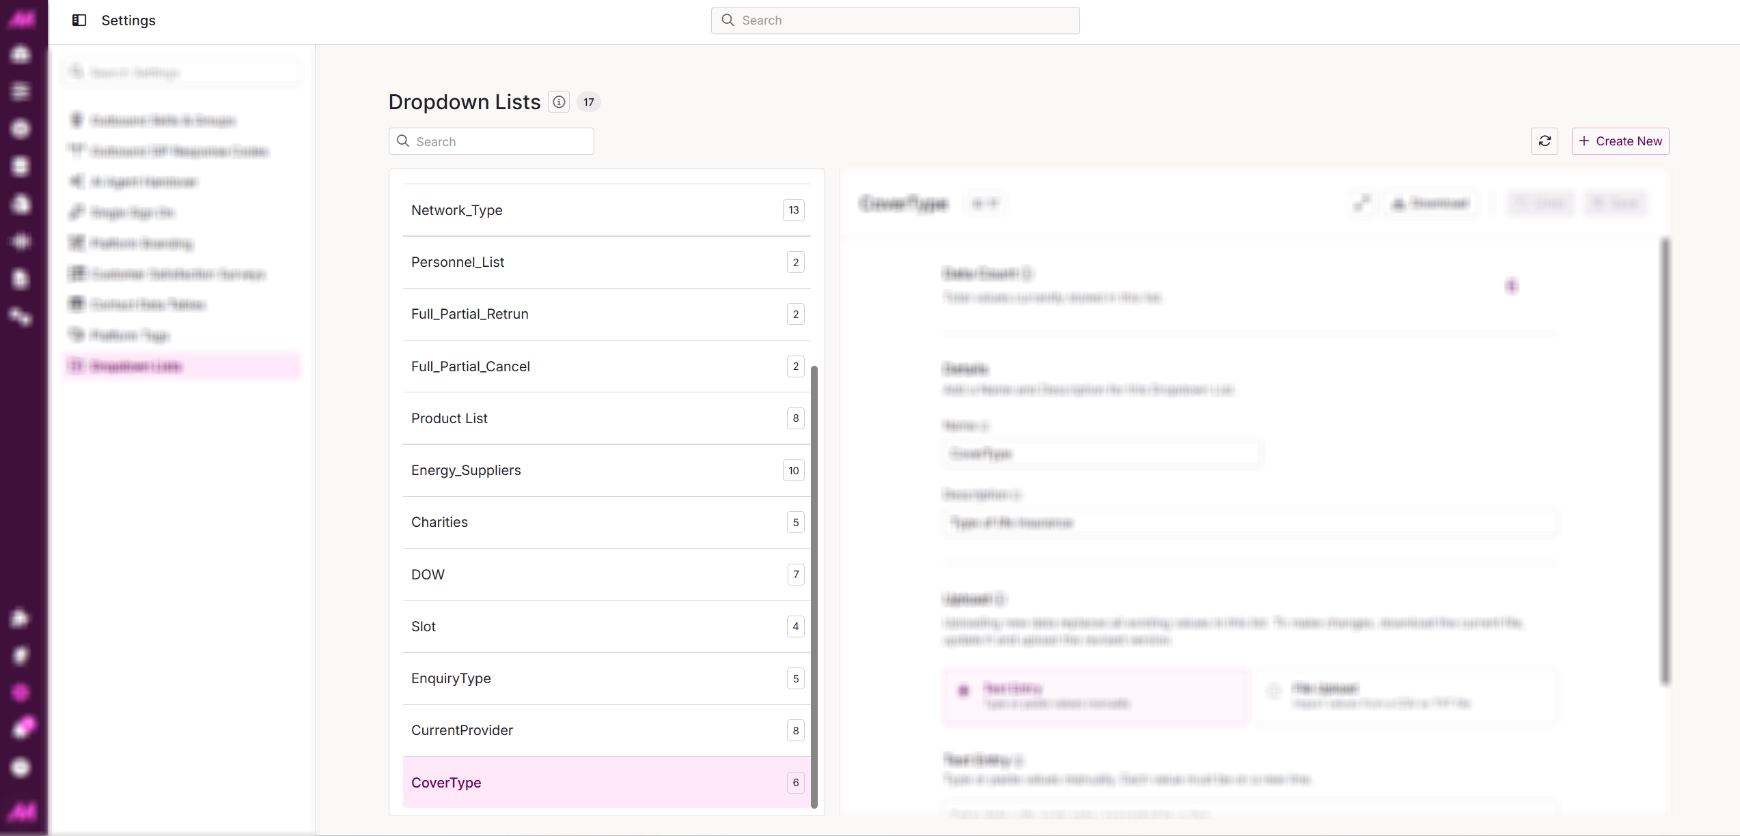
Dropdown Lists allow you to create and manage lookup tables used for data validation within scripts. A dropdown list contains a set of accepted values (for example, a list of valid postcodes) that can be mapped to a script field for a particular campaign. When an agent enters a value during a call, it is validated against the list in real time, helping to maintain data accuracy.
Note. This page was previously named Resource Uploader.
Main screen
The page is split into two areas: the list panel on the left and the editing area on the right.
Resource List Panel
The left-hand panel displays all existing dropdown lists on the system. Select a list to open it in the editing area.
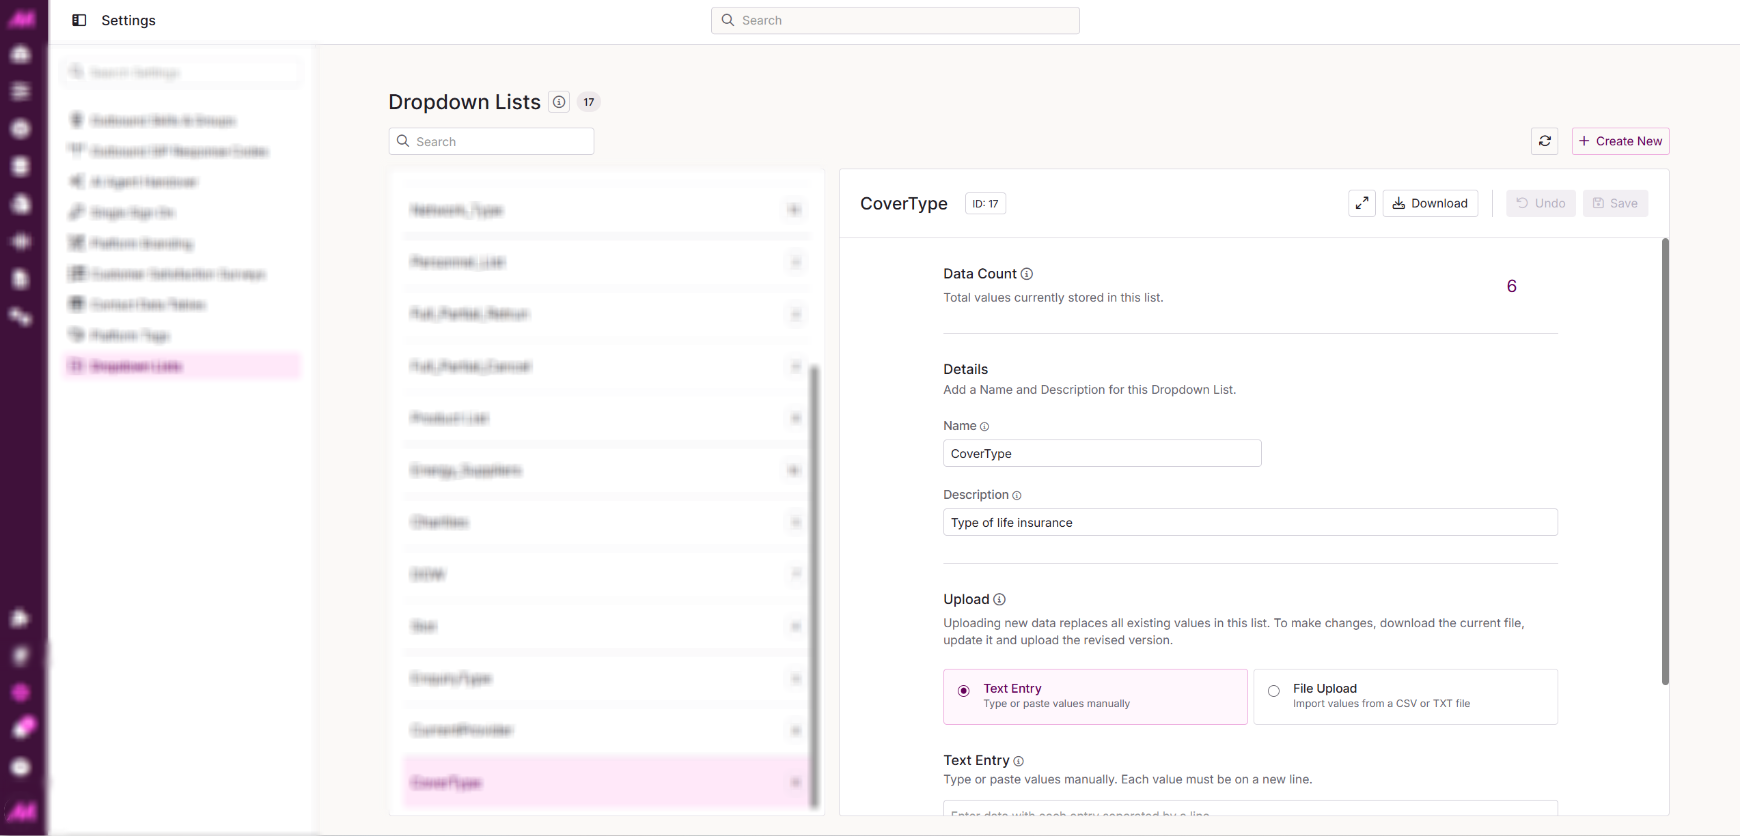
Editing Area
The editing area allows you to set or update the name and description for a list. For existing lists, you will also see a Data Count showing how many values are currently stored, along with a Download button to export the current list.
Data can be added to a list in two ways:
| File Upload Tab |
Upload a .txt or .csv file containing the values you want to add. See the on-page guidance for formatting requirements.

| Text Input Tab |
Copy, paste, or manually type values directly into the text area. Each value must be entered on a new line.