Lists
Lists are where your data lives. You can upload data to as many lists as you want — there is no limit to the number of lists on your system. How you organise them is up to you, though fewer lists are generally easier to manage.
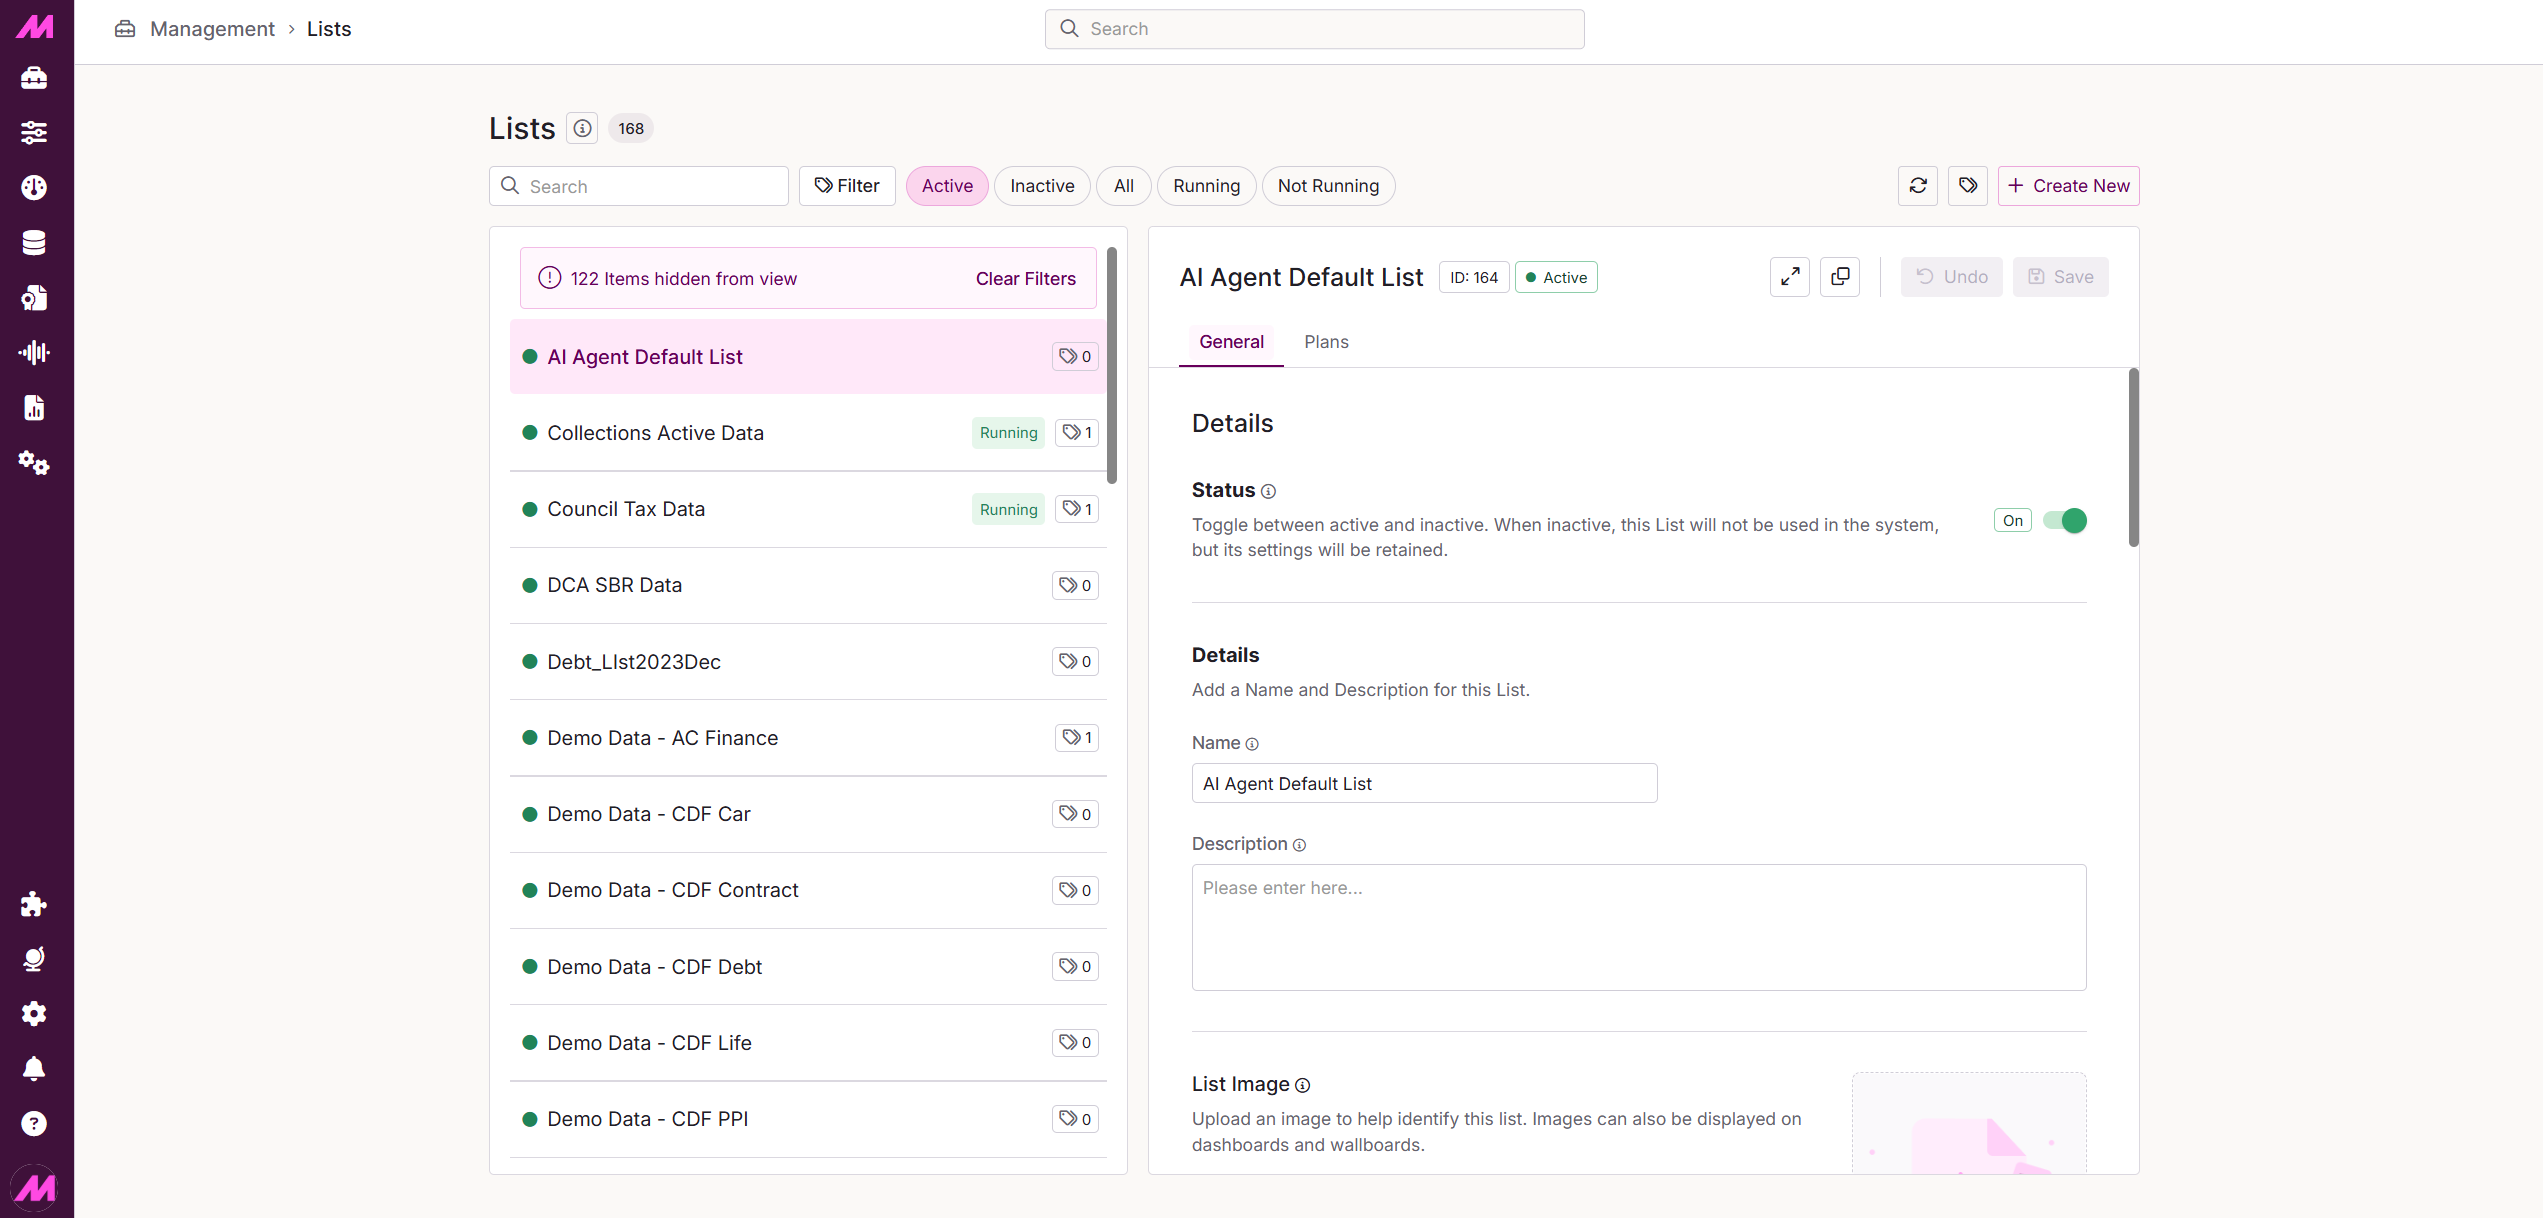
To access the Lists page, go to Management > General > Lists.
Common approaches include using a single master list with Custom Data Fetching or List Data Manager to control what gets called, importing fresh data onto a new list at regular intervals, separating data by product or service, or using dedicated lists for international dialling to take advantage of time zone and scheduling controls.
Page controls
| Control | Description |
|---|---|
| Tag Filter | If enabled on your system, you can open a window to filter by particular tags. |
| Status filter | Toggle between Active, Running, Not Running, Inactive, and All to filter the list view accordingly. |
| Refresh | Reloads the page to pull in any changes made by other users since the page was last loaded. |
| Platform Tags | Opens the Platform Tags in a new tab. |
| Create New | Creates a new list. |
| Expand | Expands the current selected list within the window. |
| Clone | Creates an exact copy of the selected list. |
| Undo | Reverts any unsaved changes. This will not work once the Save button has been used. |
| Save | Saves any changes or new lists created. |
List status icons
Each list in the panel on the left of the page displays a coloured icon indicating its current status.
| Icon | Meaning |
|---|---|
| Green | The list is active. |
| Clear | The list is not active. |
| Running | The list is active and running under a campaign. |

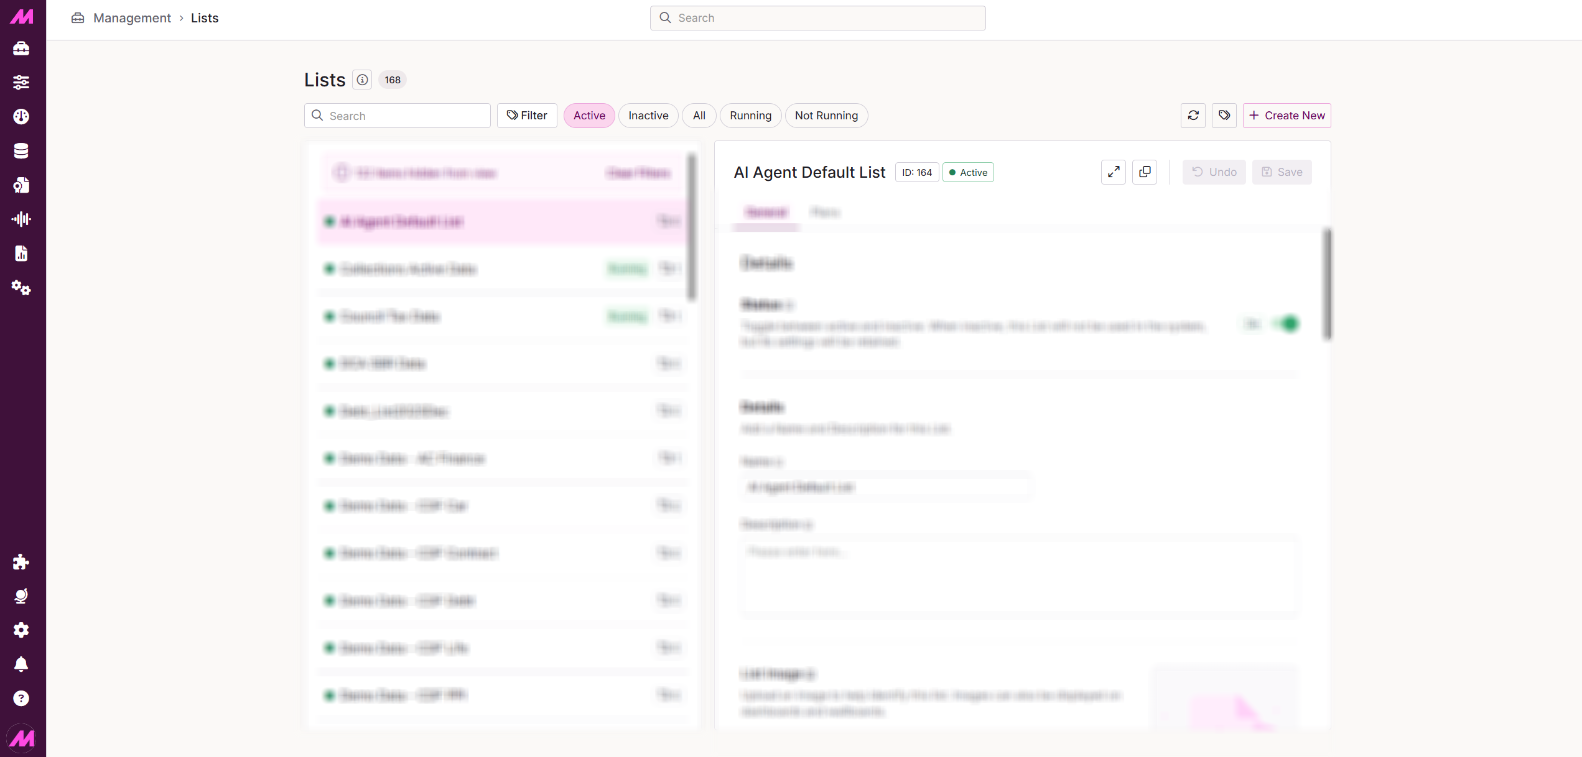
General tab
The General tab contains the core settings for the list, organised into cards.
Details
| Field | Description |
|---|---|
| Status | Toggle to make the list active or inactive. Inactive lists are hidden from the default view and cannot be used, but are not deleted and can be reactivated at any time. |
| List name | The name of the list. Keep it clear and concise — long names may be truncated on the Campaign Manager page. Maximum 100 characters. |
| Description | An optional description of the list. If you manage a large number of lists, it is worth adding as much context here as possible for other admins. Maximum 200 characters. |
| Image | An optional image for visual identification. This can be displayed on dashboards and wallboards if required. Accepted formats: JPEG, JPG, PNG, or ICO. Maximum file size 900 KB. |
Tags
When tagging is enabled, you can apply tag groups directly to a list and view any tag groups inherited from its associated campaigns. For more information, see Tagging — Where and how it affects the system.
Settings
| Field | Description |
|---|---|
| Dialling Mode | Controls how leads from this list are dialled. Follow campaign type means the list dials in whatever mode the campaign is set to — predictive, progressive, or preview. Preview means leads from this list are always dialled in preview mode, regardless of the campaign type. |
| Caller ID | By default this is set to Follow Campaign, meaning calls from this list will present the number configured on the campaign. Toggle on to enter a specific number to present on calls from this list only. Be aware of Ofcom rules on number presentation before using this option. |
| Max call-back days | Sets how many days ahead an agent can schedule a callback from this list. The default is 30 days. Setting this to 0 restricts agents to same-day callbacks only. Maximum value is 1,200 days. |
| Max call-back date | Sets a specific date and time beyond which agents cannot schedule a callback. Useful when you are running a time-limited campaign — for example, a promotion ending on a set date. This takes precedence over the Max call-back days setting if the date is sooner. |
| Fetch weight | Controls how much of the dialling from a campaign comes from this list relative to others. The higher the number, the more calls are made from this list. Setting a list to 10 gives it the highest priority for leads to be dialled from. This can also be adjusted in Campaign Manager without saving changes here. |
| Enable alerts | When ticked, you will receive email and on-screen alerts when data on this list is running low. The alert threshold is configured on the Settings page and applies to all lists that have this option enabled. |
Scripting
| Field | Description |
|---|---|
| Enable | Toggle to allow a script to be assigned to the list. |
| Script provider | Select Max to use a MaxContact script. Select Other if you want to present agents with your own web-based CRM or system instead — your implementation engineer will assist with the configuration required. |
| Max Script | Select the MaxContact script to assign to this list. All active scripts on your system are available here. For more information on creating and editing scripts, see the Scripting walk through. |
| Script URL | The URL generated when a Max script is assigned. If using an external system, your implementation engineer will populate this field with the correct URL. |
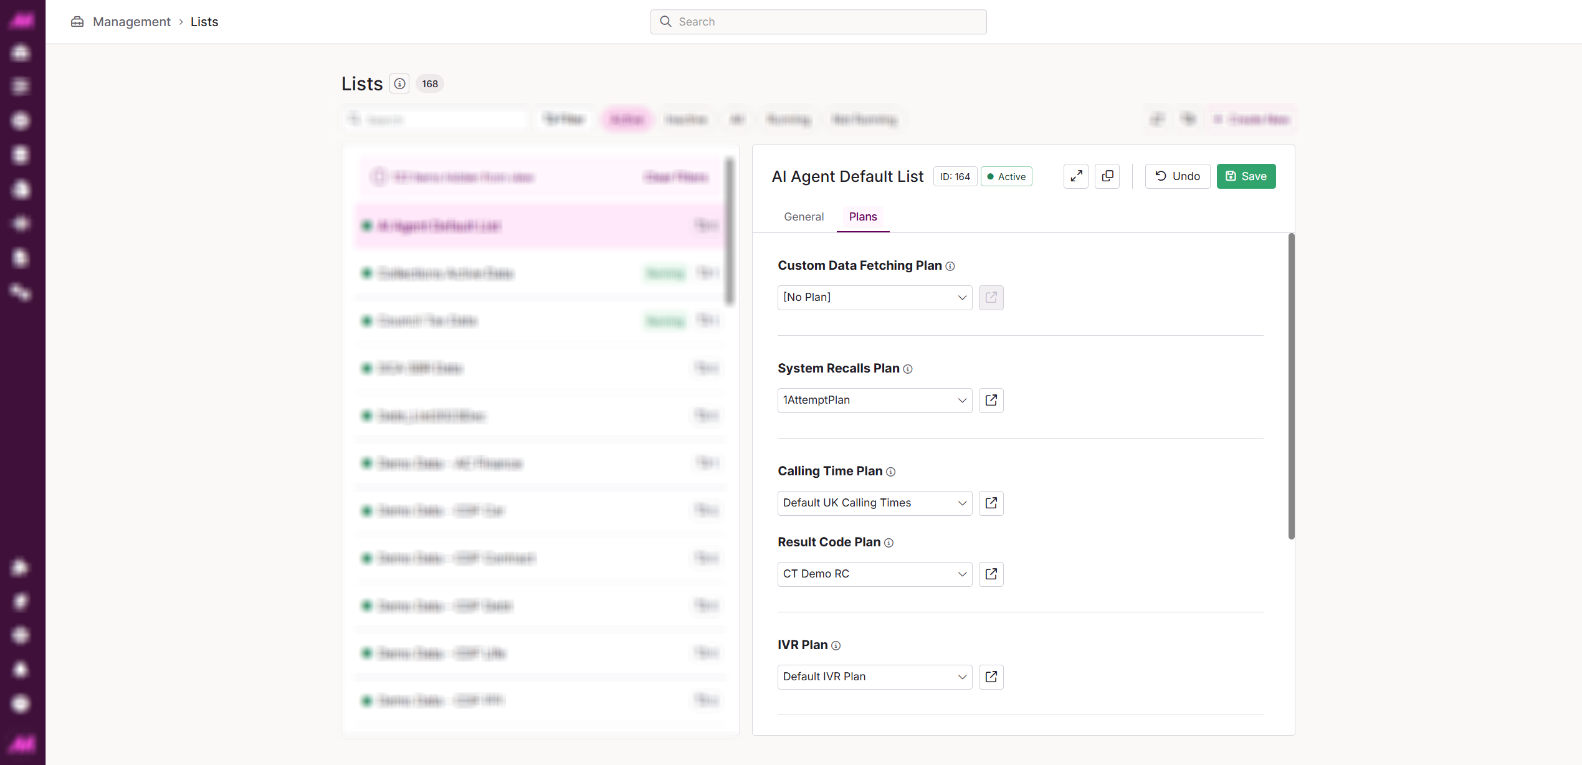
Plans tab
The Plans tab lets you assign a range of plans to the list to control how data is called. Each plan can be configured via the Plans page. Selecting the Go to button next to any plan takes you directly to that plan's configuration.
| Plan | Description |
|---|---|
| Custom Data Fetching plan | Assigns a data filter to control which leads from this list are called first. Useful for prioritising data based on criteria such as date of birth, contract expiry, or location. See the Custom Data Fetching guide for more detail. |
| System recalls | Assigns a system recall plan to the list, controlling how many attempts are made for system-dispositioned calls and how long before a phone number is called back. See the Plans guide for more detail. |
| Calling time plan | Assigns a calling time plan to the list. Most customers will use the default UK calling times. For international dialling, this should be set to the appropriate plan configured during onboarding. |
| Result code plan | Assigns a result code plan to the list, determining which outcome options agents can select when handling calls from this list. See the Result Codes guide for more detail. |
| IVR plan | Assigns a custom IVR plan to the list, allowing you to use specific IVRs for scenarios such as hold music, answer machine messages, drop call messages, and transfer messages on calls from this list. |
| Answer machine plan | Assigns a custom answer machine detection (AMD) plan to the list. You can configure AMD to be on or off per list, and set detection for home, work, or mobile numbers, or any combination. Different plans can be assigned to different lists as needed. |
| Manual call DNC scrub plan | Assigns a DNC scrub plan for manual calls made from this list. When an agent manually dials a lead, the system checks the number against the selected DNC lists before connecting the call. Useful if you operate multiple DNC lists for different products or services. |
| Schedule plan | Assigns a schedule to the list, restricting when data from this list can be called regardless of the campaign schedule. For example, you could restrict a list of home numbers to evenings only. The list schedule must fall within the campaign schedule to take effect — if the campaign ends earlier than the list schedule, the campaign end time takes precedence. |