The time check element allows your IVR to route calls to an out of hours message or other route, when you are closed. When your offices are open, the element will route calls accordingly. The element can be added to the beginning of any IVR route and is usually placed after the start element or a welcome message element.
Please select the images in this guide to see more detail.How to add the element within your IVRs.
1 - Navigate to the IVR page
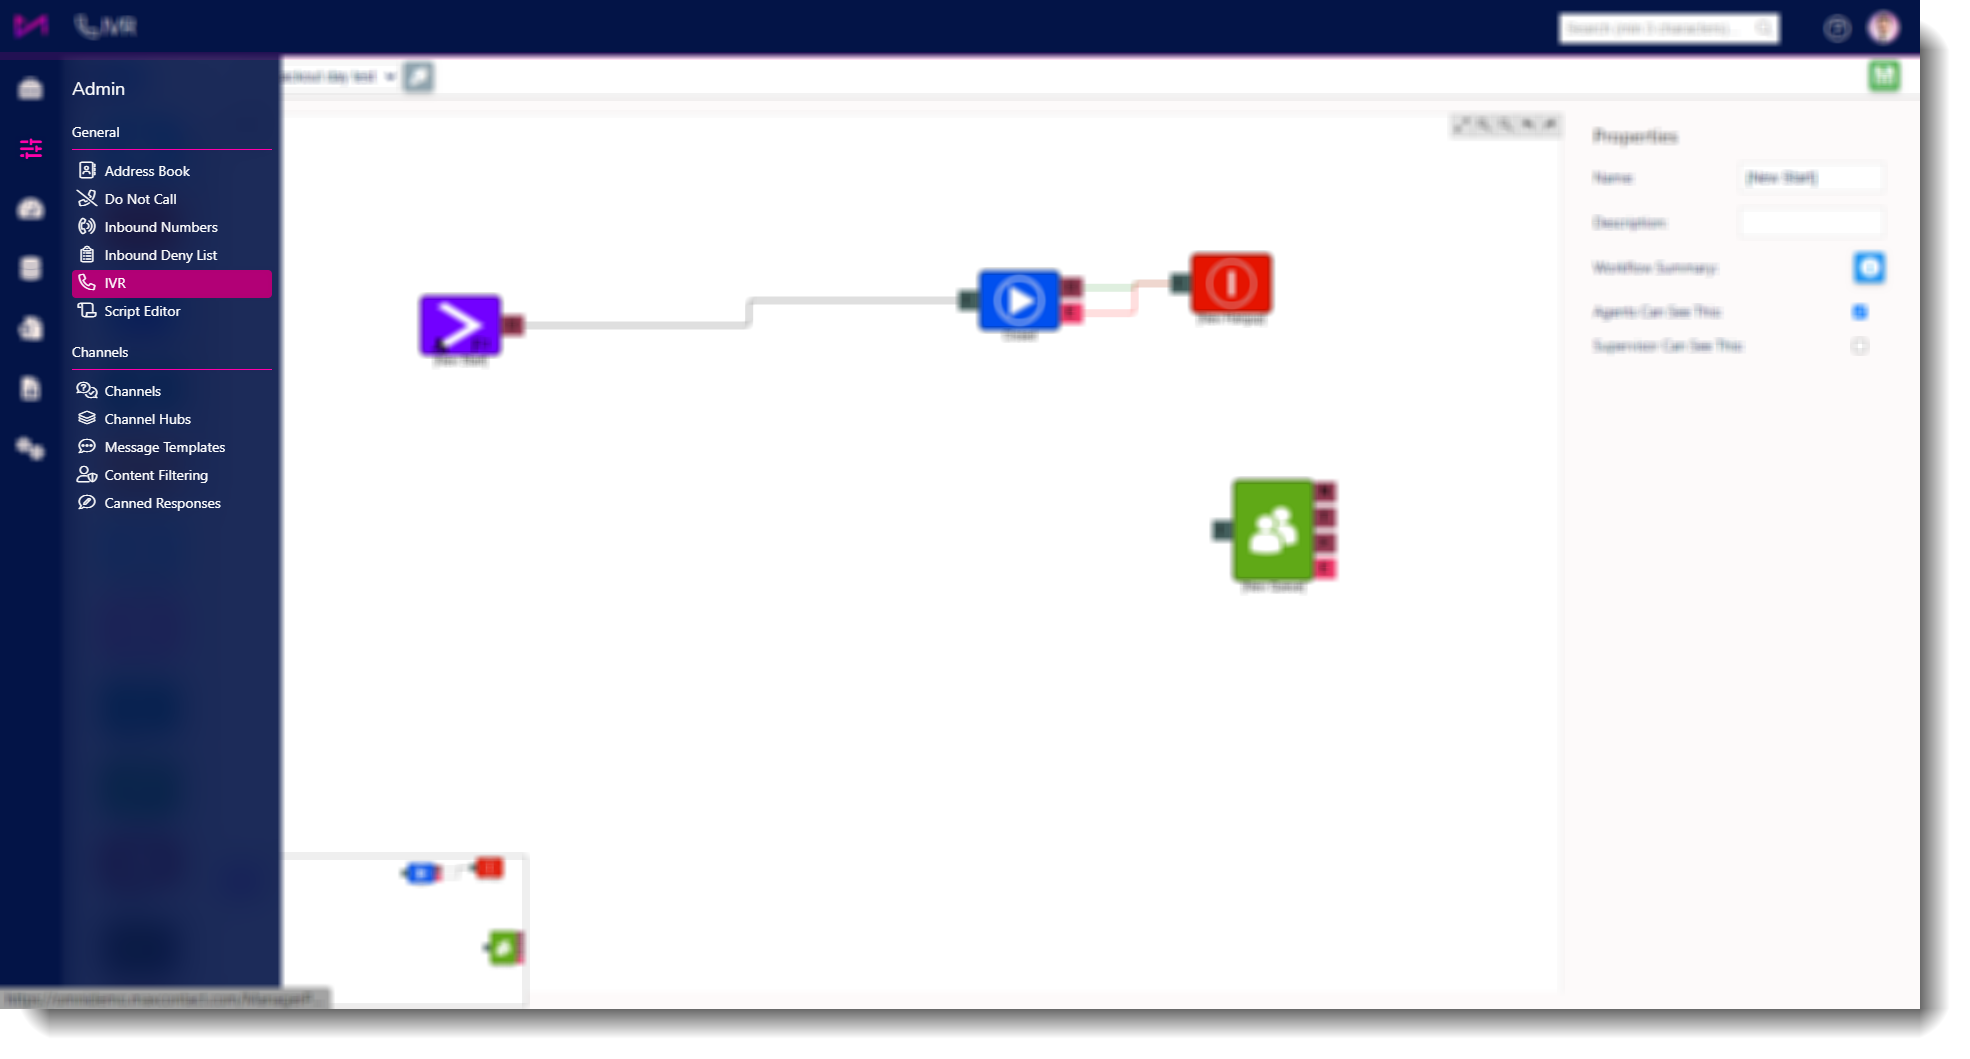
Fig 1. Access the IVR page by heading to ADMIN > IVR
2 - Select your IVR from the dropdown at the top of the page so it is displayed on screen.
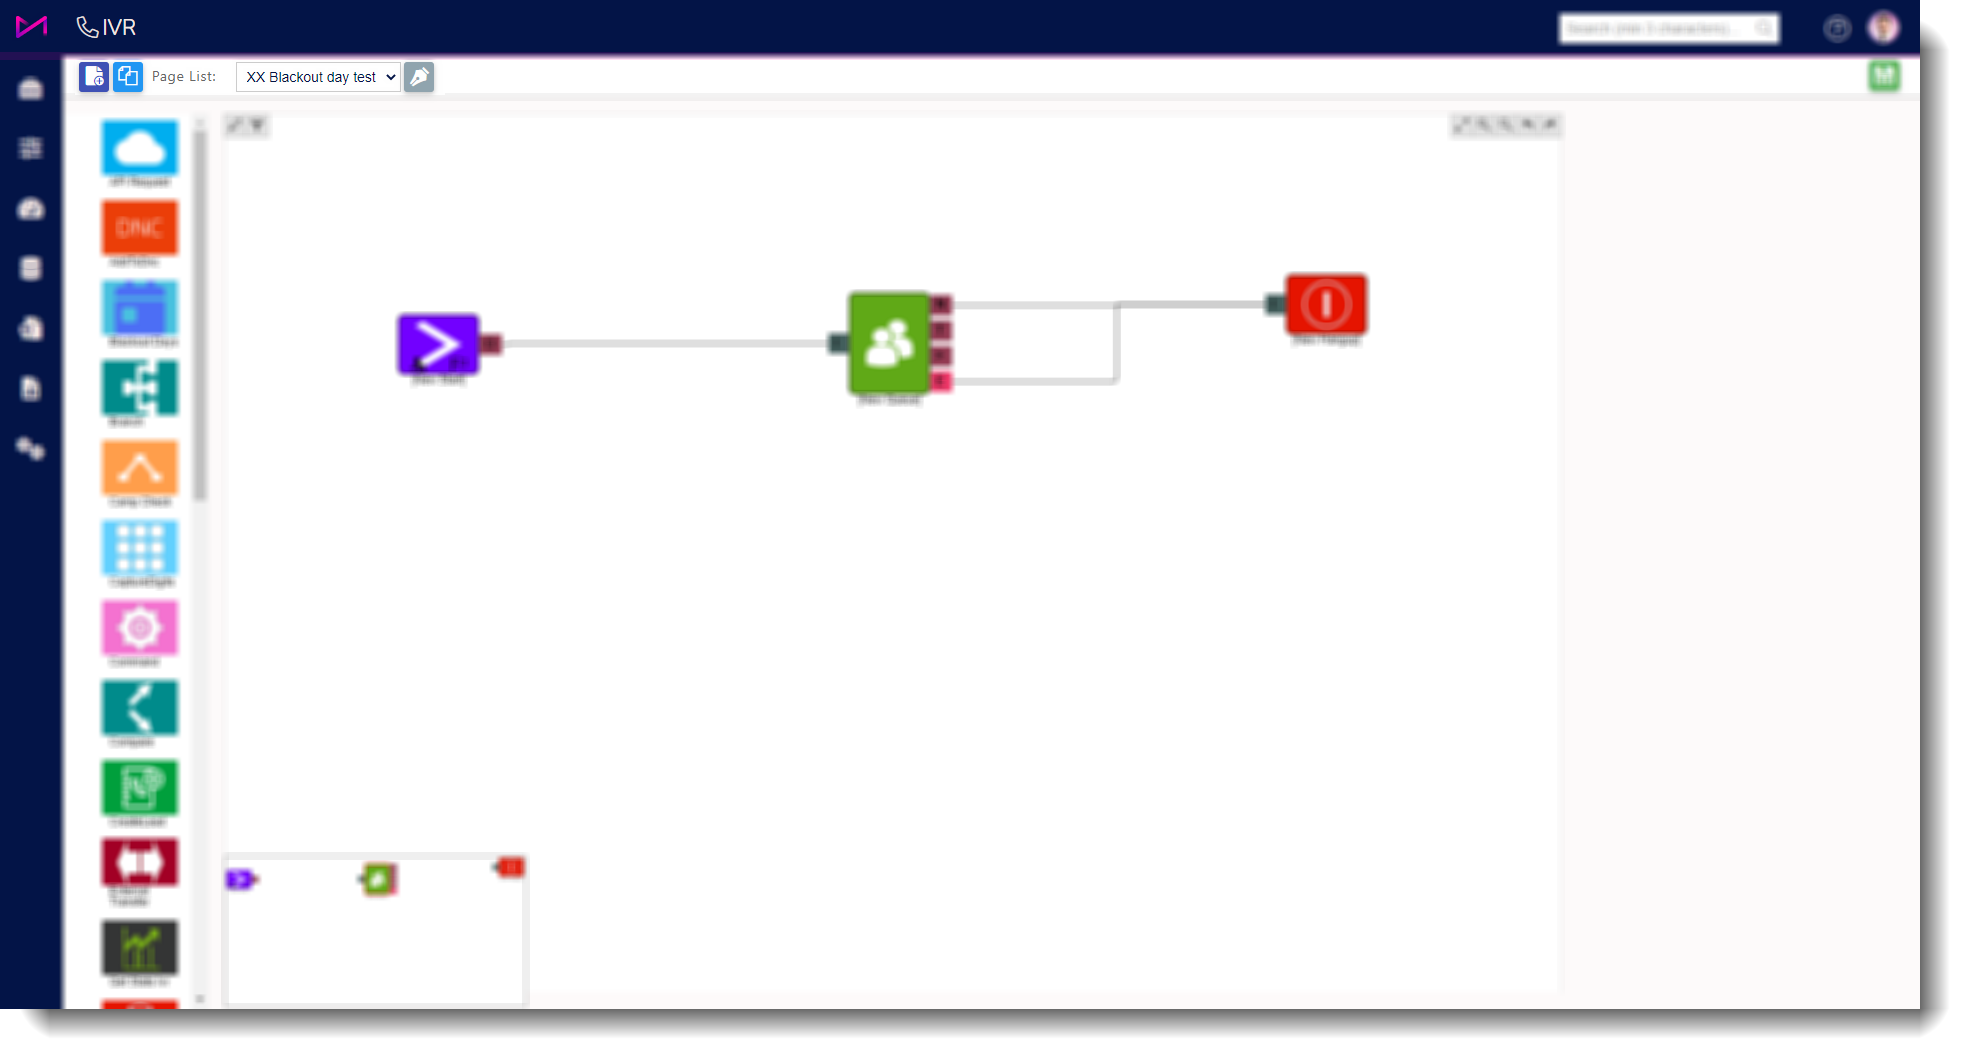
Fig 2. Main inbound IVR selected from the dropdown.
3 - Drag the time check element onto the page and edit the properties by selecting it.
- Name the element accordingly.
- Add a description, this is useful especially if you have multiple inbound routes.
- You can then add 'time blocks' for the days you are open by selecting the 'Add' button. This will allow you to add your opening hours for up to 7 days on the one element. If you aren't open certain days in the week, (Sunday perhaps) simply don't add that day in.
- Make sure, once you have made changes, you hit save!
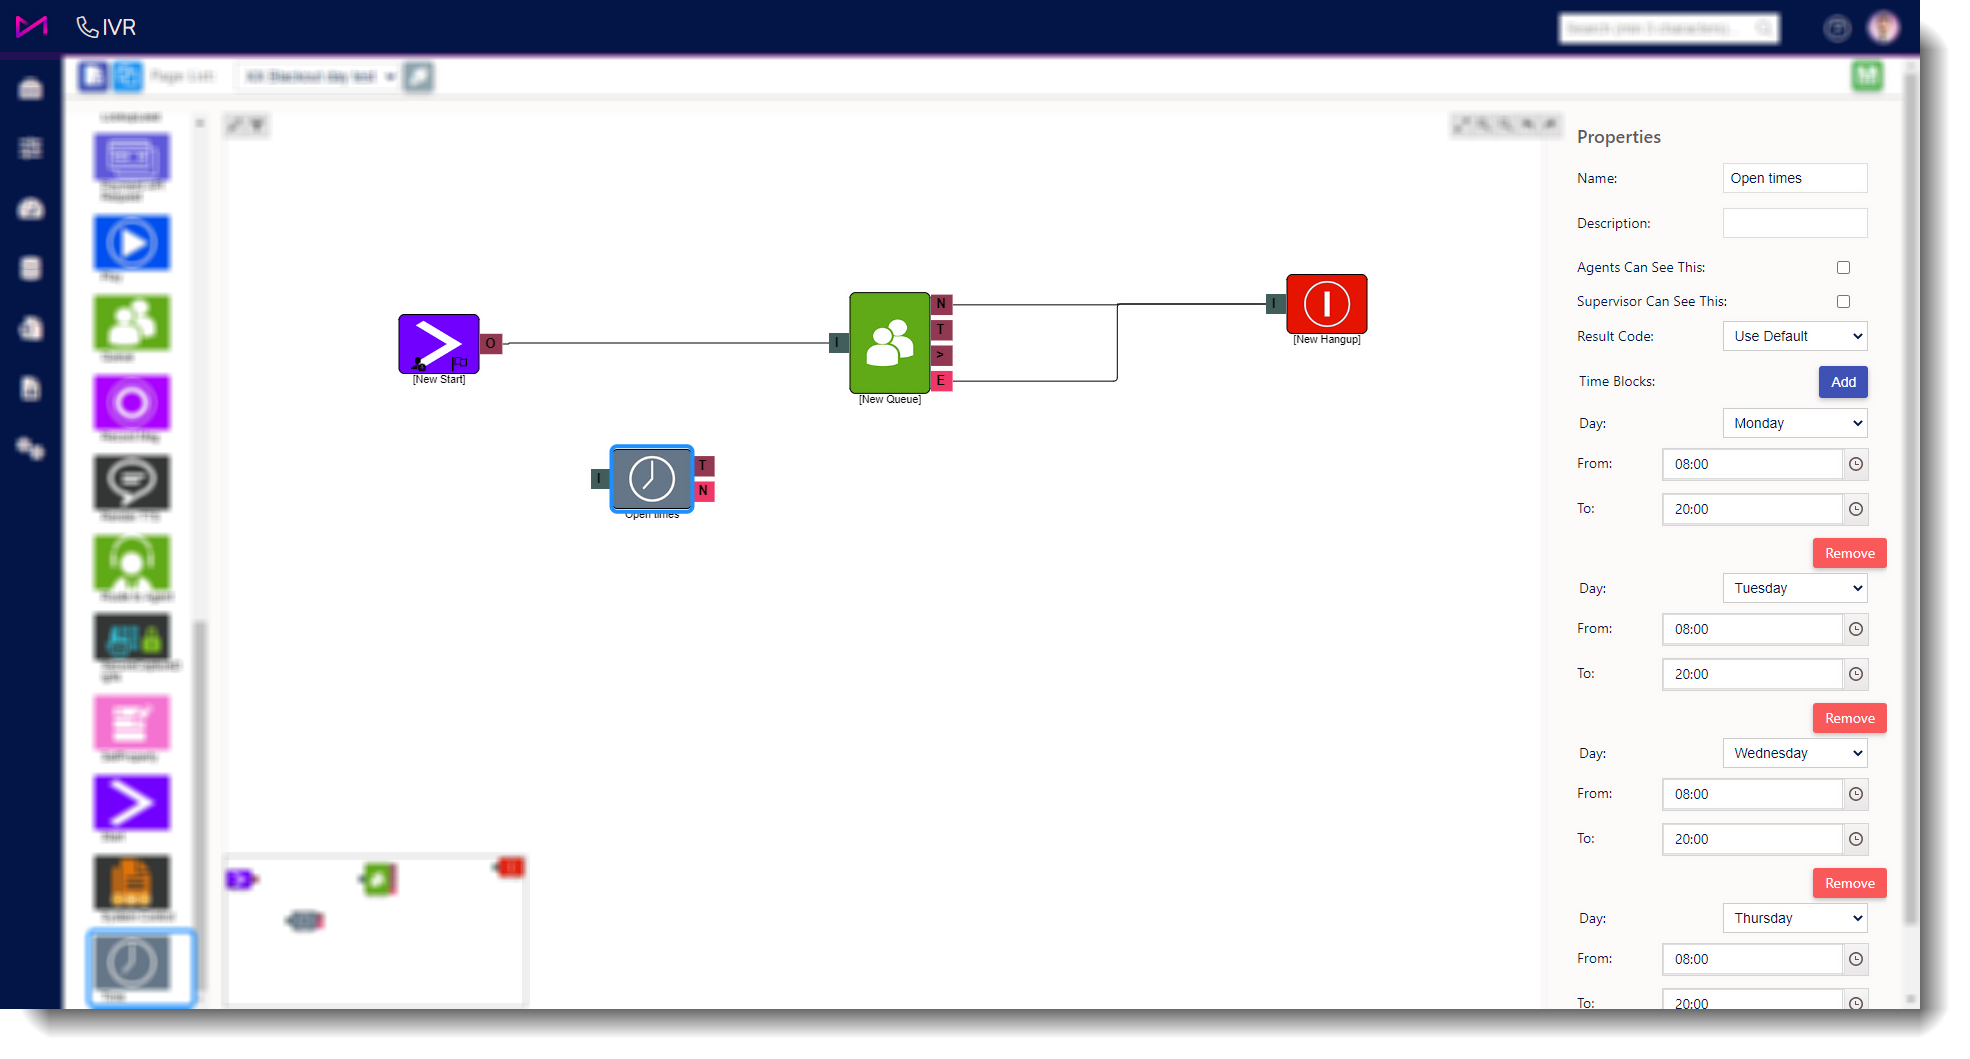
Fig 3. The time check element selected and configured on the right hand pane.
4 - Connect the element to your IVR. You should add an out of hours message (after the time check) by using the Text To Speech element or by recording a separate message and adding it to a play element. Without this, the customer will just be hung up on without being told why.
NOTE ON CONNECTING
The time check element needs the T (true) connecting to your welcome message or the next step on your inbound route and the N (no match) should be connected to the out of hours message. E.g. if it matches the times (T) continue as normal, if it doesn't match the times (N), play the out of hours message.
Once you are happy, ensure you save the changes before navigating away from the page.
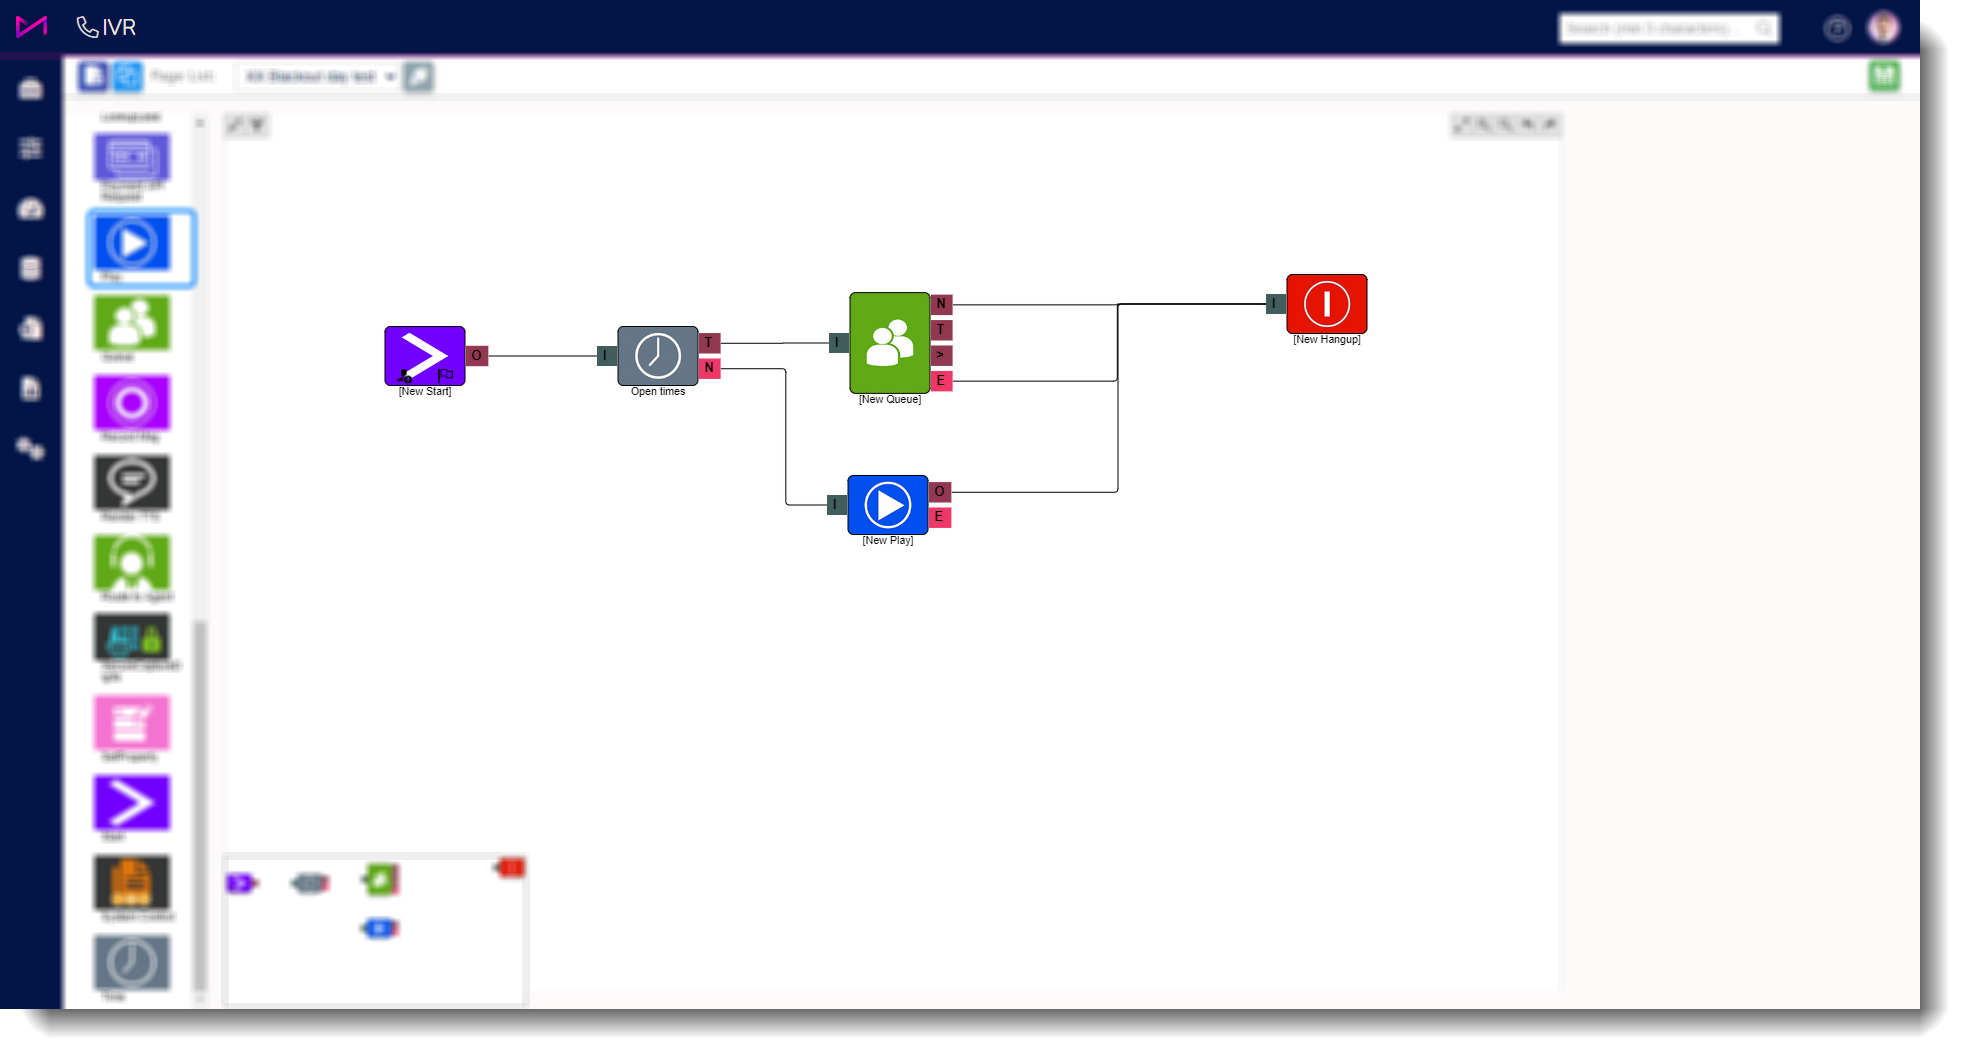
Fig 4. The time check element connected to the IVR with a message and hang up element afterwards.
Editing your existing time check element for periods of closure.
If you already have a time check element in your IVR and you are closing for a set number of days in the following week, you can simply navigate to your IVR, select the time check element and amend the times accordingly.
Alternatively, you could add a 'blackout days' element to your IVR to add certain dates of closure for your inbound routes. For more on this, click here.
Ensure you save the changes before moving away from the page and remember to change the times back for the following week. The times set are for each day rolling over, Monday, Tuesday etc. not for specific dates so they will carry on each week if you don't change them back.
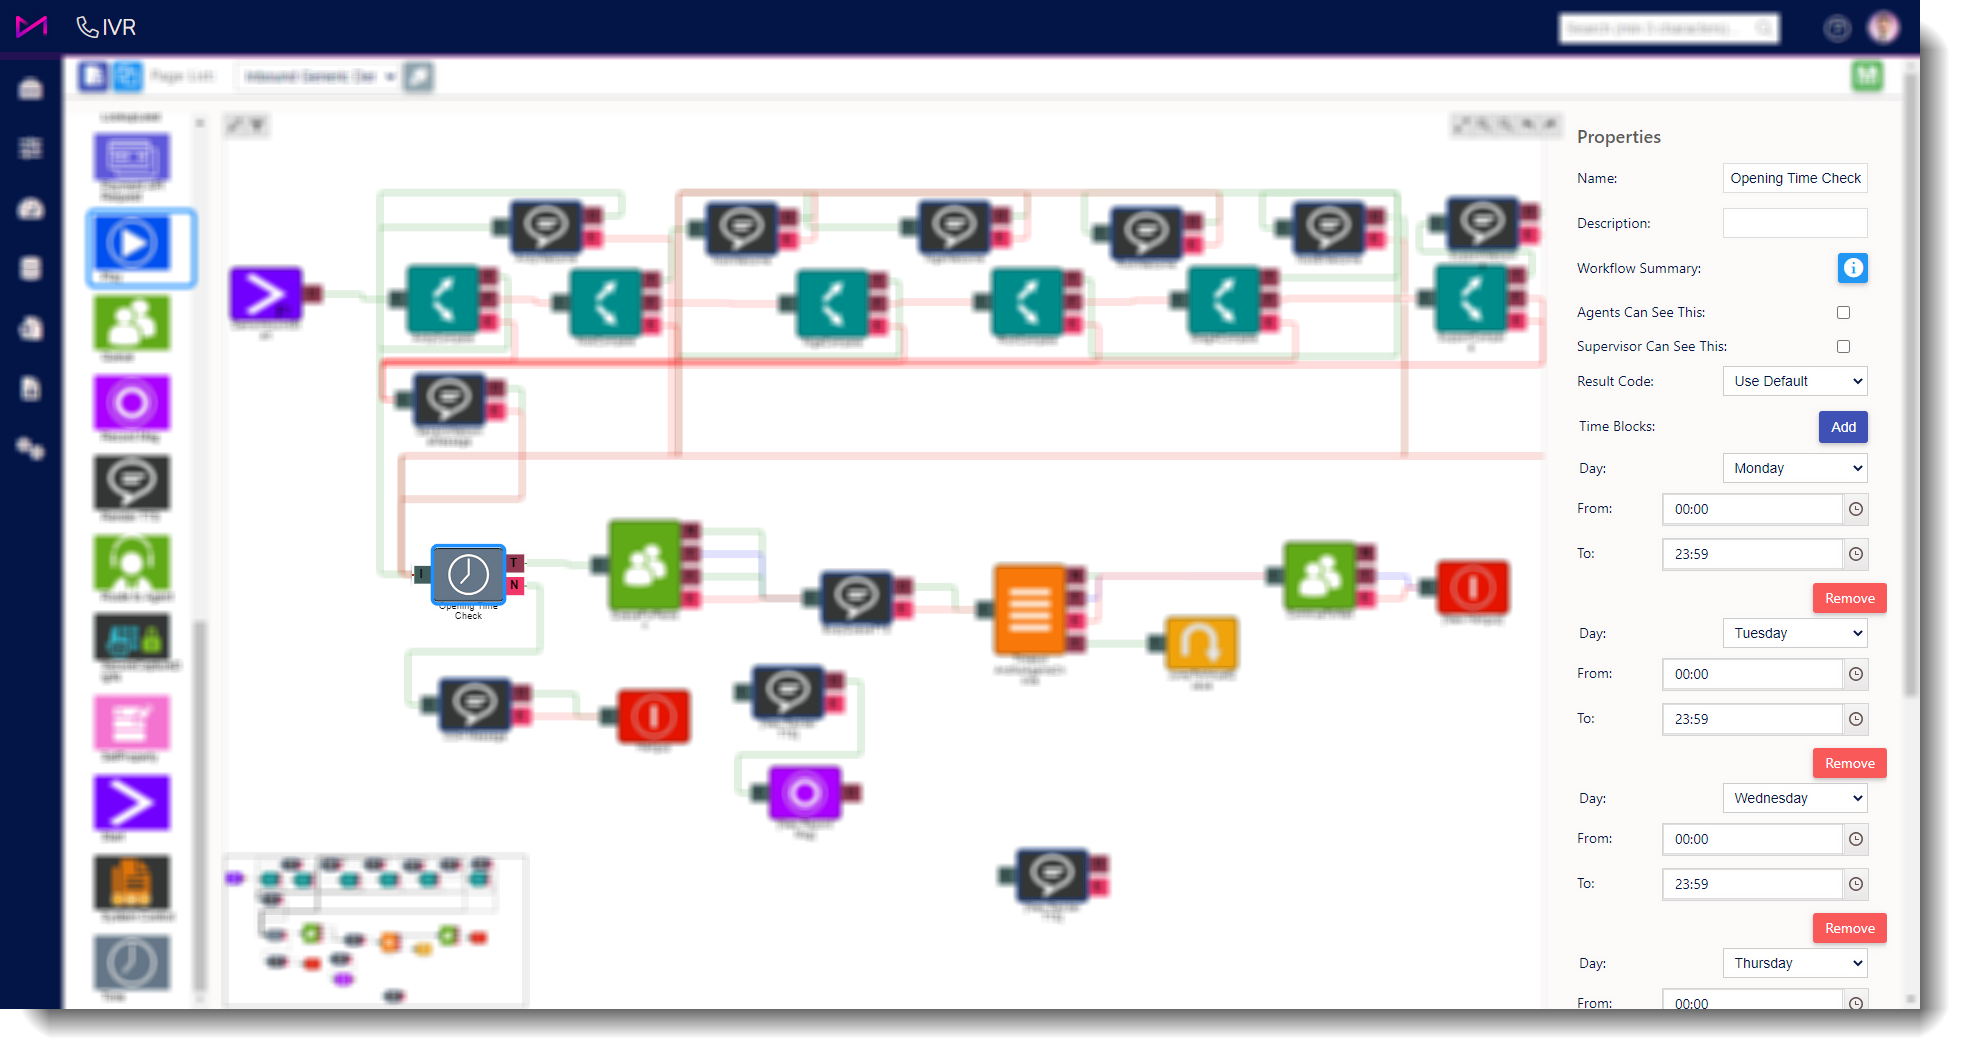
Fig 5. The time check element selected in an IVR and the editing pane.