A voicemail IVR can be used in or out of office hours and will allow your customers to leave voicemails for your team(s). The voicemails can then be retrieved by admin staff and the appropriate action can be taken from there.
Contents
Setup
Create the IVR
To create an IVR to give customers the option of leaving a voicemail, you can simply add to your existing IVR with 4 basic elements; an IVR menu element, a play element, a record message element and a hang up element.
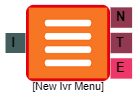 | The IVR menu element allows you to add multiple options to your IVR. You can upload a message to give the customer the instructions of which optiond go where. "Press 1 for sales, 2 for support, 3 for customer service..." |
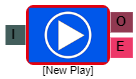 | A play element can be used to upload your recordings. "Thank you for calling customer name, please choose from..." |
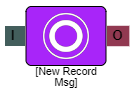 | The record message element is where the customer, upon hearing the beep, can leave their message on your system. |
| The hang-up element will end the call, in the case of a voicemail, once the customer presses the terminate digit or the element hears silence for a predetermined amount of seconds. |

Adding the elements together in the following order will allow the system to enable customers to leave a voicemail for you to listen to at a later time.

Standard IVR menu element with option to leave a voicemail. |
Pre voicemail welcome message with instructions for the customer. |
Customers message is recorded after the 'beep'. |
Call ended. |
Result codes for identification of messages
Each element of any IVR can have a unique result code added to it to allow tracking of your customers journeys. This allows you to spot areas of your IVR where customers frequently hang up. The other advantage in this respect, is that you can quickly pinpoint voicemail messages in the system.
For more on creating result codes, see this guide.
A unique result code can be added by selecting it from a drop down on the voicemail elements menu. This can be named whatever you require and if you have multiple voicemail IVRs you can create multiple result codes to suit.
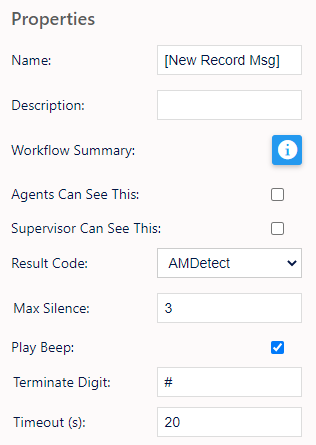
You must ensure that if you are using a hang up element after the voicemail element, you have the same result code on both as the customer may terminate the call before reaching the hang up element.
Basic inbound IVR example with voicemail added
Here we have a simple IVR where calls route to agents after passing through an options menu (press 1 for sales, press 2 for customer service).
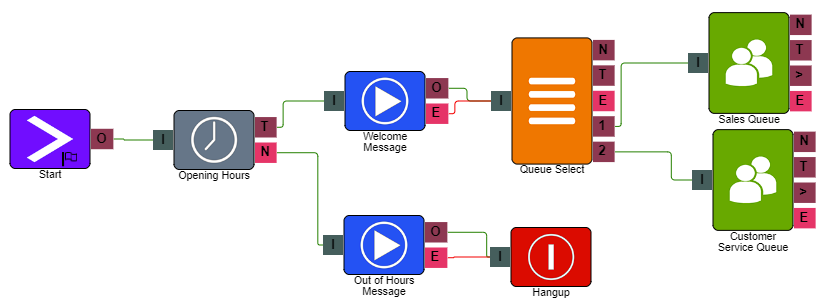
If you want to add a voicemail option too, you can simply add another digit to the options menu then add in the other required elements.
Retrieve voicemail messages
Once your IVR is up and running, there are 2 locations you can listen back to the recordings;
Recording Playback
Once on the page, you can select the advanced search option to search for the unique result code you assigned to the voicemail element.
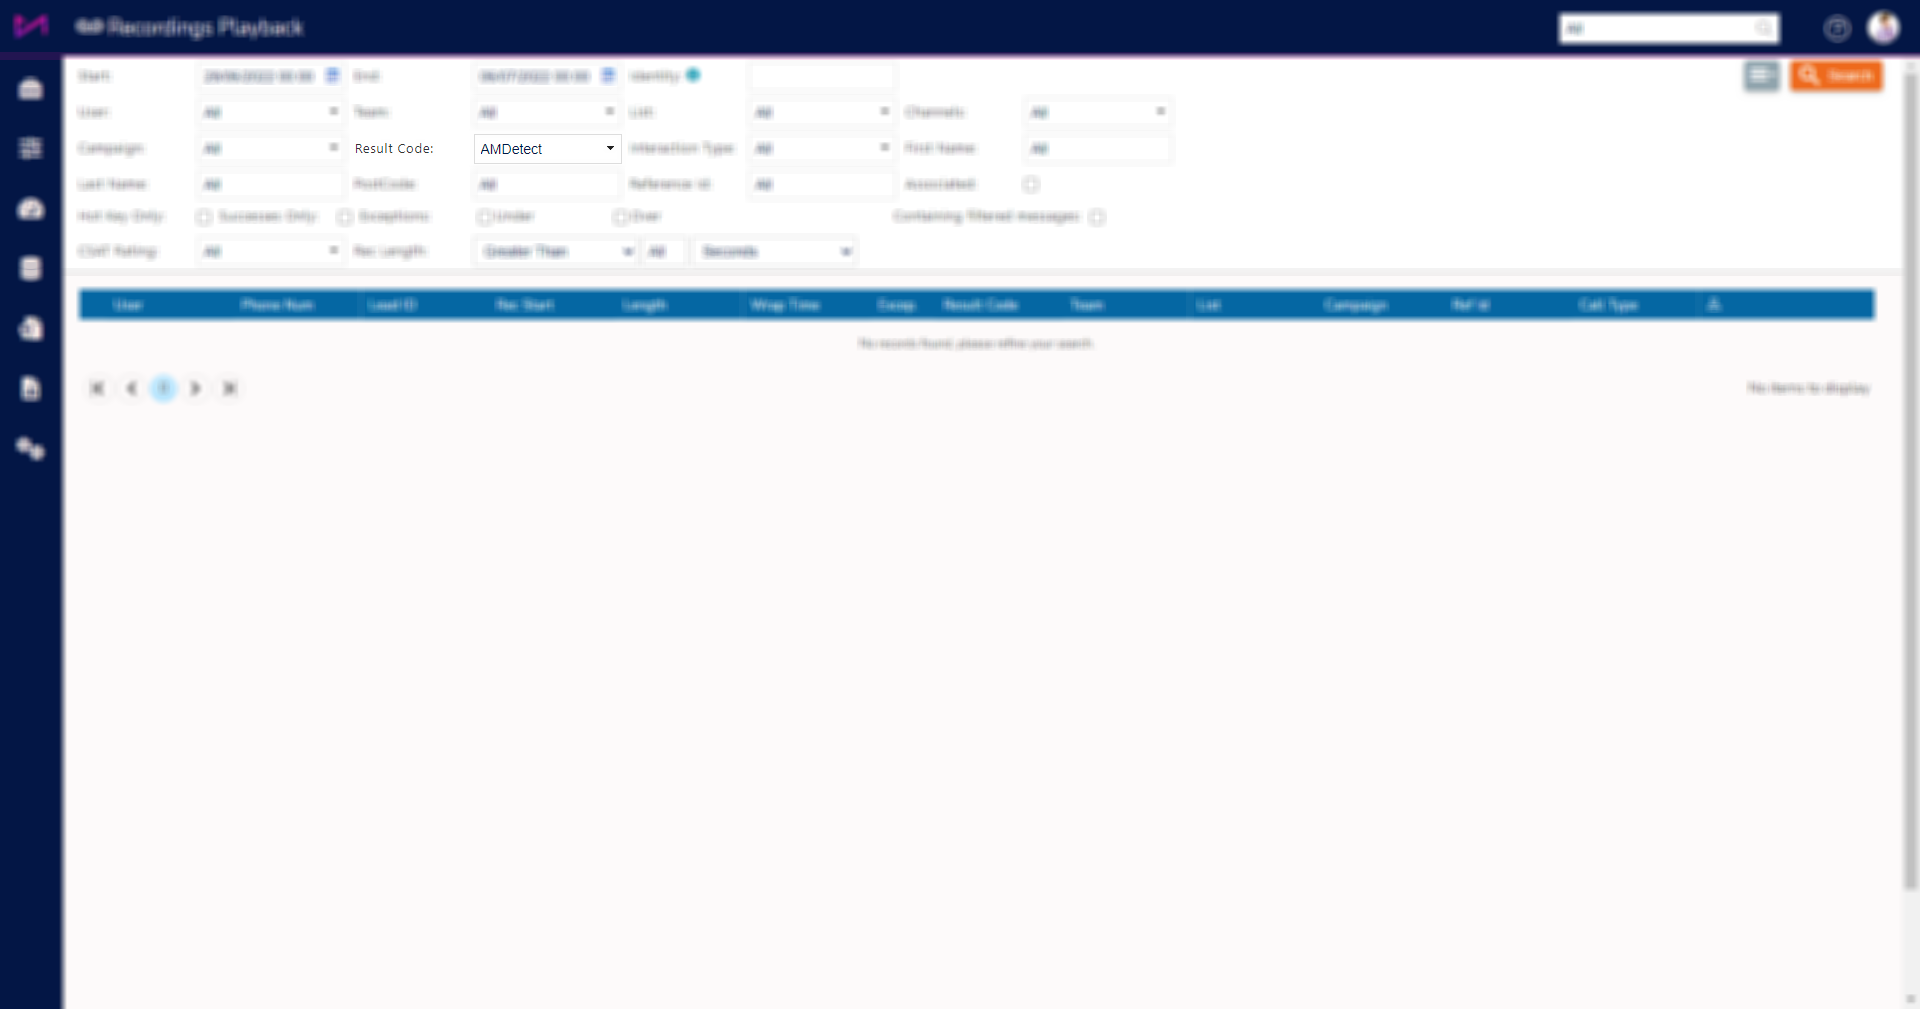
This will filter the table to all the calls that were dispositioned with the unique result code.
Record History
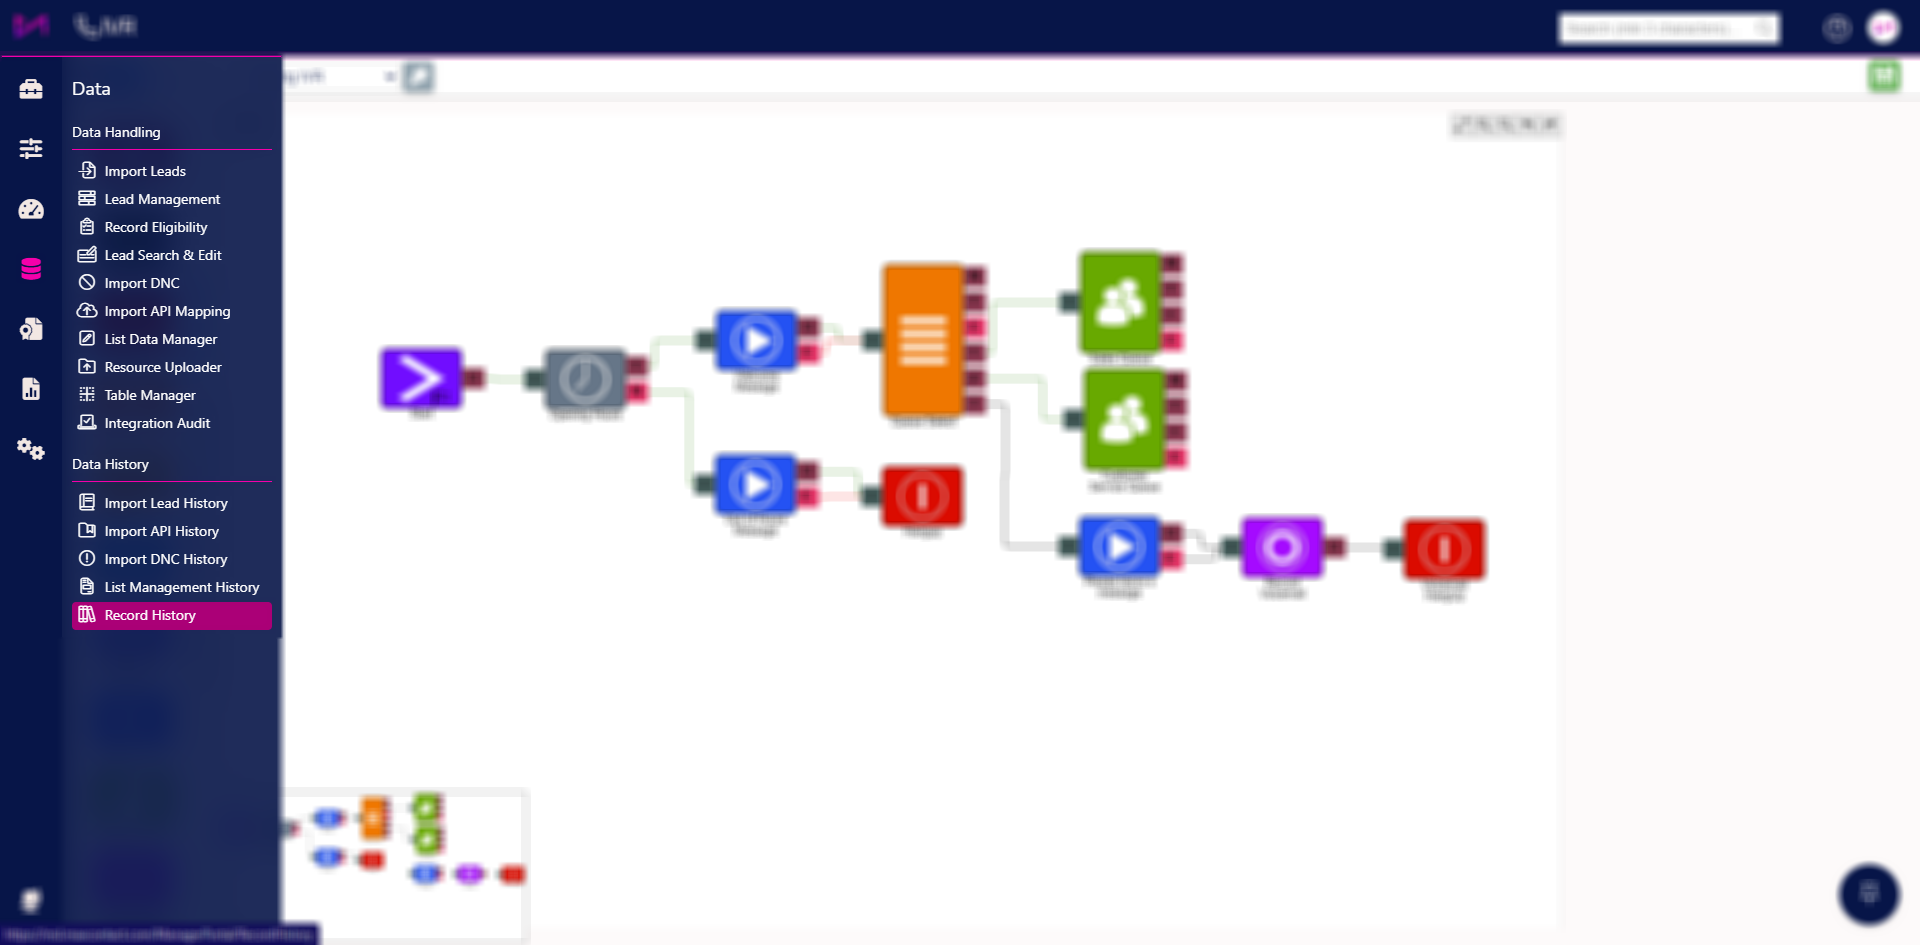
Once here, you can use the advanced search function to search for your specific result code assigned to your voicemail element(s).
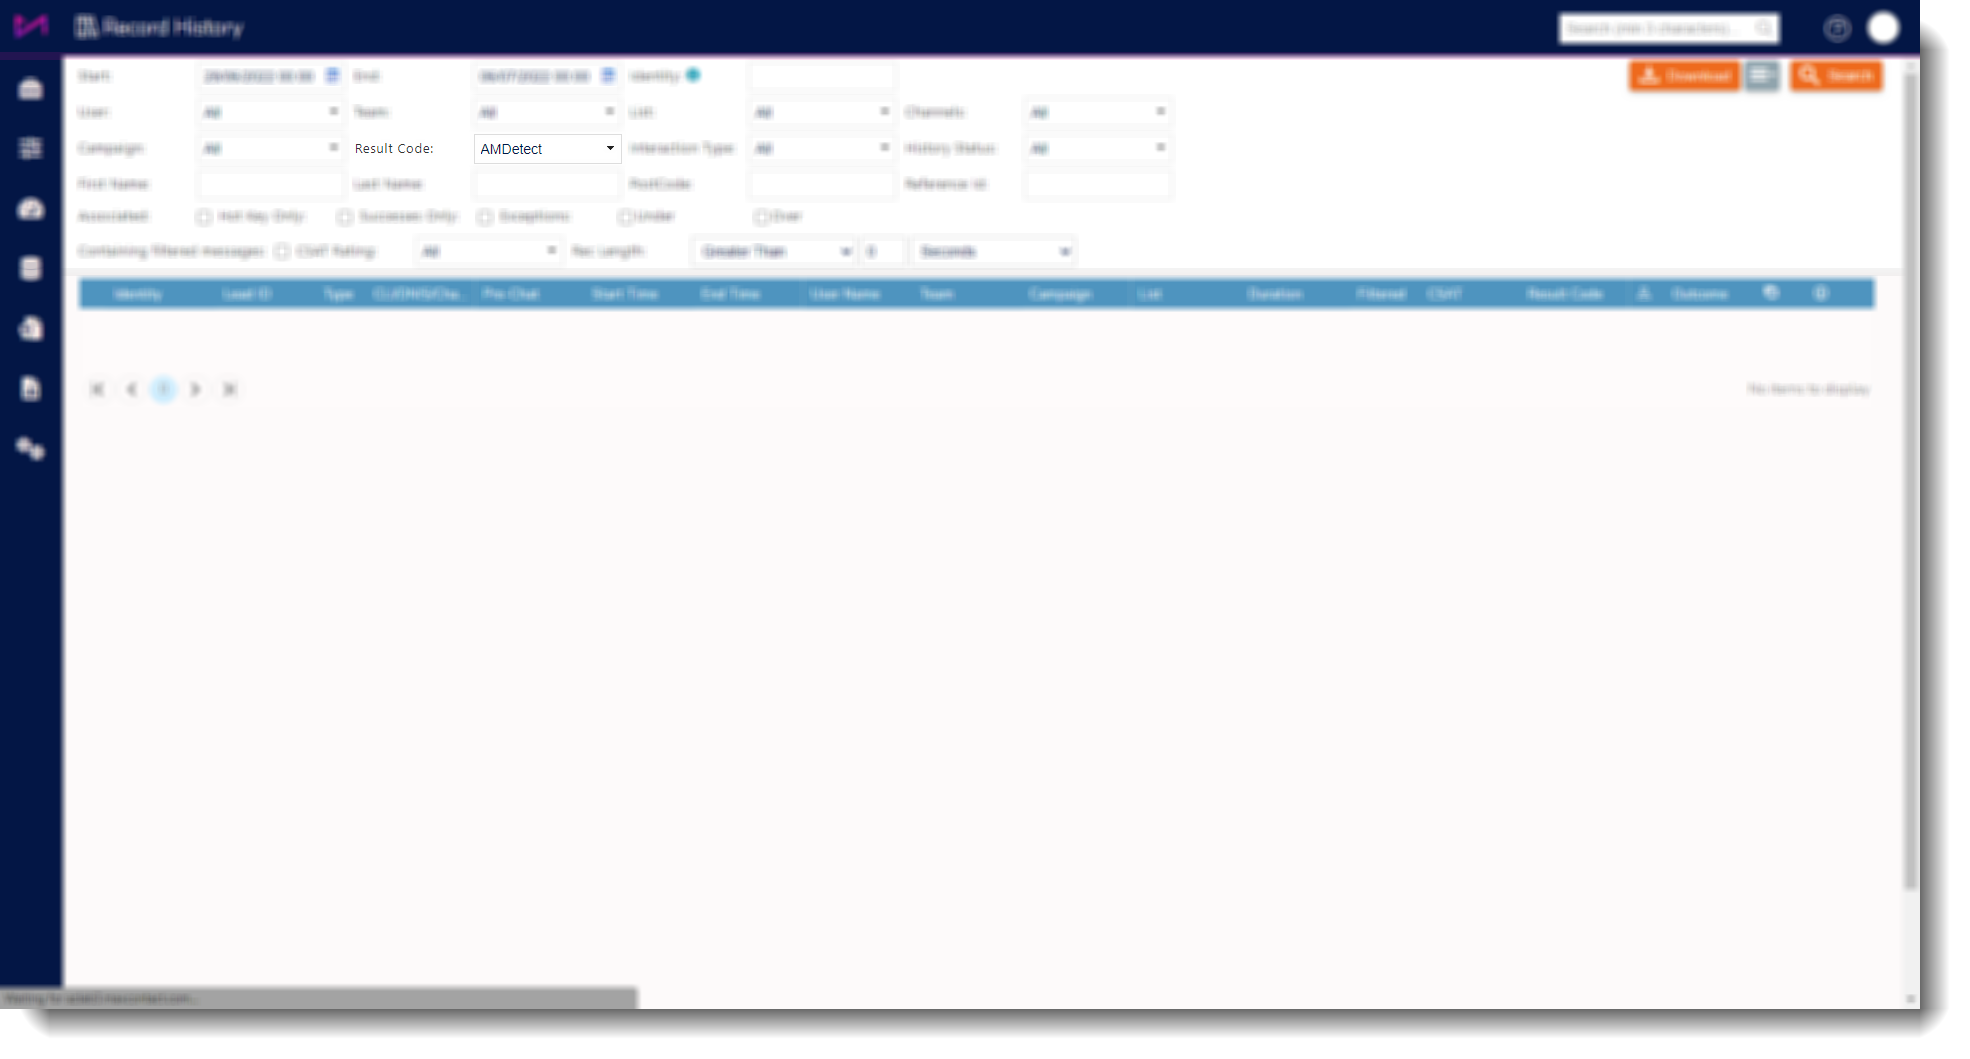
The resulting table will then show all the calls dispositioned with the unique result code, allowing you to see information about those calls.
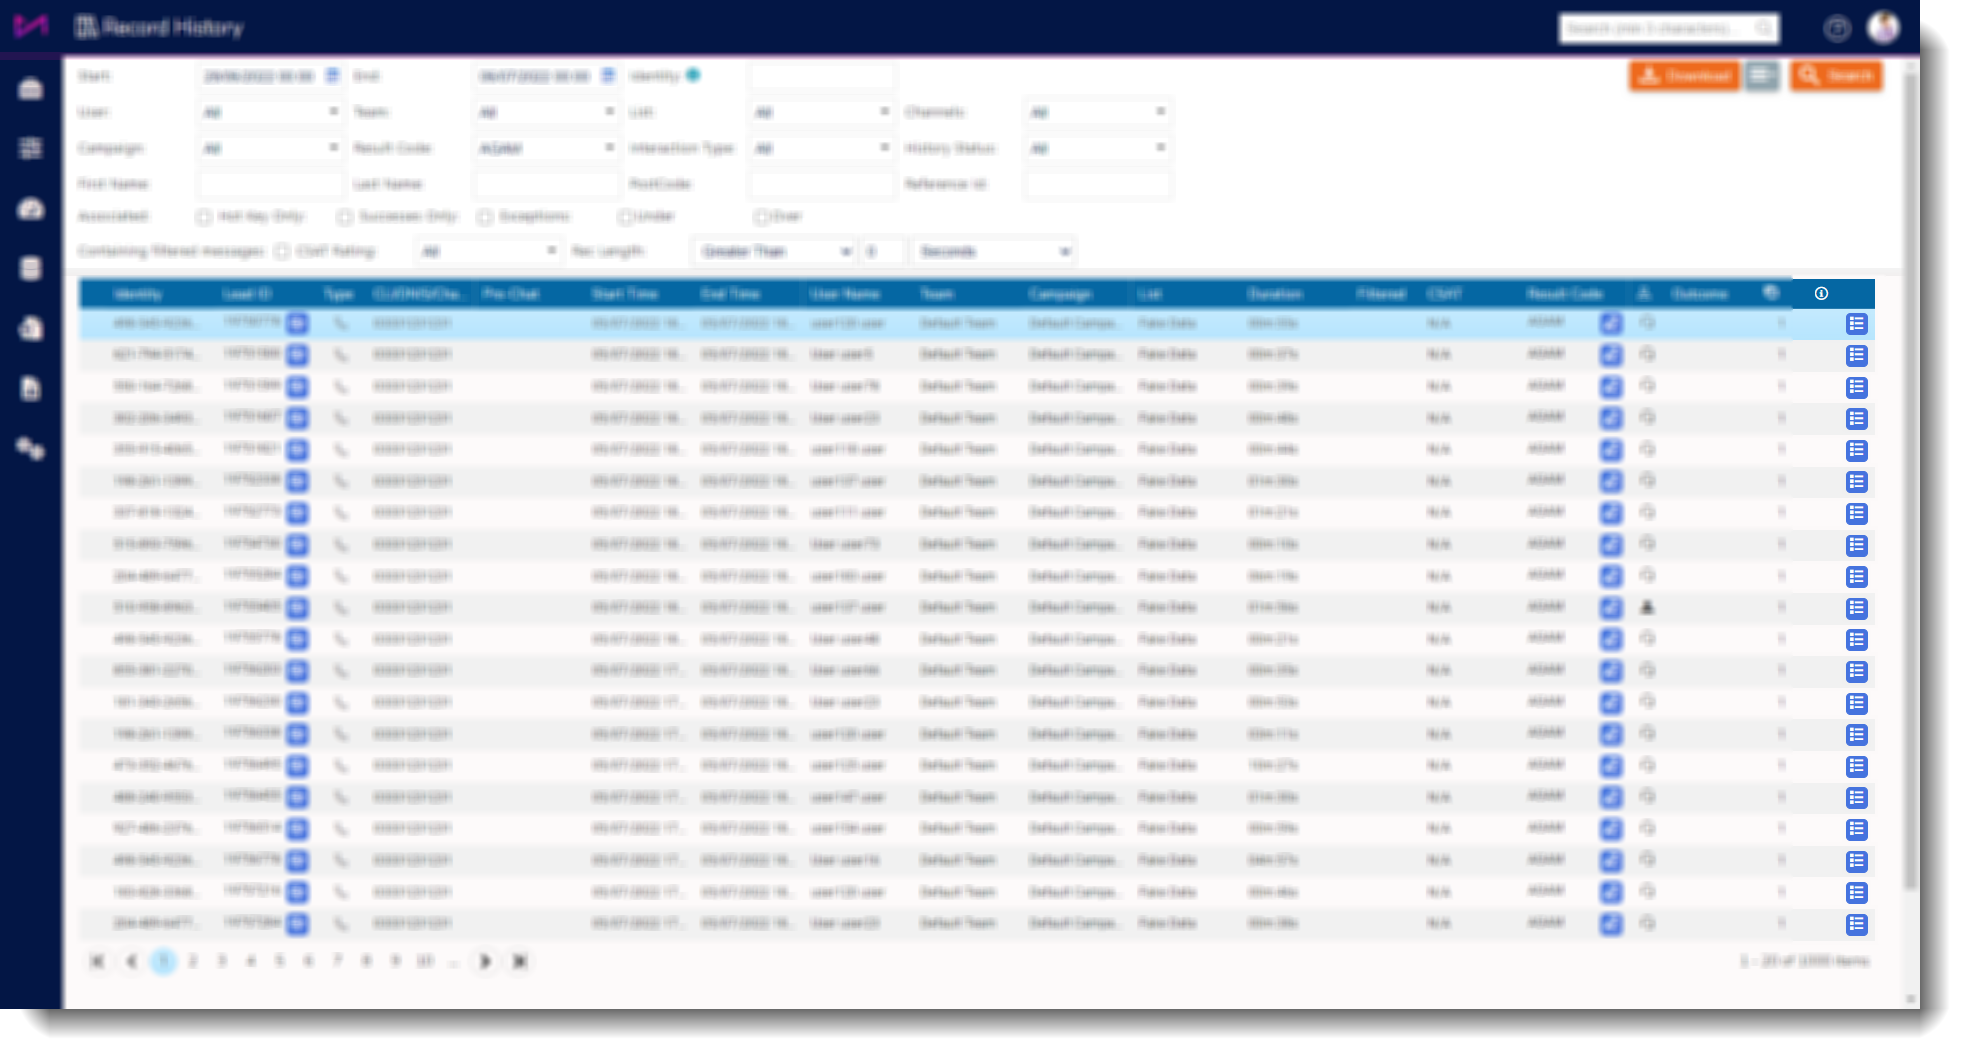
Selecting the button on the right hand side will open a dialogue box allowing you to see more information and listen to the recording itself.
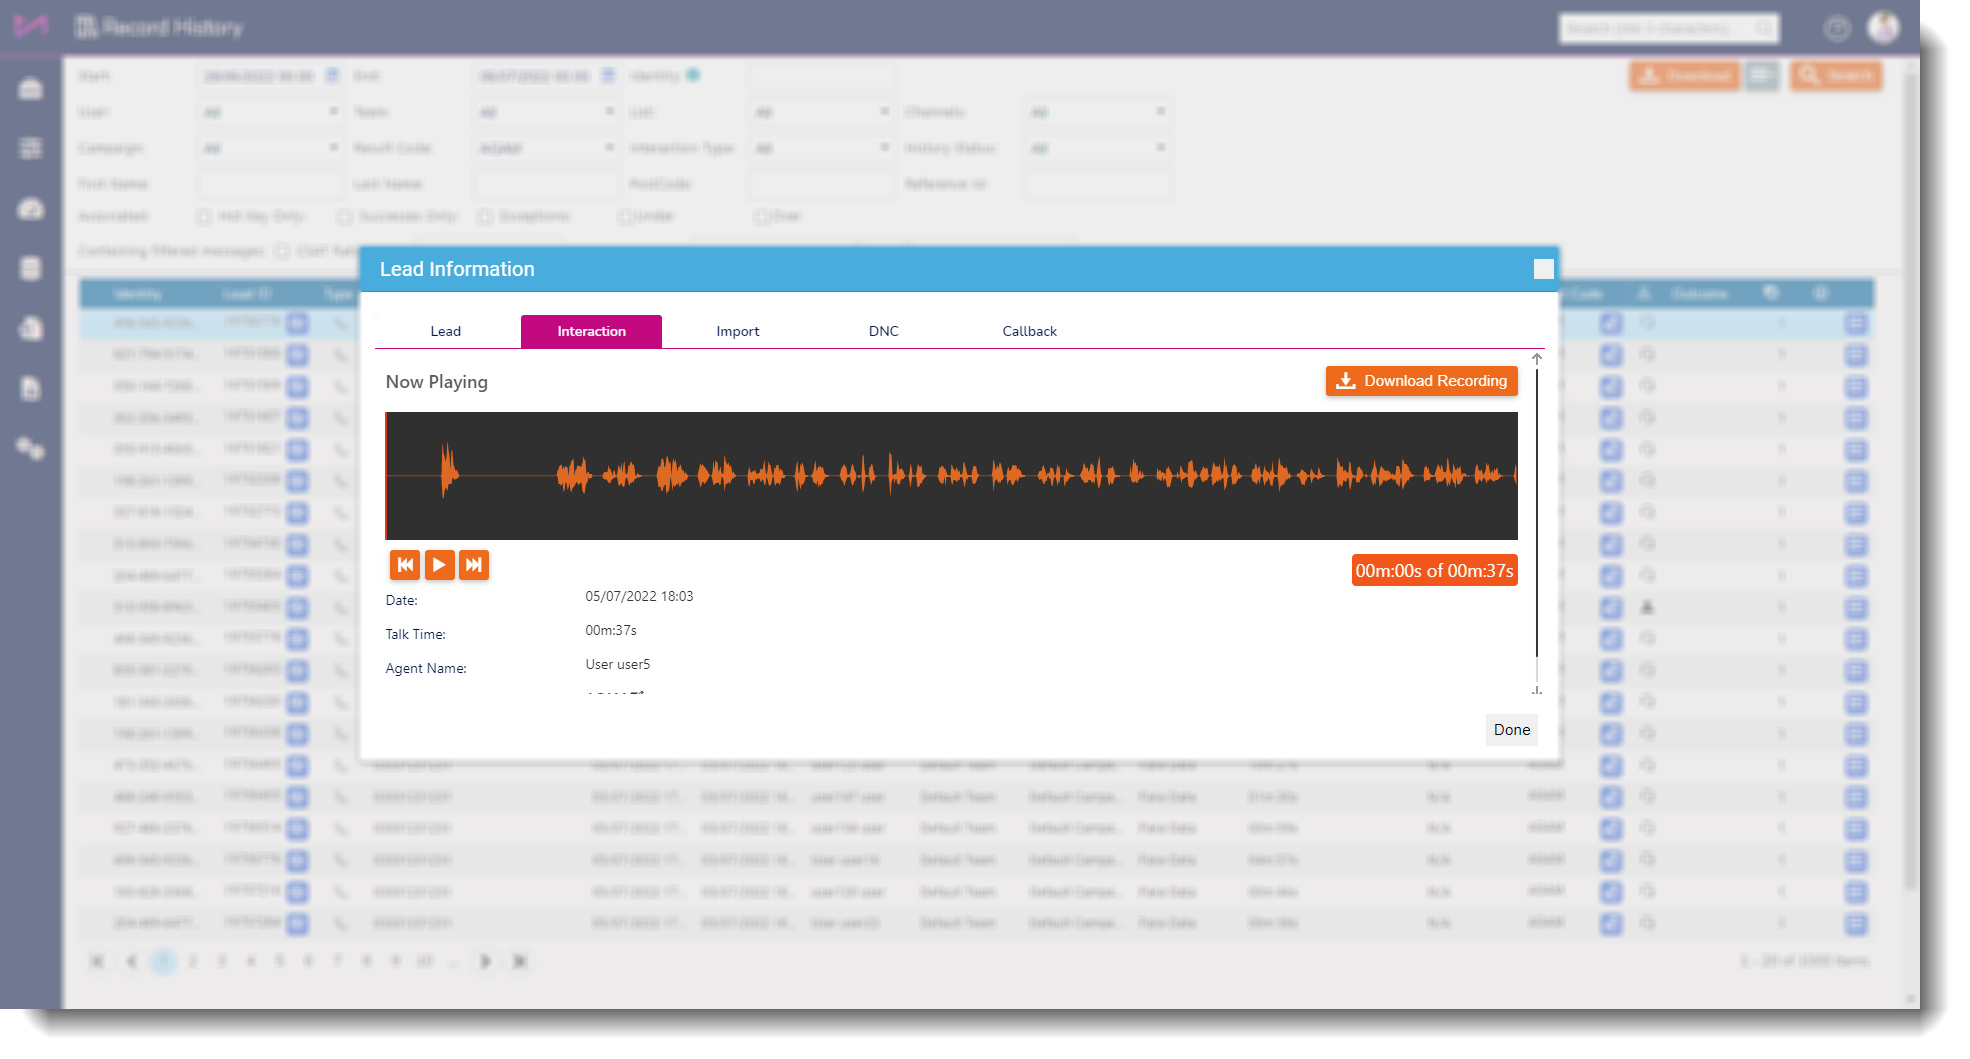
For more information on the Record History page, see this guide.