
How to Set Up Custom Data Fields for Email Signatures
If you're using email as part of MaxContact, you can create custom email signatures for your users via the CTU page. Once entered, this information can be added to your email templates, for emails sent from scripts, and populates automatically on the email sent to the customer.
Entering custom data for a user
- Go to the CTU page and select the user you want to add signature data for.
- Select the Custom Data tab.
- Complete the relevant custom fields.
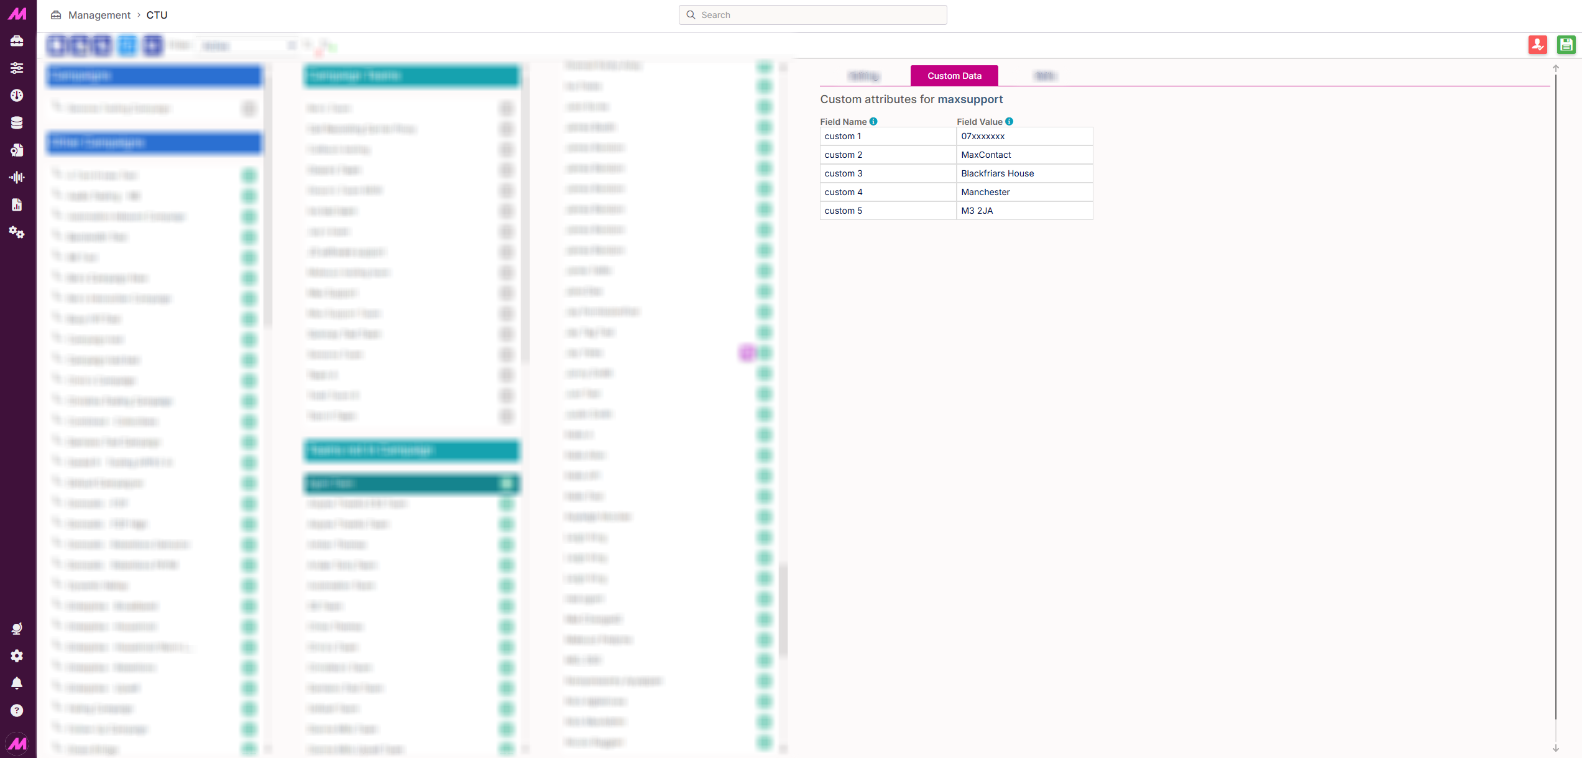
- Select Save.
Note. Repeat this for every user you want signature data to appear for, and make sure you save after editing each one.
Adding the fields to an email template
- Go to Admin > Channels > Message Templates. See Message Templates for more on creating templates if you don't already have one to edit.
- Select the template you want to add the signature to, and select Edit.
- Select the text area where you want the signature to appear.
- Select the fillpoint button, then select Custom User Data from the list of data tables.
- Select the field you want to insert. This adds the fillpoint into the template text.
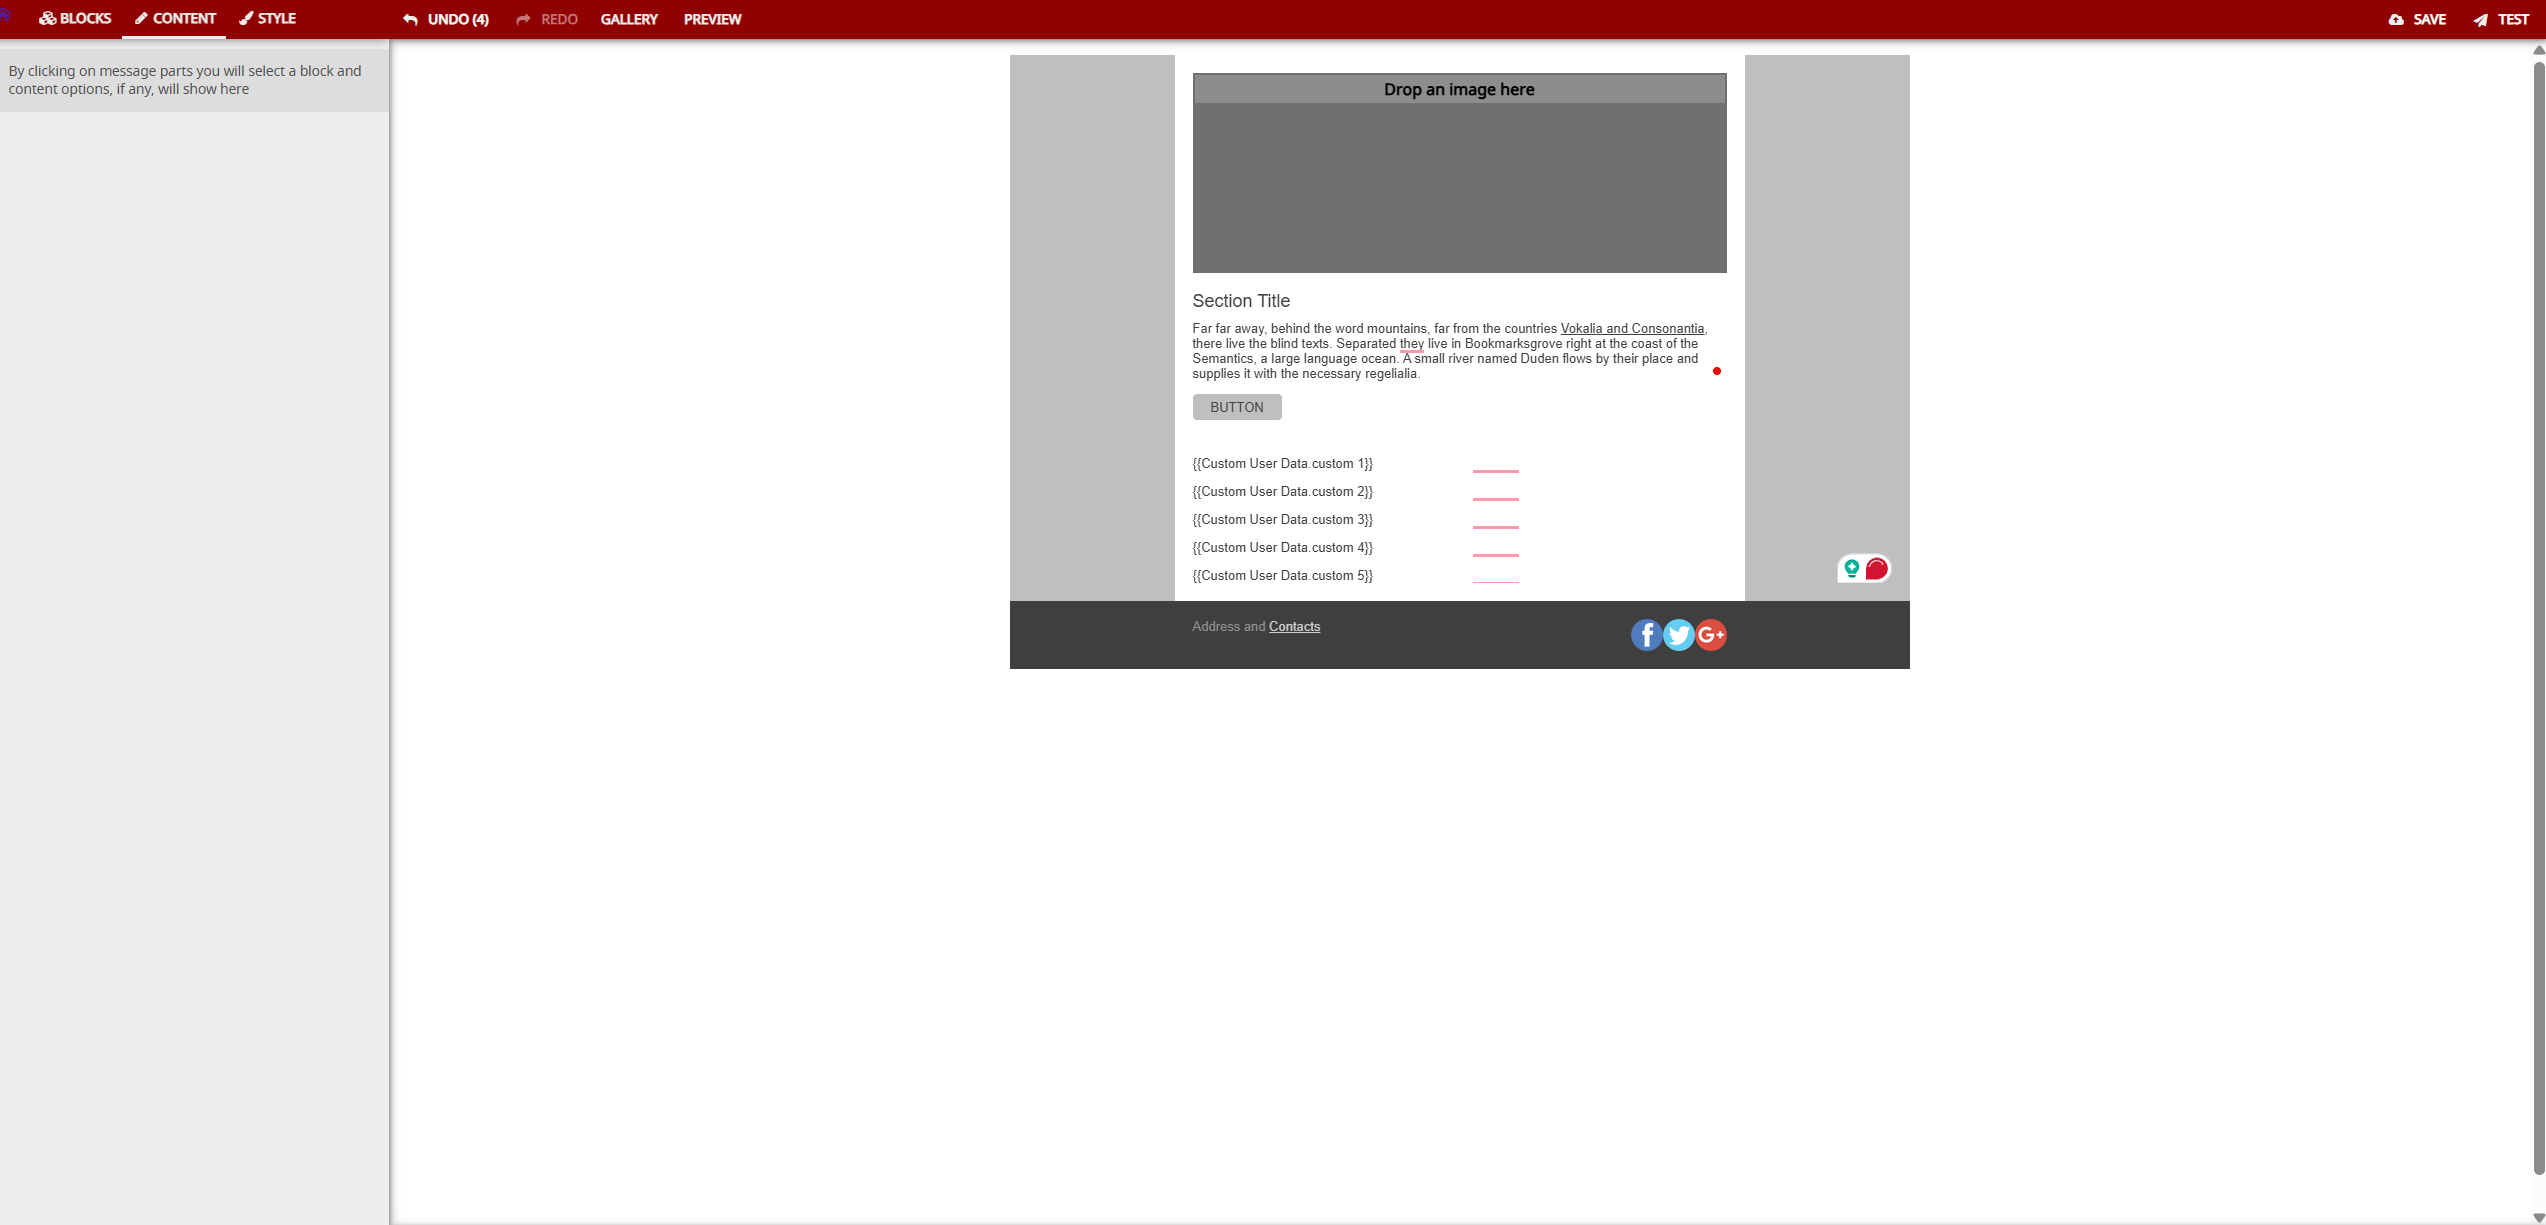
- Repeat for each custom field you want included in the signature.
Note. If a field is left blank on the CTU page but its fillpoint is used in the template, the customer sees an empty line in that spot rather than the line being removed.
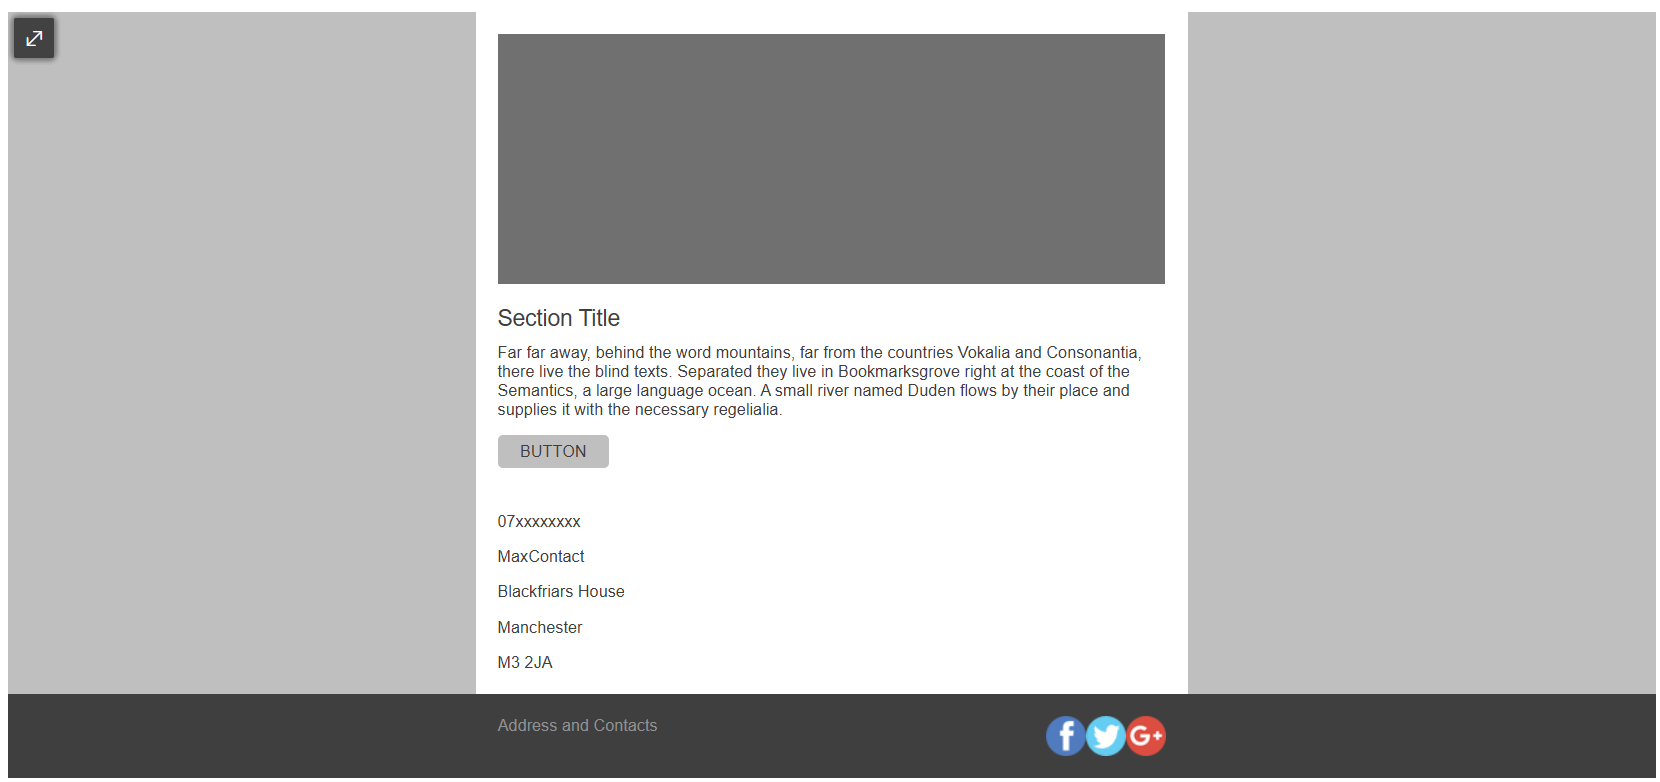 Result
When a user replies to an email using this template, or sends an email from a script using it, the customer sees the custom data entered on the CTU page for whichever user sent the email.