Overview
List Data Manager lets you move, deactivate, reactivate, and reassign skill groups on leads that have already been loaded into the system. You can apply a wide range of filters, from simple quick actions to advanced rule-based criteria, to target exactly the data you need.
To access it, go to Data > Data Handling > List Data Manager.
Note. The data shown on this page reflects what is loaded into each list, not what is currently eligible to dial. It is a snapshot taken at the time the page loads. If data is being imported regularly, use the Refresh button periodically to update the figures.

Page controls
| Control | Description |
|---|---|
| List filter | Filters which lists appear in the Available Lists panel. Five options are available: Active (default) shows lists with the Active checkbox ticked in List Admin. All shows every list on the system. Running shows lists currently under a running campaign. Not running shows lists not currently under a running campaign. Inactive shows lists which are marked inactive in List Admin. |
| Max leads per list | Limits the number of records affected per list when running a move, deactivation, or reactivation. For example, entering 10,000 on a list of 100,000 records will only affect the first 10,000. Useful for processing large imports in batches. |
| Action | Sets what will happen to the filtered leads. See the Actions section below for full details of each option. |
| Advanced filter | Switches the filter panel between the default quick actions view and the advanced rule builder. See the Filters section below. |
| Refresh | Updates the lead counts across all lists to reflect the latest data. Only appears once a filter has been applied. |
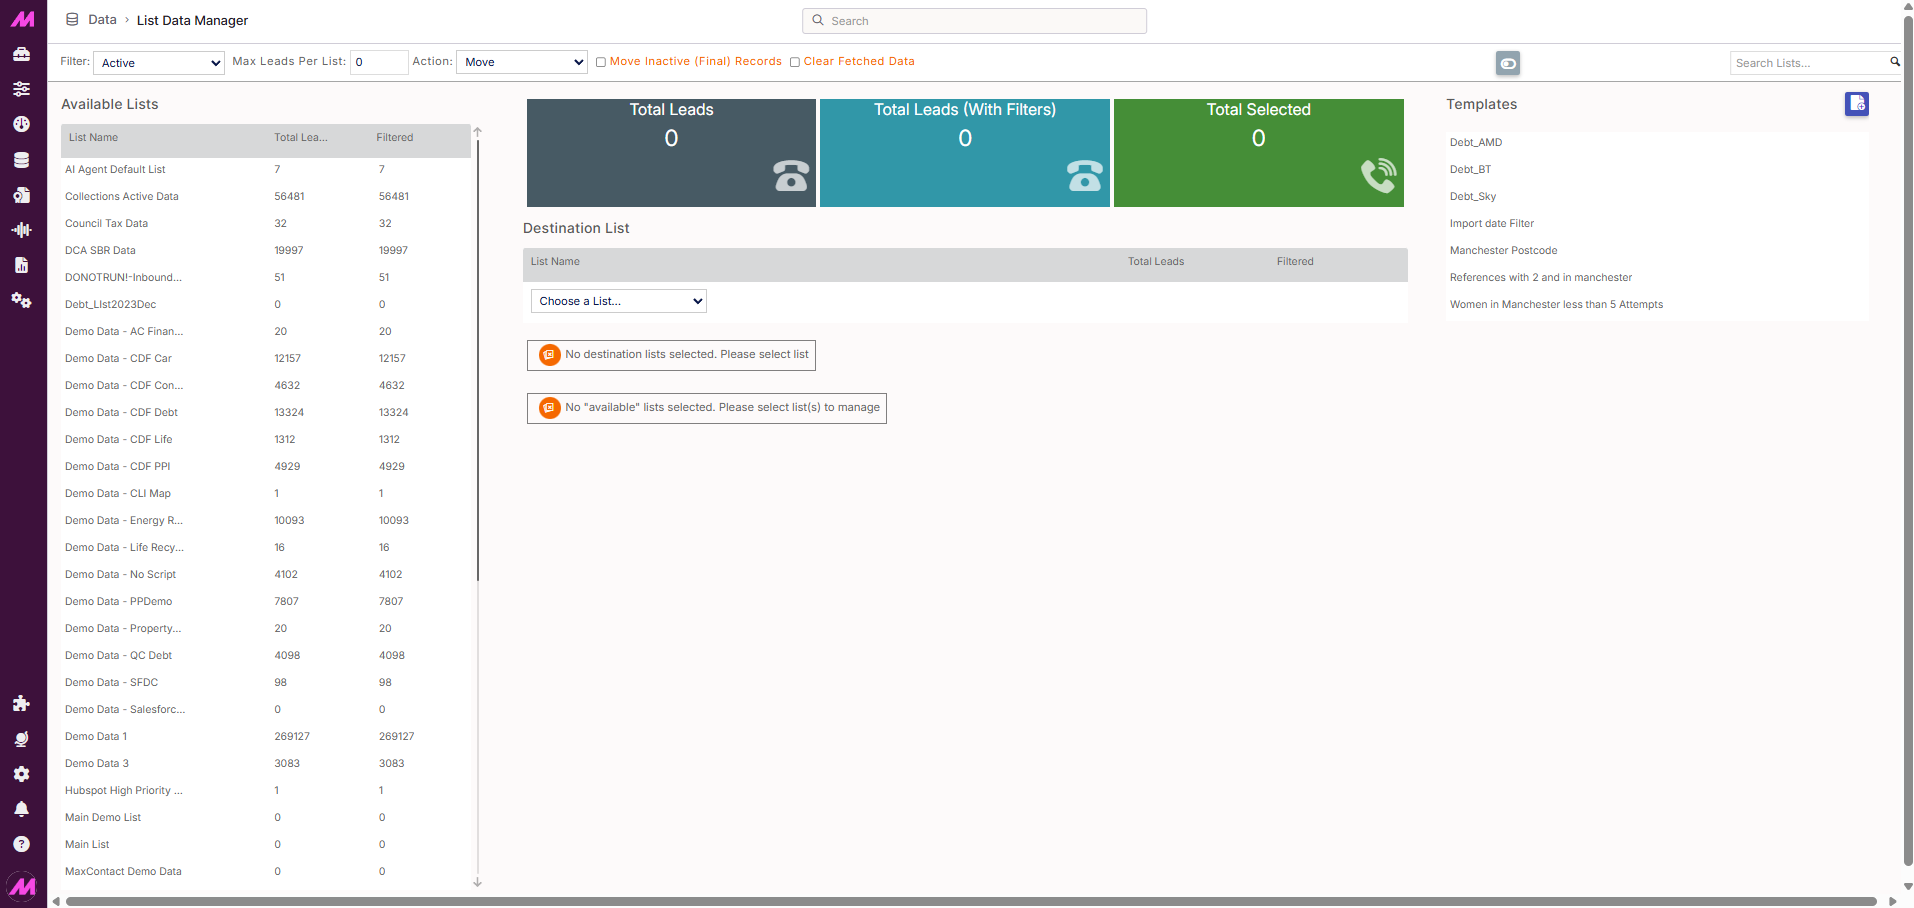
Page layout
Available lists
The left-hand panel shows all the lists that match your selected filter, along with the total number of leads in each and the number that meet your current filter criteria. When you first open the page with no filter applied, both figures will match.
Click a list to select it and it will highlight. Click again to deselect. There is no limit on how many lists you can select at once.
Lead figures
The boxes in the centre of the page show the volumes of data you are working with based on your current list selection and filter. These update as you add or adjust filters, giving you a live count of how many leads will be affected before you run the action.
Templates
Templates save your current filter and action settings so they can be reused in future. Once saved, selecting a template automatically applies all its settings. This is particularly useful for tasks you run on a regular basis, such as moving leads from a specific postcode area or filtering by a particular result code.
To create a template, configure your filters and action settings, then click Save template and give it a name. To use an existing template, select it from the templates panel and the settings will populate automatically.
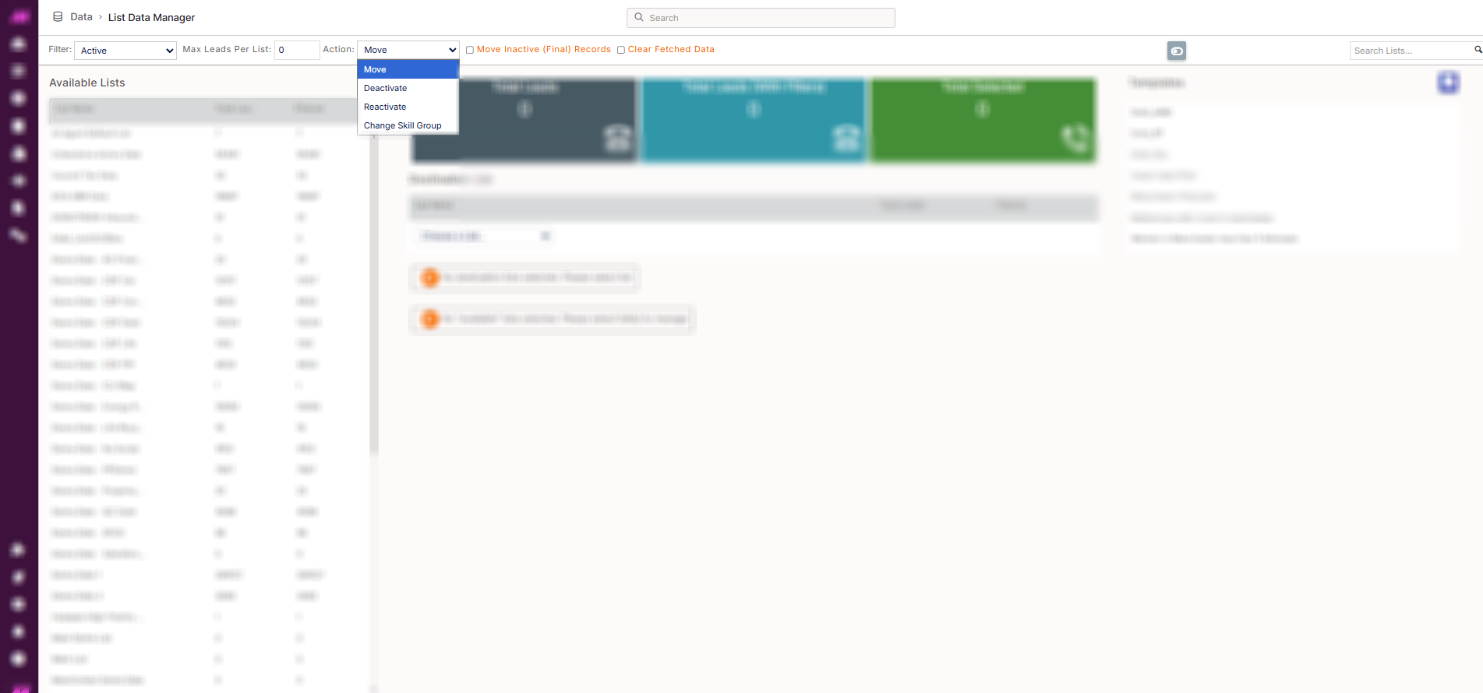
Actions
Select the action you want to perform from the Action dropdown before running List Data Manager.
| Action | Description |
|---|---|
| Move | Moves leads from their current list to a destination list. The lead is removed from the source list entirely and is not duplicated. A Destination List dropdown appears when this action is selected. Move inactive (final) records. When checked, leads that are currently marked as inactive will also be moved. When unchecked, only active leads are moved and inactive leads remain on the source list. Flush affected campaigns. When checked, removes any numbers in the selected data from the call buffer before the move takes place, preventing the system from dialling a number from the wrong list. |
| Deactivate | Marks leads as inactive so they are no longer called, without removing them from the list. This is reversible. Leads deactivated this way can be reactivated using the Reactivate action. Common uses include temporarily suppressing leads in a specific area, or removing low-quality data to improve conversion rates without permanently deleting it. Clear Fetched Data. When checked, removes the affected numbers from the call buffer before deactivation takes effect. |
| Reactivate | Reverses a previous deactivation, making leads eligible to be called again. This only works on leads that were deactivated using the Deactivate action on this page — it is not intended for leads that are inactive due to reaching max attempts or being given a final result code. To reset those, use the Lead Management page instead. Filters can still be applied — for example, you can reactivate only a portion of a larger deactivated dataset. |
| Change skill group | Updates the skill group assigned to leads on the selected list, either applying a skill group for the first time or changing an existing one. Used with Outbound Skill-Based Routing. All standard and advanced filters are available when using this action, so changes can be targeted to a specific subset of leads rather than the whole list. Clear Fetched Data. When checked, removes the affected numbers from the call buffer before deactivation takes effect. |

Filters
There are two filter modes: Quick Actions (default) and Advanced. Switch between them using the filter toggle button at the top of the page.
Quick Actions (default filter)
The quick actions view offers a set of predefined filter options for common use cases.
| Filter | Description |
|---|---|
| First X leads | Selects the first X leads from each selected list. Leads are ordered as they appear in the database, with the oldest imported records first. Entering 999 would select the first 999 leads from each selected list. |
| Supplier | Filters leads by the supplier assigned at the point of import. Using meaningful supplier names when importing (such as a month and year, or a data source name) makes this filter particularly useful for quickly targeting specific batches of data. |
| Postcode | Filters by the Primary Mapping Postcode field. Partial matches are supported: entering "M" returns all records with a postcode beginning with M; entering "M2" narrows it further. This field must have been mapped during the original import for data to appear here. |
| Reference ID | Filters by a custom reference field, typically populated with a CRM reference number or similar identifier at the point of import. The value here depends entirely on what was loaded. |
| City | Filters by the city field. Works the same way as postcode — partial matches from the start of the city name are supported. Note that the match starts from the beginning of the string, so "Man" would return Manchester and Mansfield but not Greater Manchester. |
| Result code | Filters leads by their last result code. All result codes on the system are available in the dropdown, including system-generated ones. Useful for targeting leads with a specific outcome for moving or reactivating. |
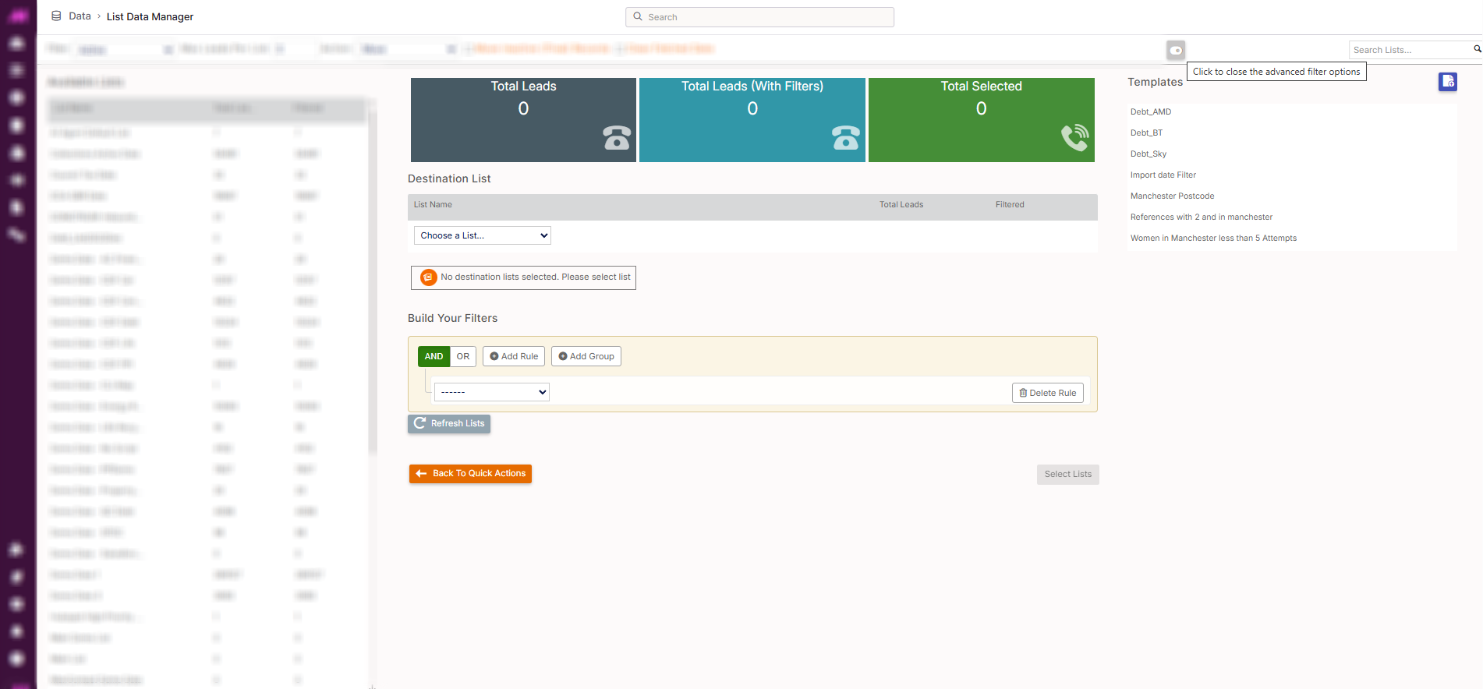
Advanced filter
The advanced filter gives you full flexibility to build multi-criteria rules using any field that has been mapped into the system during import, including both primary and secondary (custom) fields, as well as system fields like total attempts and last result code.
| Control | Description |
|---|---|
| AND | All rules must be met for a lead to be included. For example, City equals Manchester AND Total Attempts less than 5 returns only leads in Manchester that have been called fewer than five times. |
| OR | Leads matching any of the rules are included. Most useful when applying multiple values to the same field, for example where Last Result Code equals No Answer or Last Result Code equals Answer Machine. |
| Add rule | Adds another filter condition to the current set. There is no limit to the number of rules that can be applied. |
| Add group | Adds a grouped set of rules, allowing you to combine AND & OR logic in the same filter. For example: (City = Manchester AND Attempts < 5) OR (City = Liverpool AND Attempts < 3). |
| Delete | Removes a filter rule from the current set. |
| Back to quick actions | Returns the filter panel to the default quick actions view and clears any advanced rules or templates currently applied. |