This guide provides step-by-step instructions on how to enable the new Contact Hub for users. It explains that the new Contact Hub can be enabled on a per user basis, allowing users to gradually adapt to the change. The guide includes instructions on creating/modifying a user plan, assigning the plan to users, and the user action required to see the new Contact Hub.
TABLE OF CONTENTS
The following actions can only be performed when the Contact Hub Beta has been enabled on your portal. Contact the MaxSupport team or your Account Manager for this to occur.
Tip: The Contact Hub is enabled on a per user basis. This is so you can get people used to the change rather than be forced to have it across the board from 'day one'. This will also give you chance to see how you will use it alongside your current processes, and explore the new improved features available before pushing it to all Users.
Create/Modify a User Plan
1. In order for users to access the new Contact Hub, they must have a User Plan assigned to them allowing access. Here's how to setup that plan and assign it to Users.
2. Navigate to the "Plans" page.

3. Select "User" from the list of available Plan types.

4. Select a Plan you wish to have the new Contact Hub switched on (This can be an existing plan or you could create a new plan if required).

5. Click the checkbox for Beta Contact Hub Experience.

6. Save the changes to the Plan.

Apply a Plan to Users.
7. Navigate to the CTU page."CTU"

8. Find the User(s) you wish to assign the Plan to and select them.

9. On the Editing tab, go to the Plan dropdown and select the Plan you just edited/Created.

10. Save the changes.

User action following change
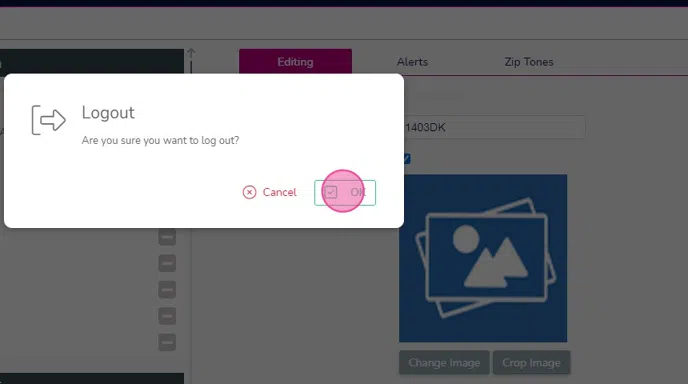
11. Any Users affected by the change would have to log out and back in again to see the new Contact Hub.
12. They will then be presented with the Contact Hub "Join a Campaign" screen upon login.
