Queues
The Queues page is where you create and manage the queues used to route inbound calls and digital interactions to your agents. Queues let you group agents by skill, channel, or department so that the right people receive the right contacts.
To access it, go to Admin > General > Queues.
You can create queues for inbound calls, for digital channels such as email, SMS, webchat, and WhatsApp, and for transfer destinations. There is no limit to the number of queues you can create.
Page controls
| Control | Description |
|---|---|
| New queue | Creates a new queue. |
| Clone queue | Creates an exact copy of the selected queue. |
| Filter | Filters the queue list by User, Team, or Channel. |
| Clear filters | Removes any active filters and returns the full queue list. |
| Status filter | Filters the queue list to show All, Active, or Inactive queues. |
| Type filter | Filters the queue list by queue type: All, Call, Email, Chat, SMS, WhatsApp, Facebook Messenger and SMS Conversational |
| Save | Saves any changes made on the page. |
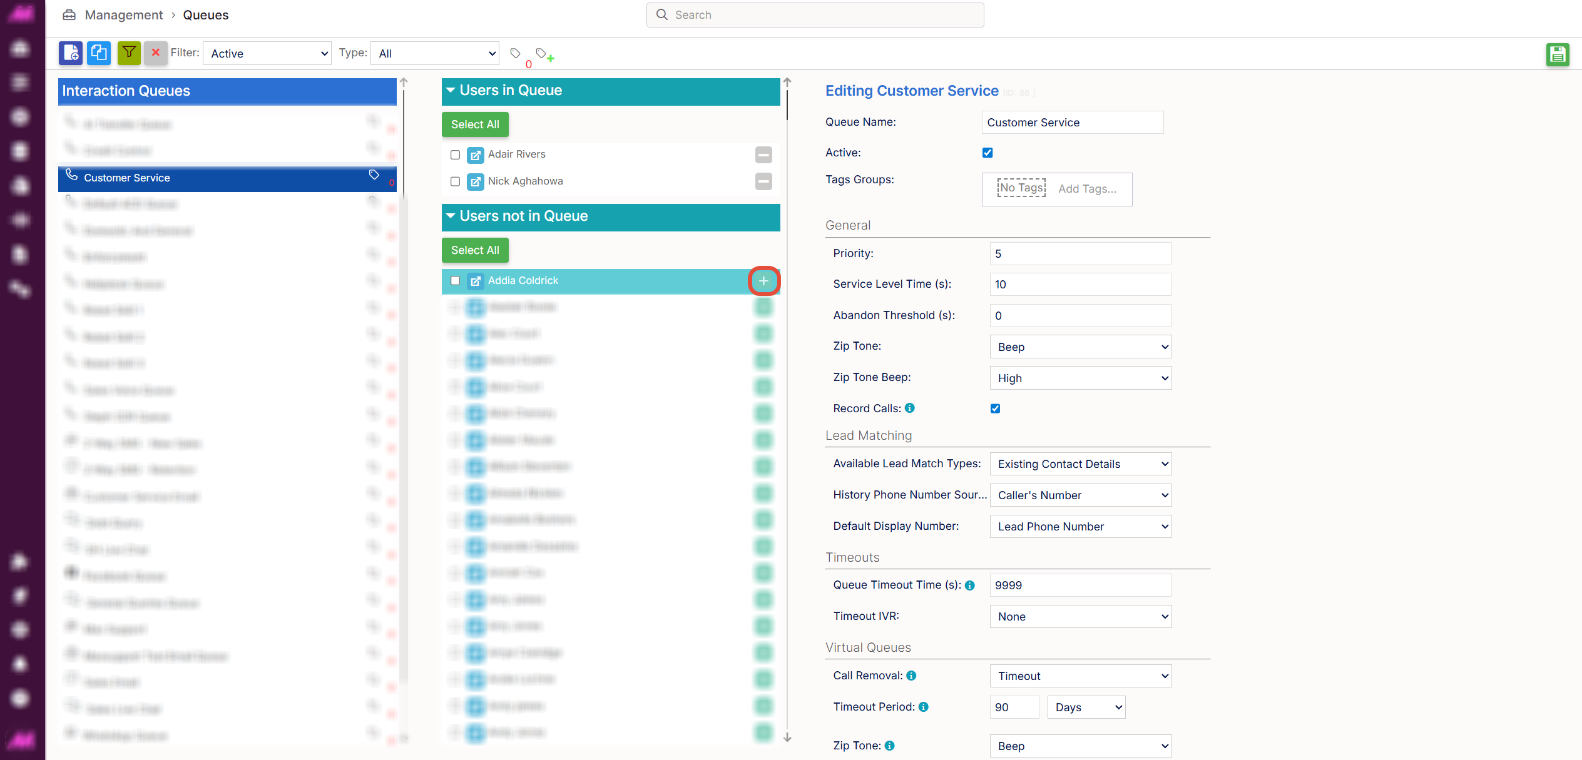
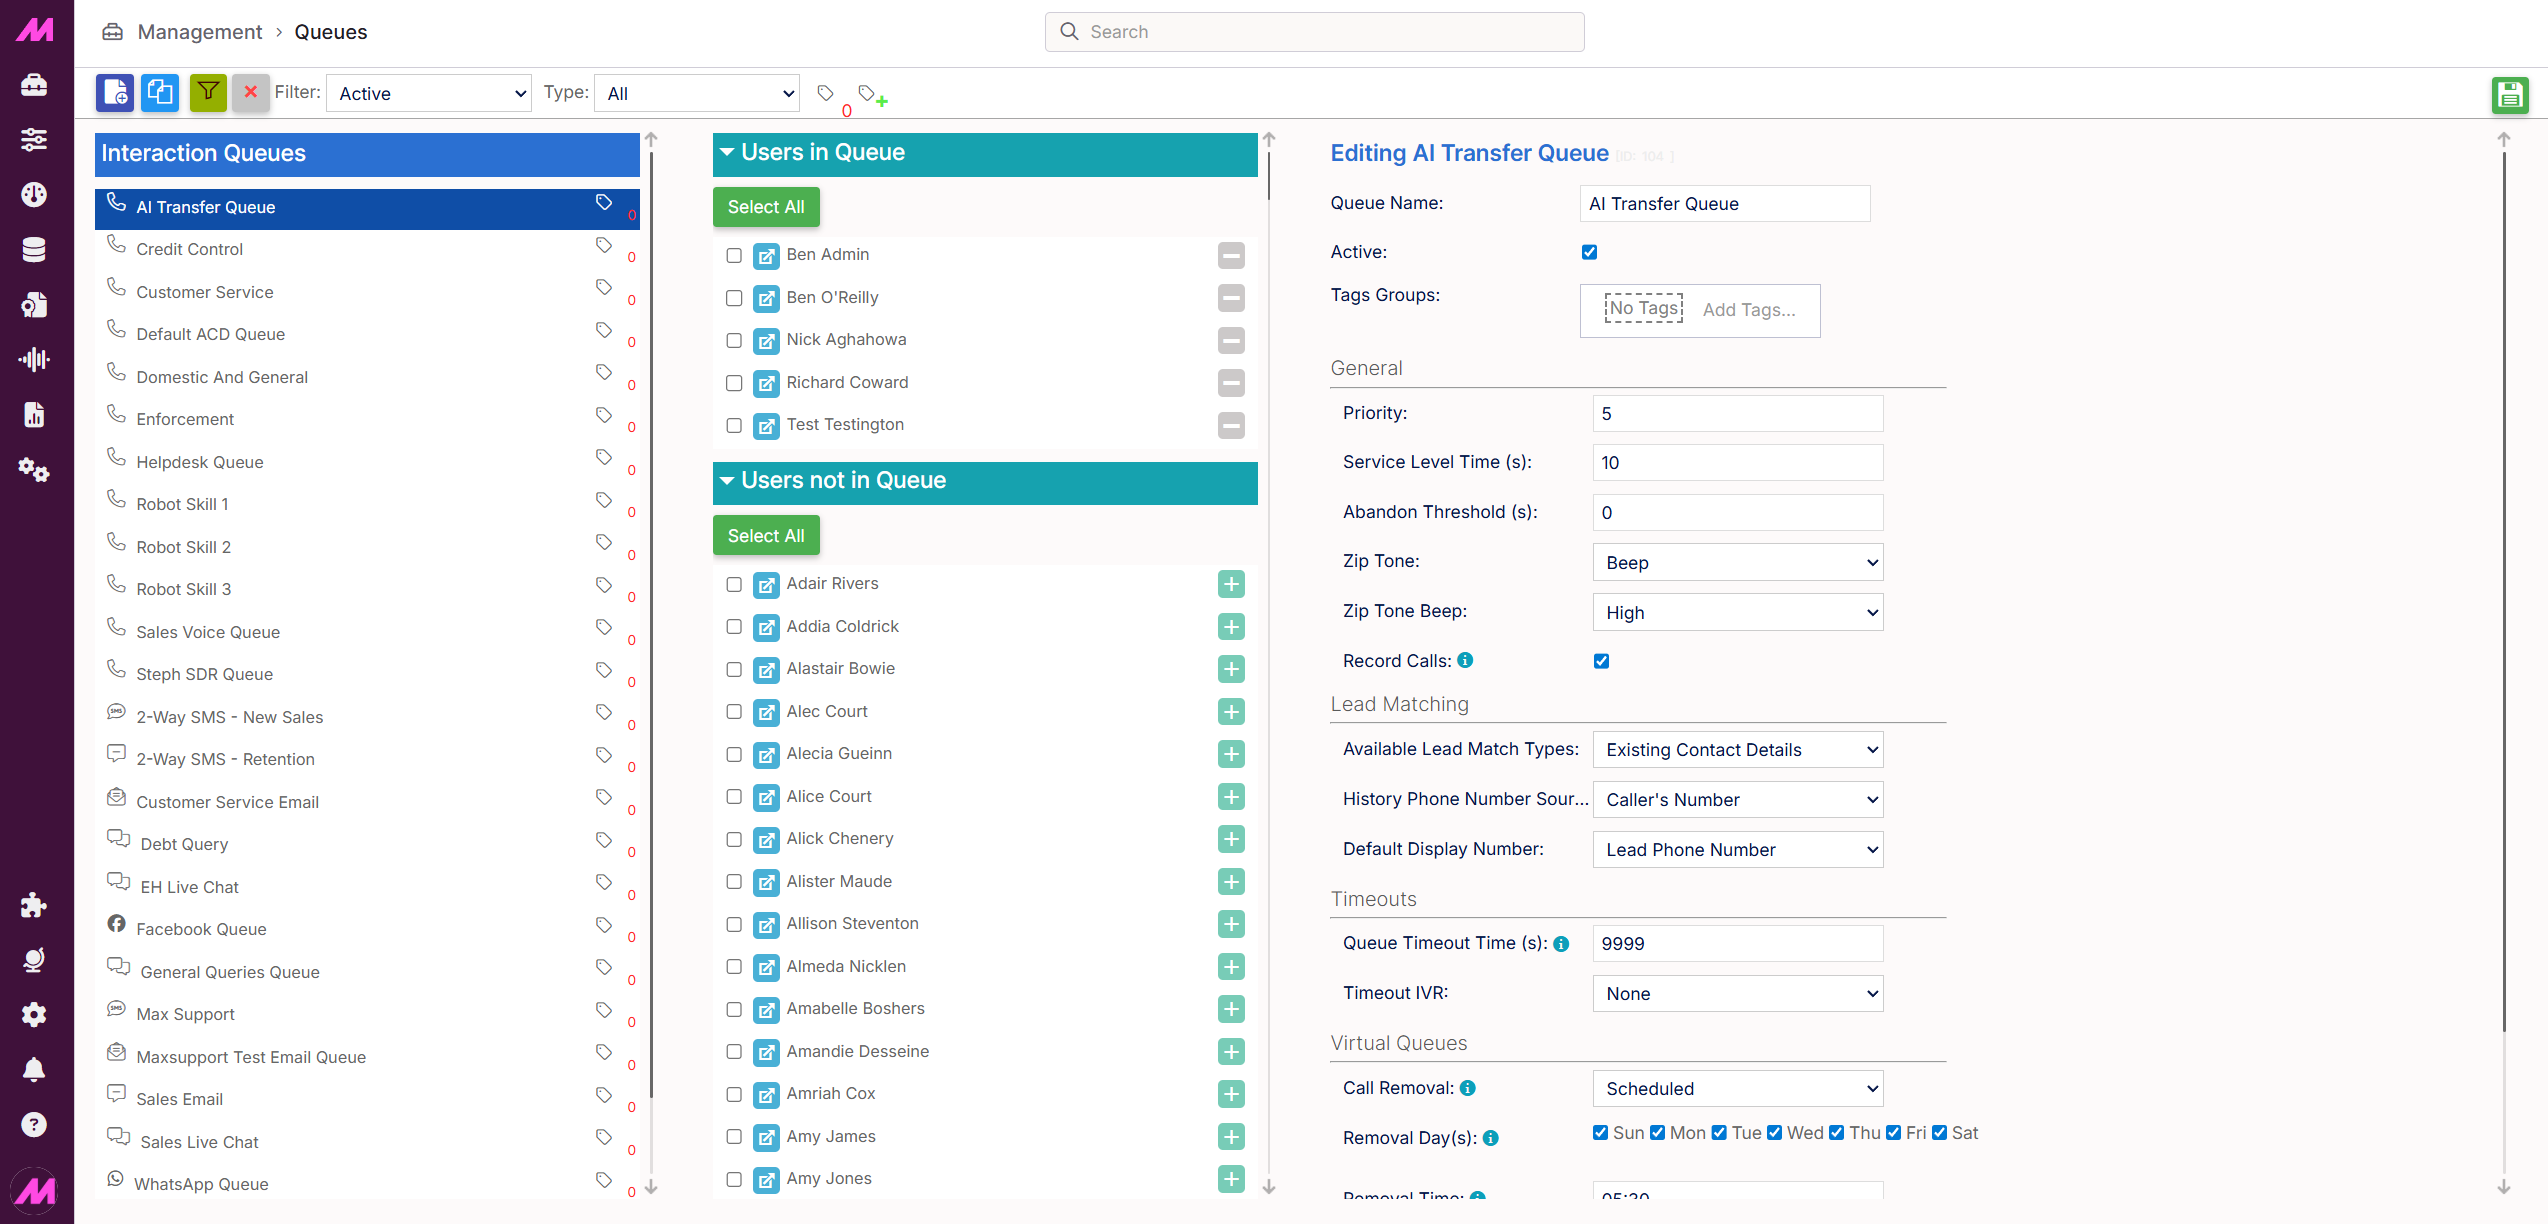
Allocating users to a queue
Select a queue from the list on the left to view its members. The middle column shows agents currently in the queue at the top, with agents not yet assigned displayed below.
Select the + icon next to an agent to add them to the queue, or the - icon to remove them. To move multiple agents at once, select the tick boxes next to the required users and choose Assign selected.
When adding users, you will be prompted to choose between a permanent or temporary assignment. Temporary assignments are removed automatically at midnight on the day they were made. This is useful for managing high demand on a specific queue without making permanent changes.
Call queue settings
Select a call queue and open its settings panel to configure the options below.
General
| Field | Description |
|---|---|
| Queue name | The name of the queue. |
| Active | Toggle to make the queue active or inactive. Inactive queues are hidden from the default view and cannot be used, but are not deleted and can be reactivated at any time. |
| Priority | This is a legacy field and does not currently affect queue priority. Queue priority is now configured via the Queue element in the IVR Builder. |
| Service level time (secs) | The target time in seconds within which calls should be answered. Used for SLA reporting. |
| Abandon threshold (secs) | The minimum time in seconds a call must queue before it is counted as an abandoned call if the caller hangs up. |
| Zip tone | The audio alert played to the agent when a call is connected from this queue. Options are Beep, WAV file, or System default. Selecting Beep or WAV file reveals a further dropdown to choose the specific sound. Useful when agents handle multiple queues — a distinct audio cue helps them identify the nature of the incoming call. See the Zip Tones guide for more detail. |
| Record Calls | Controls whether calls to this queue are recorded. |
Tags
When tagging is enabled, you can apply tag groups directly to a queue. For more information, see Tagging — Where and how it affects the system.
Lead Matching
| Field | Description |
|---|---|
| Available lead match types | Controls what happens when an agent matches an inbound caller to a lead whose contact number differs from the number they called in on. Existing contact details — the inbound number is not added to the lead; callbacks default to the number already on the lead. New contact details — the inbound number is added to the lead; callbacks default to the new number. Both — the agent is given the choice whether to add the number or not at the time of matching. |
| History phone number source | Determines which number is stored in the history table when a call is matched to a lead. Caller's number (default) — stores the number the call came in on. Best for queues receiving direct customer calls. Lead phone number — stores the number recorded on the matched lead. Best for queues receiving transfers, where the caller's number would be the transfer source rather than the customer's own number. |
| Default display number | Only available when Caller's number is selected above. Sets which number is displayed to the agent in Contact Hub — the caller's number or the number on the lead. The other number remains accessible by hovering over the displayed number. |
Timeouts
| Field | Description |
|---|---|
| Queue timeout time (secs) | The maximum time in seconds a transfer call to the queue will wait before timing out. |
| Timeout IVR | The IVR the caller is transferred to when the queue timeout is reached — for example, a message advising high call volumes and asking them to try again later. |
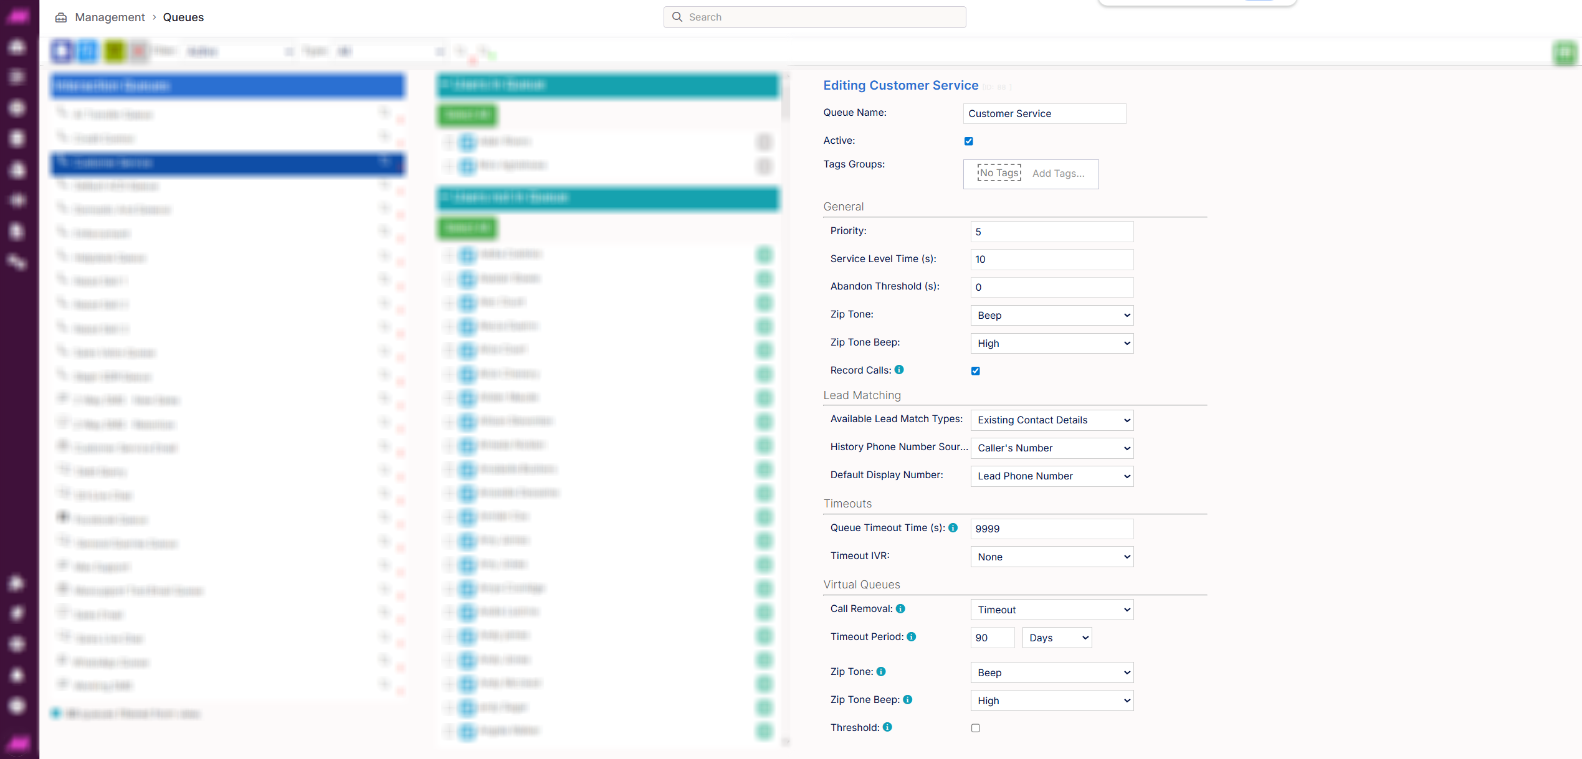
Virtual queues
| Field | Description |
|---|---|
| Call removal | Controls how virtual queue calls are removed from this queue. Removing a virtual queue call means the customer will no longer be called back. Can be set using Timeout or Scheduled options. |
| Scheduled | Sets specific days and times at which virtual queue calls are removed from this queue. |
| Timeout | Sets how long a virtual queue call remains in the queue before being removed automatically. |
| Zip tone | The audio alert played to the agent when a virtual queue call is connected, allowing them to differentiate it from a standard inbound call. Selecting Beep or WAV file reveals a further dropdown to choose the specific sound. |
| Threshold | When enabled, sets a limit on the number of inbound calls in the queue above which virtual queue callbacks are paused. Once the number of active inbound calls drops below the threshold, virtual queue calls resume. |
Interaction queue settings
Each interaction channel — email, SMS, webchat, and WhatsApp — requires its own dedicated queue. Select an interaction queue and open its settings panel to configure the options below.
| Field | Description |
|---|---|
| Queue name | The name of the queue. |
| Active | Toggle to make the queue active or inactive. Inactive queues are hidden from the default view and cannot be used, but are not deleted and can be reactivated at any time. |
| Channel | The channel associated with this queue. The channel must be created before it can be assigned here. Select the grey button to open the Channel Admin page directly. |
| Priority | Sets the priority of this queue relative to others. When an agent is logged into multiple queues, higher-priority queues will route interactions to them first. |
| Service level time | The target time within which interactions should be answered. Used for SLA reporting. |
| Abandon threshold | The minimum time an interaction must queue before it is counted as abandoned if the customer leaves the queue before receiving a response. |
Interaction routing
| Field | Description |
|---|---|
| Order | Determines the order in which interactions are assigned to agents. Replies first — reply interactions are assigned before new ones. Oldest first — interactions are assigned in the order they were received. |
| Wait for previous user | When enabled, reopened or replied interactions wait for the previous agent before being reassigned. When disabled, the interaction is first offered to the previous agent if they are available, then routed to the next available agent if not. |
| Wait time | Sets how long a reopened or replied interaction waits for the previous agent before being assigned to the next available agent. Useful for routing returning customers back to the same agent where possible. Note that a longer wait time may increase overall queue times. |
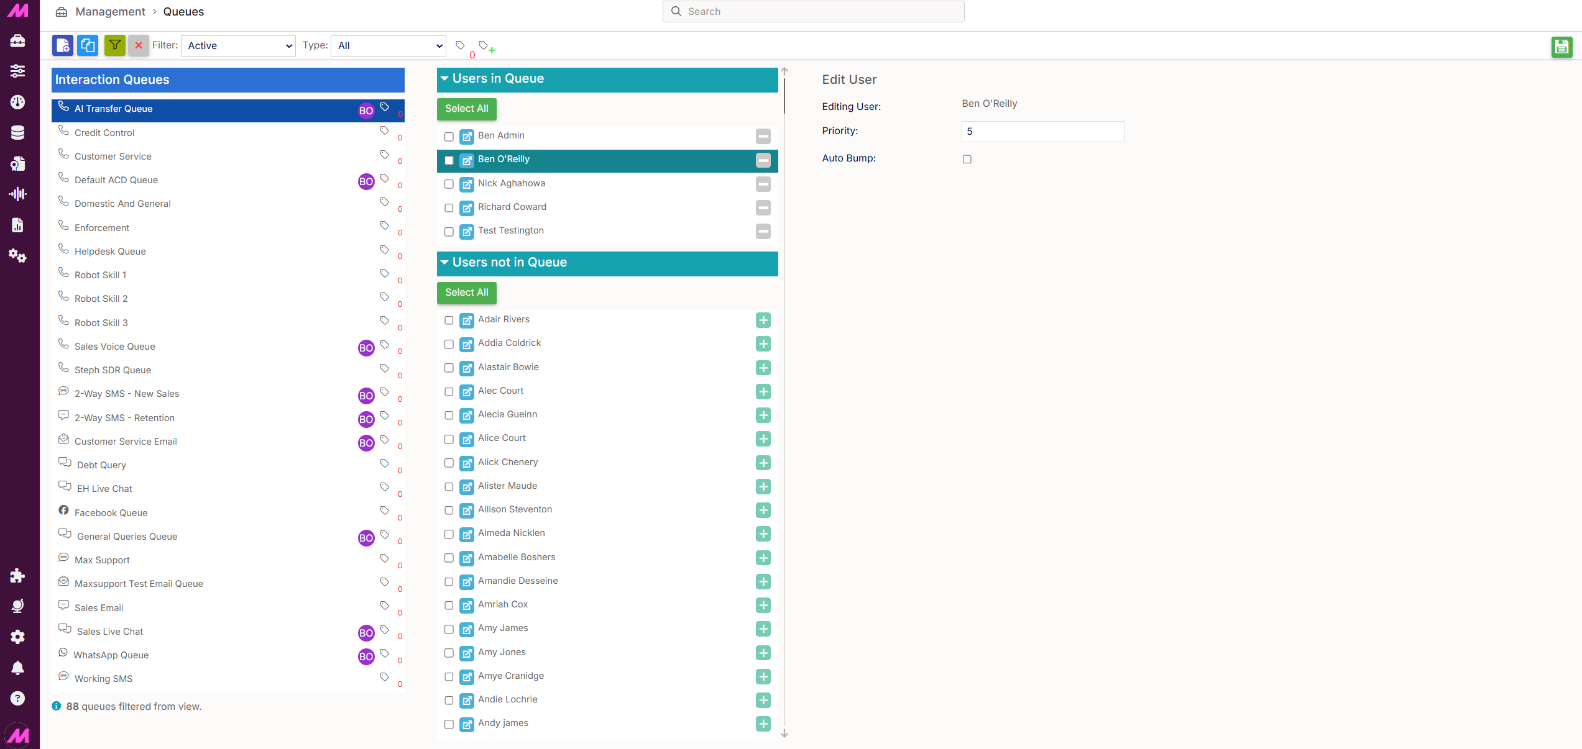
User settings
Select a user within a queue to view and edit their individual queue settings. The left-hand column will show an icon for each queue the selected user belongs to.
| Field | Description |
|---|---|
| Priority | Sets the user's priority within this queue on a scale of 1 to 10. The higher the number, the higher the priority for receiving calls or interactions. Default is 5. |
| Auto bump | When enabled, the user's priority is automatically increased at set intervals if they have not received a call or interaction. Enabling this reveals the Bump interval and Max bumps settings below. Once the user reaches the maximum priority level and receives a call, their priority resets to its original value. |
| Bump interval (secs) | The time in seconds between each priority increase. For example, a bump interval of 30 means the user's priority increases by 1 every 30 seconds they are waiting. |
| Max bumps | The maximum number of times the user's priority can be increased before it stops bumping. |