System Control
The System Control element allows you to trigger a system action from within the IVR flow. It is commonly used to start, stop, or pause a campaign, or to update a Switcher element — enabling automated control of your IVR routing without needing to access the system manually.
Connections
| Connection | Description |
|---|---|
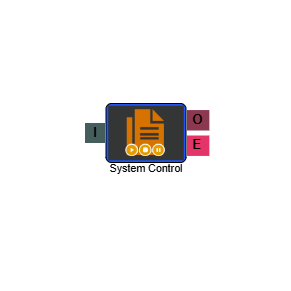
| I – Input | The entry point for this element. Connect from the preceding element in your IVR flow. |
| O – Output | The path taken when the action has been successfully executed. |
| E – Error | The path taken if the element encounters an error. |
Settings
| Field | Description |
|---|---|
| Name | Give the element a clear name so it is easy to identify within your IVR flow. |
| Description | Optional. Add a note to explain the element's purpose — useful in more complex flows. |
| Agent Can See This | When enabled, agents can transfer a live caller directly to this element via the IVR Transfer option. |
| Supervisor Can See This | When enabled, the element is visible in the IVR Transfer list for users with a Supervisor role. It remains hidden from all other users. |
| Result Code | Assign a result code to this element to track calls that pass through it. |
| Control Action | Select the action you want the element to perform. The available options are: Start Campaign, Stop Campaign, Pause Campaign, and Switcher Update. |
| Campaign | Select the campaign the action should be applied to. This field is shown when the Control Action is set to Start Campaign, Stop Campaign, or Pause Campaign. |
| Switcher Element | Select the Switcher element you want to update. This field is shown when the Control Action is set to Switcher Update. If you have multiple Switcher elements, make sure each is clearly named so the correct one is easy to identify here. |
| Switcher Route | Select the numbered path on the Switcher element that should become active when this element is triggered. This field is shown when the Control Action is set to Switcher Update. |