
Channels
The Channels page is where you create and manage the digital interaction channels on your system — email, webchat, SMS, WhatsApp, and Facebook Messenger. Each channel is configured individually, with its own settings controlling how interactions are received, routed, and handled by agents in Contact Hub.
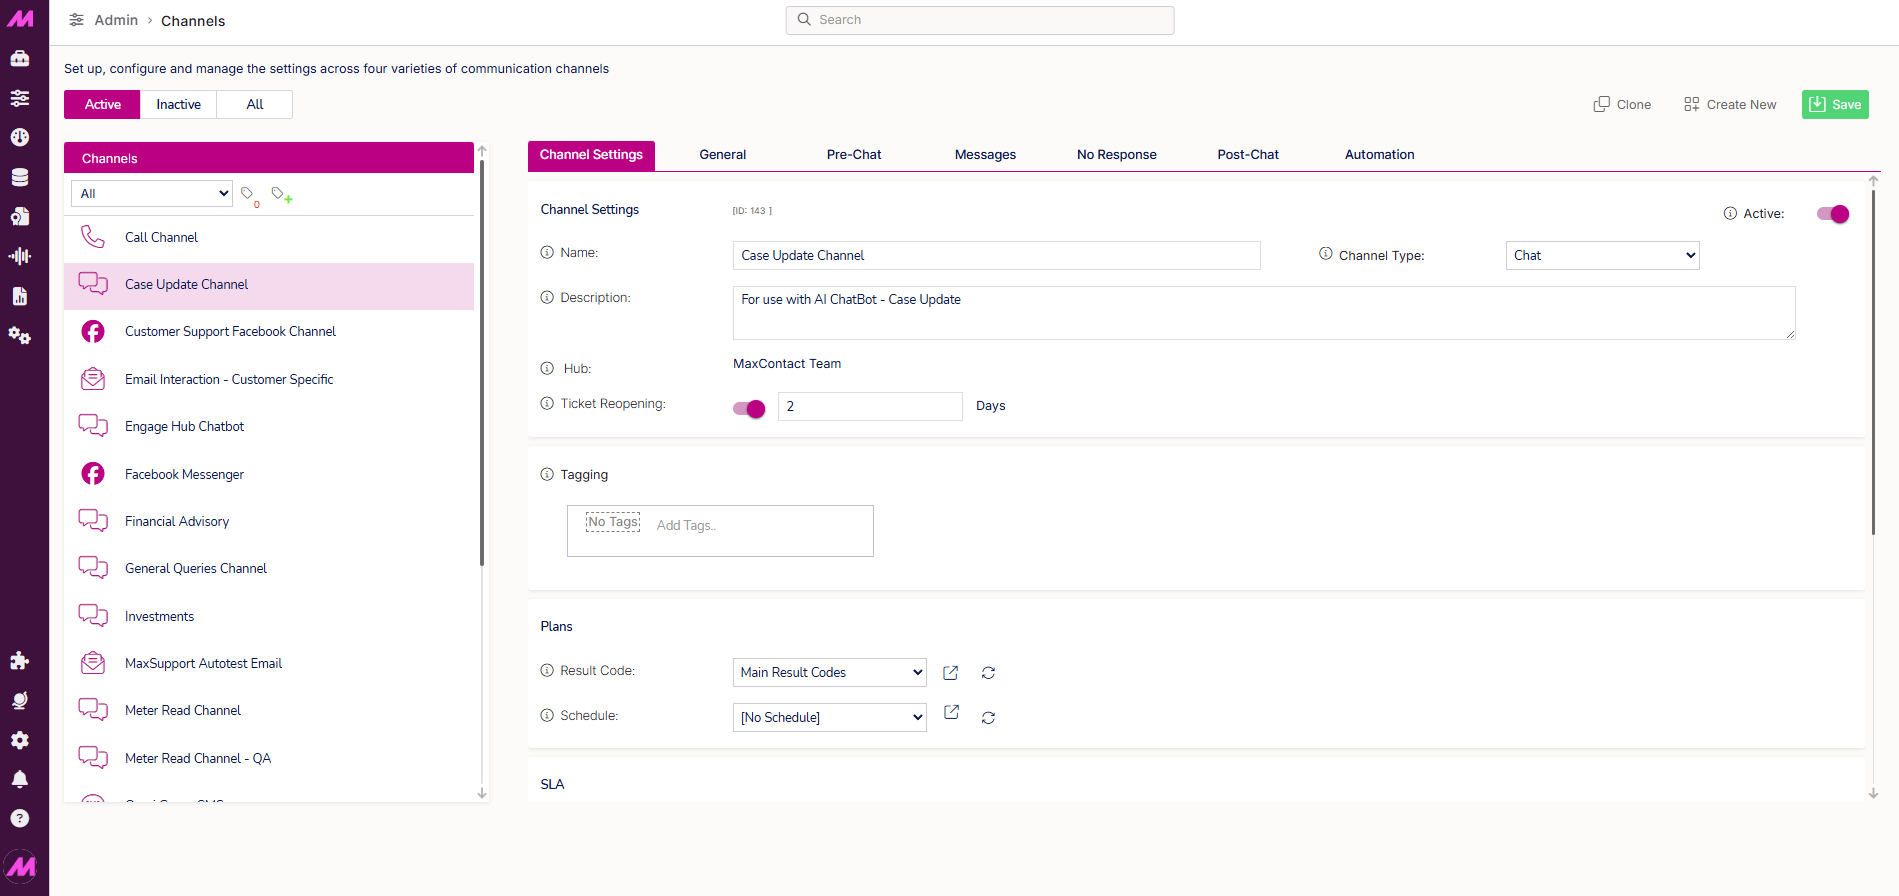
To access it, go to Admin > Channels > Channels.
Each channel type requires a dedicated queue in order to route interactions to agents. Queues are managed separately via Management > General > Queues. See the Queues article for more detail.
Page controls
| Control | Description |
|---|---|
| Active | Shows all channels currently active on the system. |
| Inactive | Shows all channels that have been made inactive. These are greyed out but can be reactivated at any time. |
| All | Shows all channels regardless of status. |
| Clone | Creates an exact copy of the selected channel, including all its settings. Useful as a starting point when creating a similar channel. |
| Create | Creates a new channel. You will be prompted to select the channel type before the configuration options are displayed. |
| Save | Saves any changes made on the page. |
Tagging
When tagging is enabled on your system, you can apply tag groups directly to a channel.
Three tag-related actions are available in the left-hand panel:
- Select the plus symbol next to a tag to assign it to a channel.
- Assign tags to a channel via the Settings tab within the individual channel configuration.
For more information on how tagging works across the system, see Tagging — Where and how it affects the system.
Channel types
Five channel types are available. Each has its own configuration options. Select a link below to go to the detailed configuration guide for that channel type.
| Channel type | Description |
|---|---|
| Webchat | Live chat interactions initiated by customers through a chat widget embedded on your website. |
| Inbound and outbound email interactions routed through a configured mailbox. | |
| SMS | Two-way SMS interactions between agents and customers. |
| Two-way conversations with customers through WhatsApp, via a connected WhatsApp Business account. | |
| Facebook Messenger | Two-way conversations with customers through Facebook Messenger, via a connected Facebook Business page. |