Message Templates
The Message Templates page is where you create and manage the email and SMS templates used across the system. Templates can be used in two ways:
- Assigned to Email Button or SMS Interaction Button fields in scripts, allowing agents to send pre-built messages to leads during a call.
- Assigned to email channels as the reply template, in-hours auto-reply, or out-of-hours auto-reply. See Email Channel Configuration Options for more detail.
To access it, go to Admin > Channels > Message Templates. You can also open it directly from the edit panel of an Email Button, Email Interaction Button, or SMS Interaction Button in the Script Editor using the Edit/Add template button, which opens the page in a new tab.
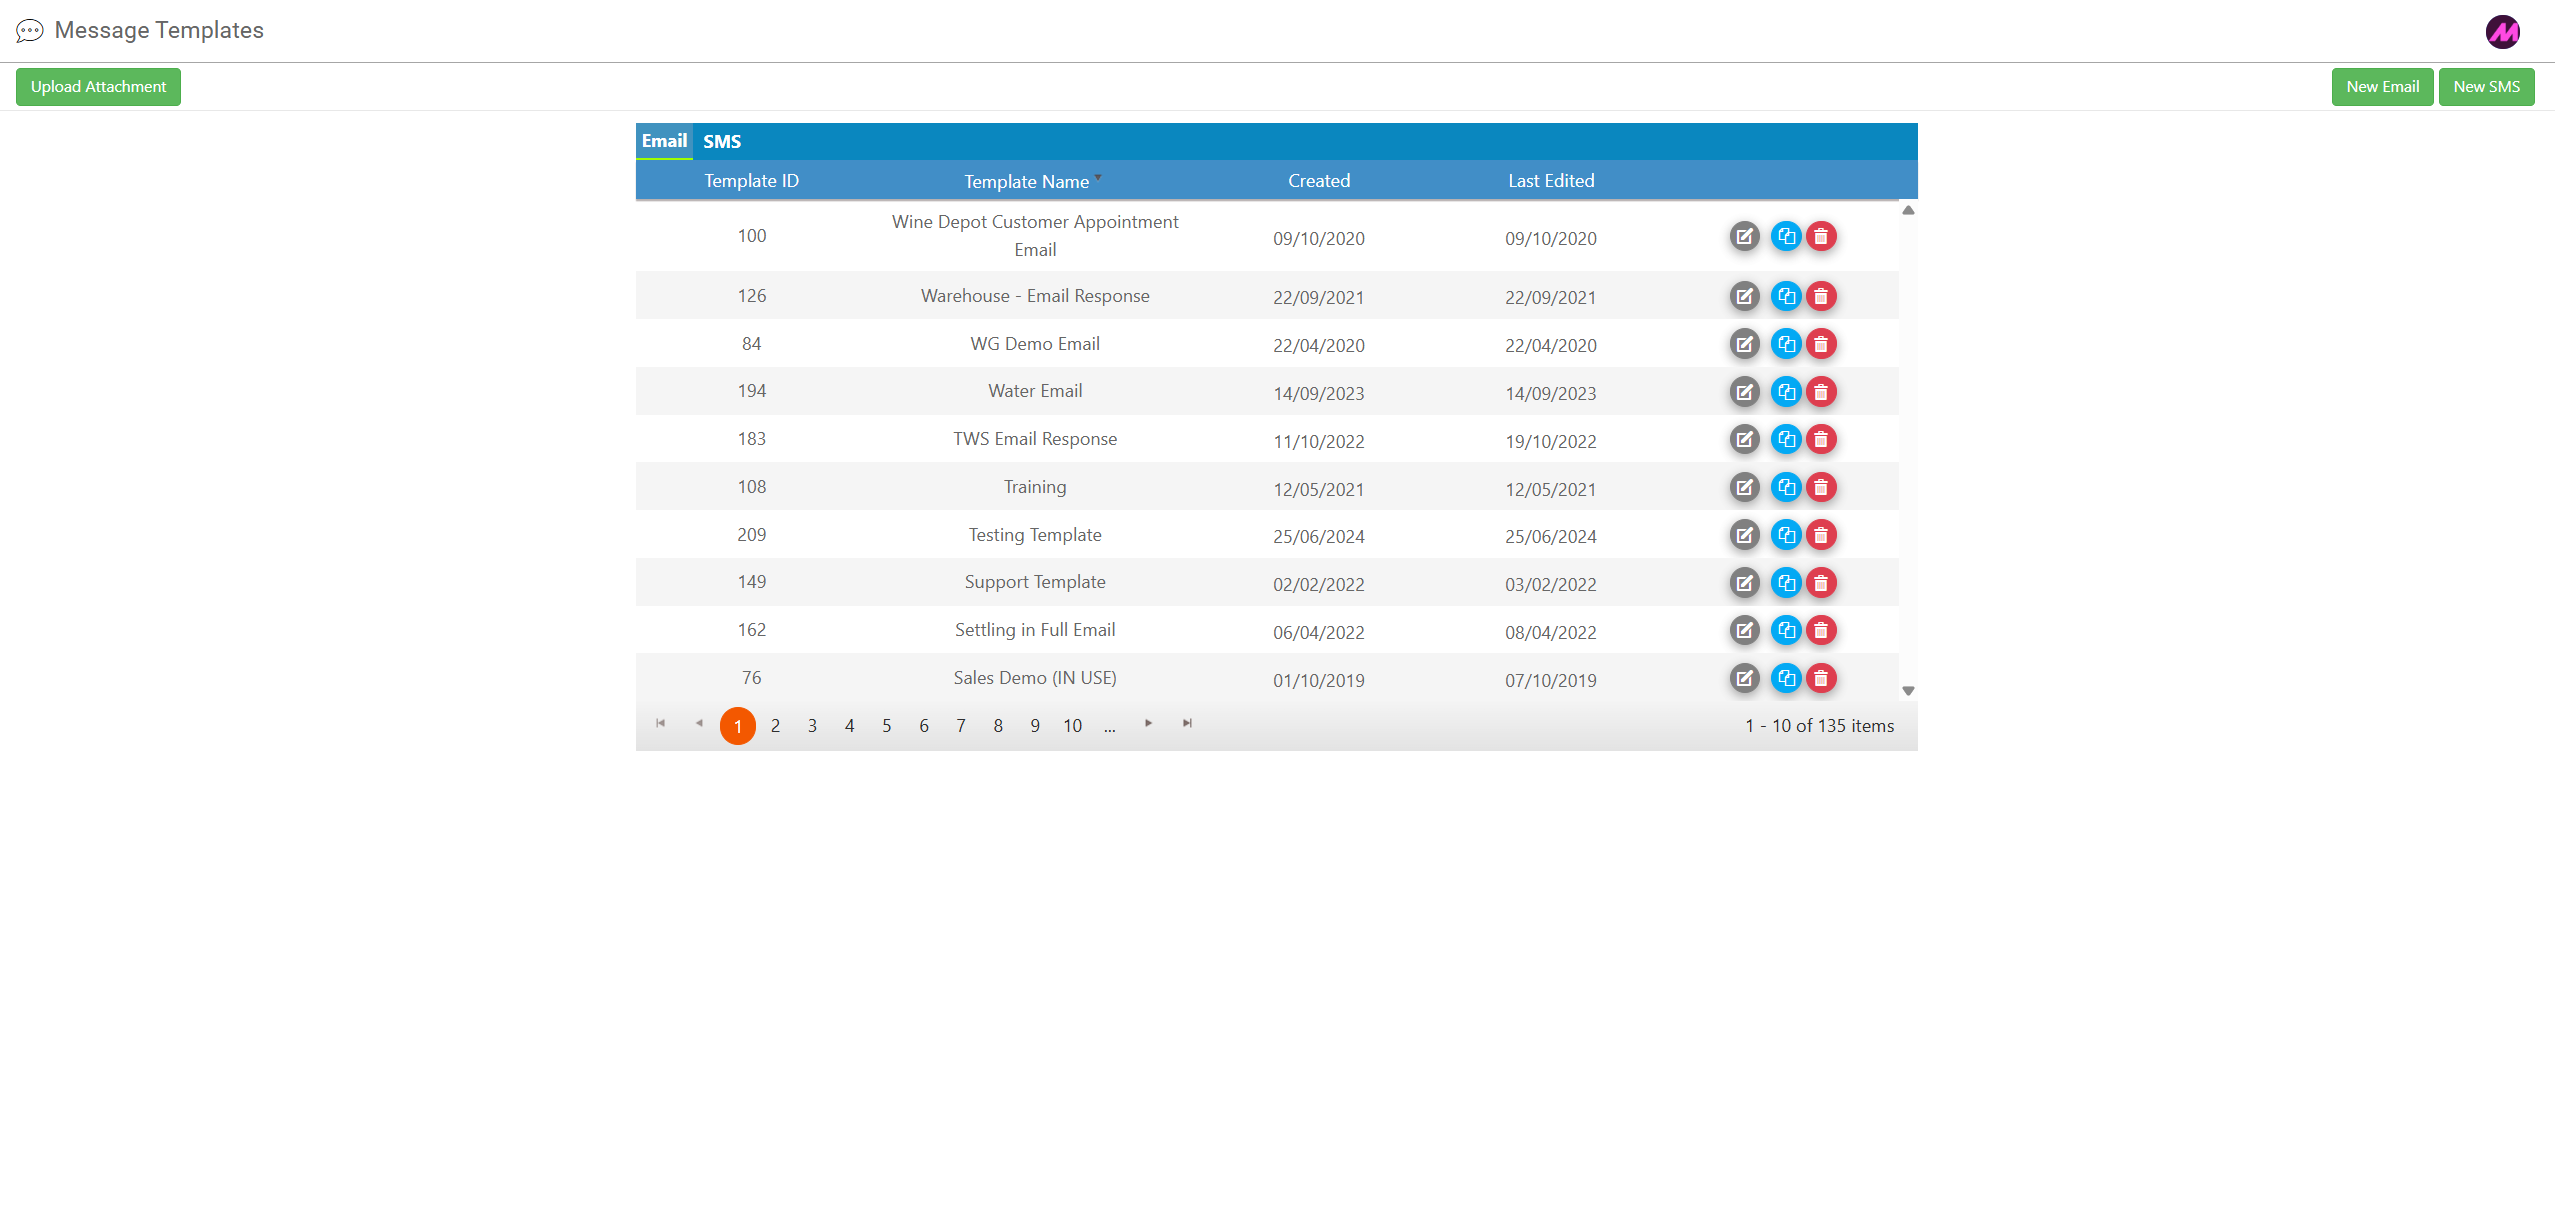
Page controls
| Control | Description |
|---|---|
| Email tab | Displays all email templates on the system. |
| SMS tab | Displays all SMS templates on the system. |
| Upload attachment | Uploads a file to the system for use as an attachment in email templates. Uploaded files are stored in the background and can be added to templates via fill points. |
| New email | Creates a new email template. |
| New SMS | Creates a new SMS template. |
| Edit | Opens the selected template for editing. |
| Clone | Creates a copy of the selected template. |
| Delete | Deletes the selected template. |

Creating and editing email templates
Select New email or the edit icon on an existing template to open the email template editor. The editor uses a drag and drop block system — content blocks are listed in the left-hand panel and can be dragged onto the canvas in any order.
Block types
Each block represents a content section of the email. Available block types include text, images, and buttons. Selecting a block on the canvas opens its configuration options in the left-hand panel, split across two tabs.
| Tab | Description |
|---|---|
| Content | Lets you add or edit the content of the block, including text, links, images, and buttons. |
| Style | Lets you customise the appearance of the block, including fonts, colours, and background colours. |
Block actions
Hovering over a block on the canvas reveals a set of action icons.
| Action | Description |
|---|---|
| Move | Drag the block to reposition it, or use the up and down arrows to move it one position at a time. |
| Switch block variant | Available on some block types. Cycles through alternative default layouts for that block. |
| Clone | Creates a copy of the block directly below the original. |
| Delete | Removes the block from the template. |
Editing text
Select a text block on the canvas to edit it. The text editing toolbar provides standard formatting options including bold, underline, and hyperlinks. To paste an existing HTML email into a template, use a basic text block and paste the HTML directly — the template will render it as formatted content.
Adding fill points
Fill points insert lead or script data dynamically into the email at the point of sending. To add one, place the cursor where you want the fill point to appear in the text, then select the {{ button at the end of the text editing toolbar.
A dialog box will open. Select a data table, then select the specific field you want to insert. The fill point is added to the text as a placeholder — for example, {{Lead Table.First Name}}. When the email is sent, the placeholder is replaced with the actual value from the lead's record.
Creating and editing SMS templates
Select New SMS or the edit icon on an existing SMS template to open the SMS template editor. The editor is a simple three-step form.
- Template name — enter a name for the template. This is for internal identification only and is not seen by customers.
- Description — optionally add a description explaining the purpose of the template.
- Message body — enter the SMS text the customer will receive. Fill points can be added in the same way as email templates, using the {{ button to insert lead data dynamically.