Overview
Within the system, you can import a Caller ID (CLI) against an individual lead, giving you control over the number presented to the called party at a lead level. The system uses a priority order to determine which CLI is presented:
- Lead Level Imported CLI.
- CLI applied on the List.
- CLI applied on the Campaign.
A CLI set against a lead will always take priority, with the system falling back down the order if no CLI is present at that level.
Prerequisites
Before importing, make sure the following are in place:
- A user account with access to the Data section of MaxContact.
- The Import Mapping Caller ID Access permission is enabled, found under Page Level Admin Permissions.
- An import file containing your lead data with a dedicated column for the Caller ID you wish to map. The CLI value should be in the same format as you would enter it within CTU or List Admin.
Note. This feature may not be enabled on your system by default. If the Number Presented field is not visible during import, please contact our Support team to have it enabled.
Importing Leads with a Caller ID
Step 1
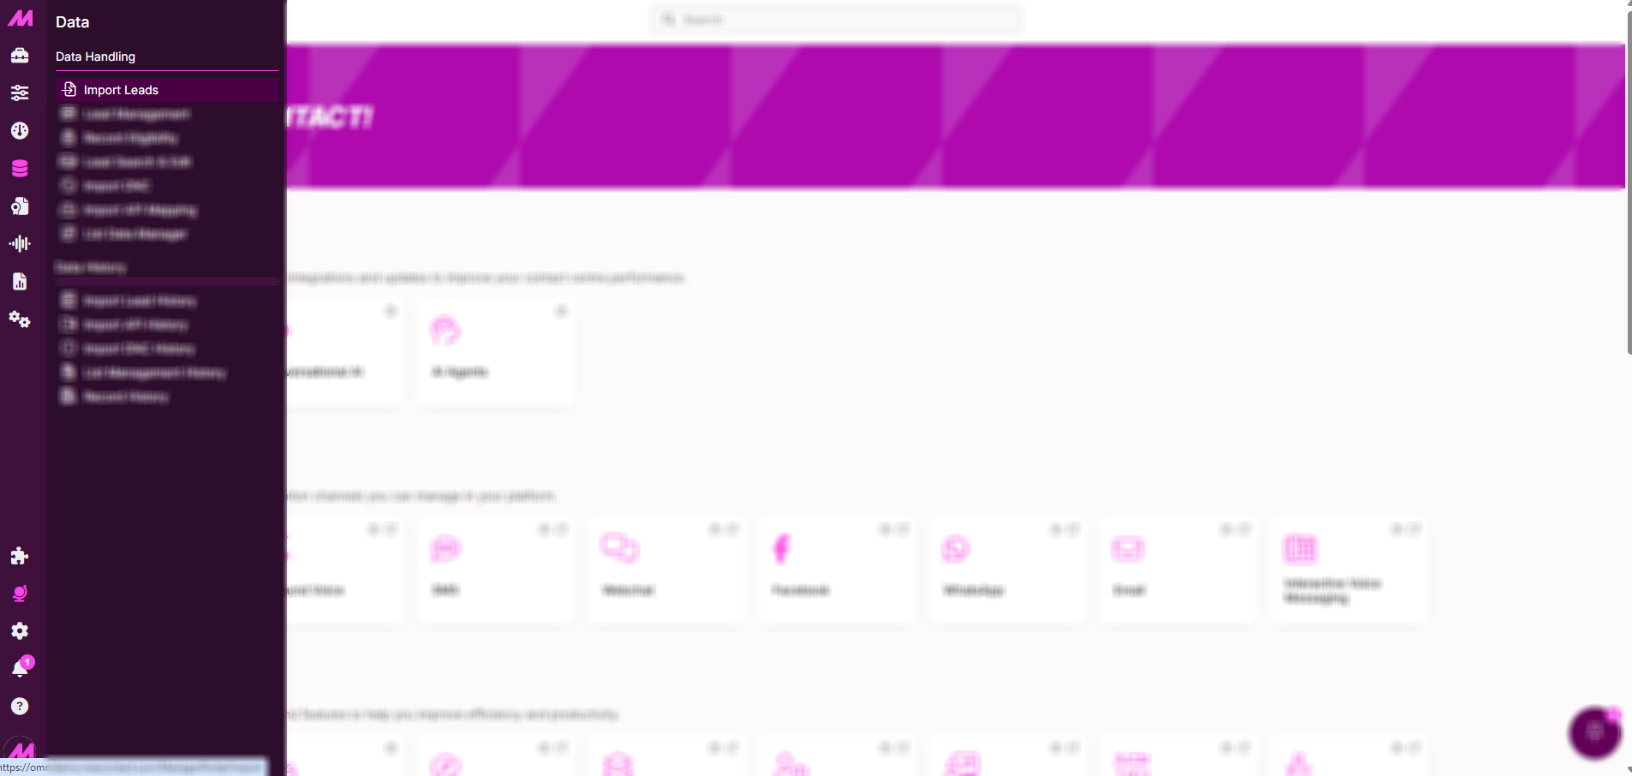
Go to Data Handling > Import Leads and follow your usual import process. Selecting your file, choosing the target list, and configuring your settings such as deduplication and number formatting.
Step 2
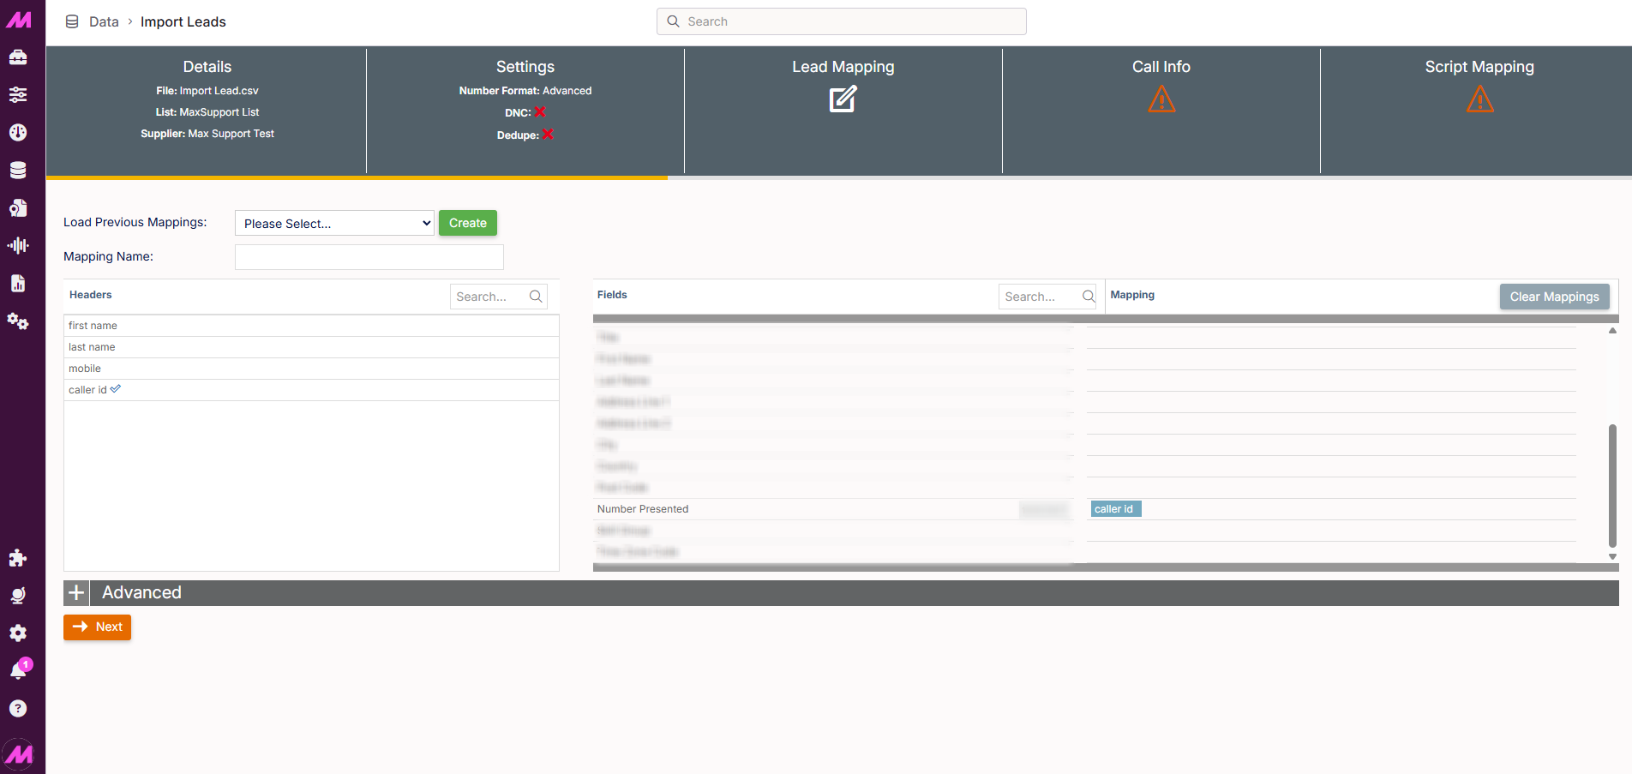
On the Lead Mapping screen, locate the Number Presented field and map the corresponding column from your import file to it.
Step 3
Finish the import as normal. Once complete, the CLI will be stored against each lead record.
Step 4
Place a test call to a newly imported lead to confirm the correct Caller ID is being presented to the called party.
Importing via API (Import API Mappings)
If you are using an API import, you'll need to update the relevant API mapping rather than the lead import screen.

Step 1
Go to Data Handling > Import API Mappings and select the mapping you want to update, or create a new one if required.
Step 2
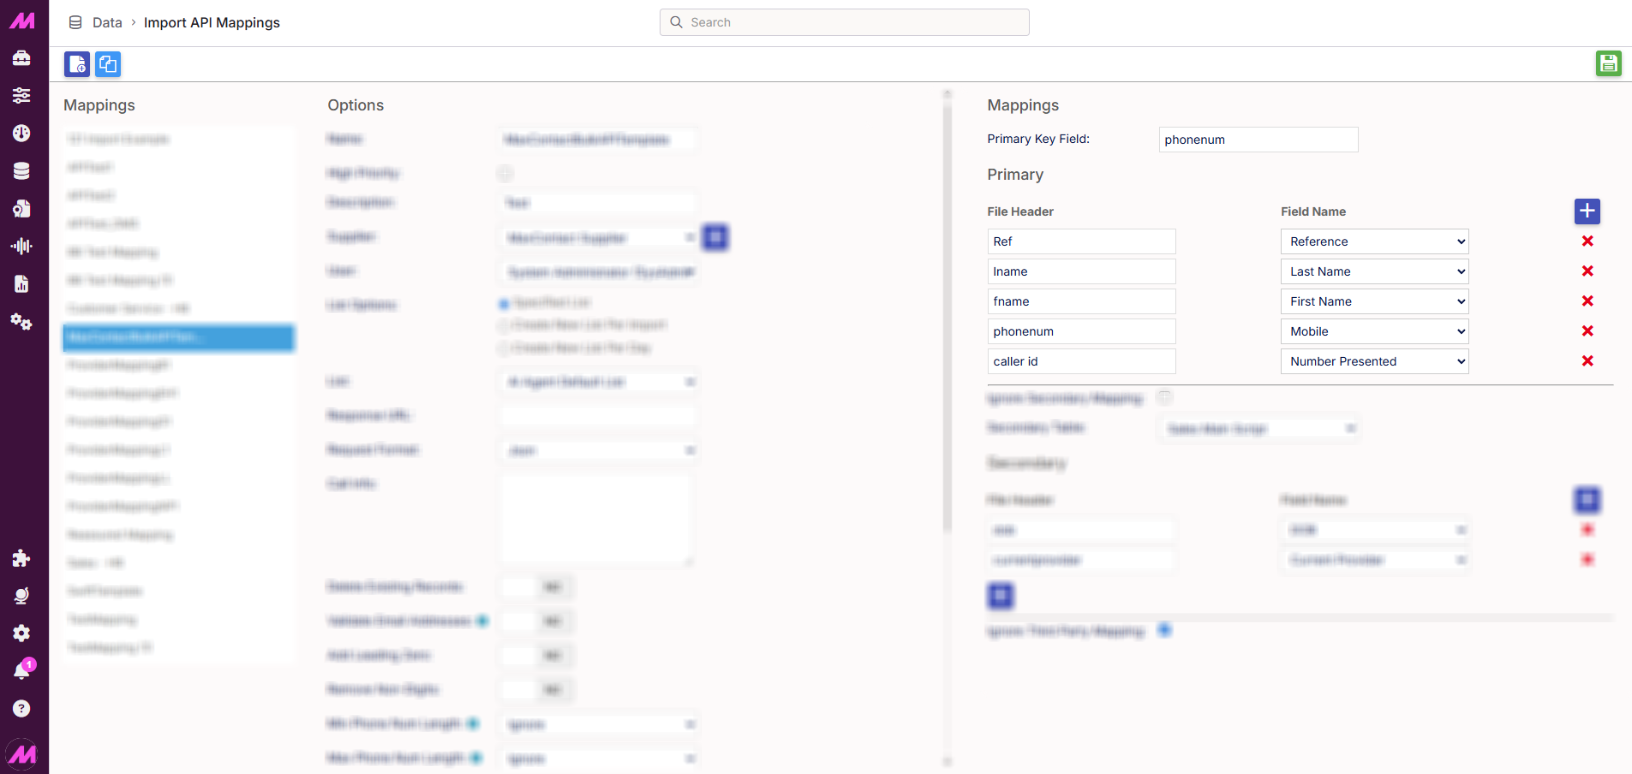
Within the Primary Mappings section, click the [+] icon. In the Field Name dropdown, select Number Presented.
Step 3
Copy the column header from your import file directly into the File Header field, ensuring it matches exactly what appears in the API file.
Step 4
Once you're happy with the mapping, click Save.
Key Points
- Once a CLI has been imported against a lead, it cannot be updated directly. To change or remove a CLI, you will need to reimport the lead.
- If no CLI is present on the lead, the system falls back to the CLI set on the List. If none is set there, it falls back to the Campaign CLI.
- The CLI you wish to present may require whitelisting. If you're unsure whether this applies to you, please reach out to our Support team.