TABLE OF CONTENTS
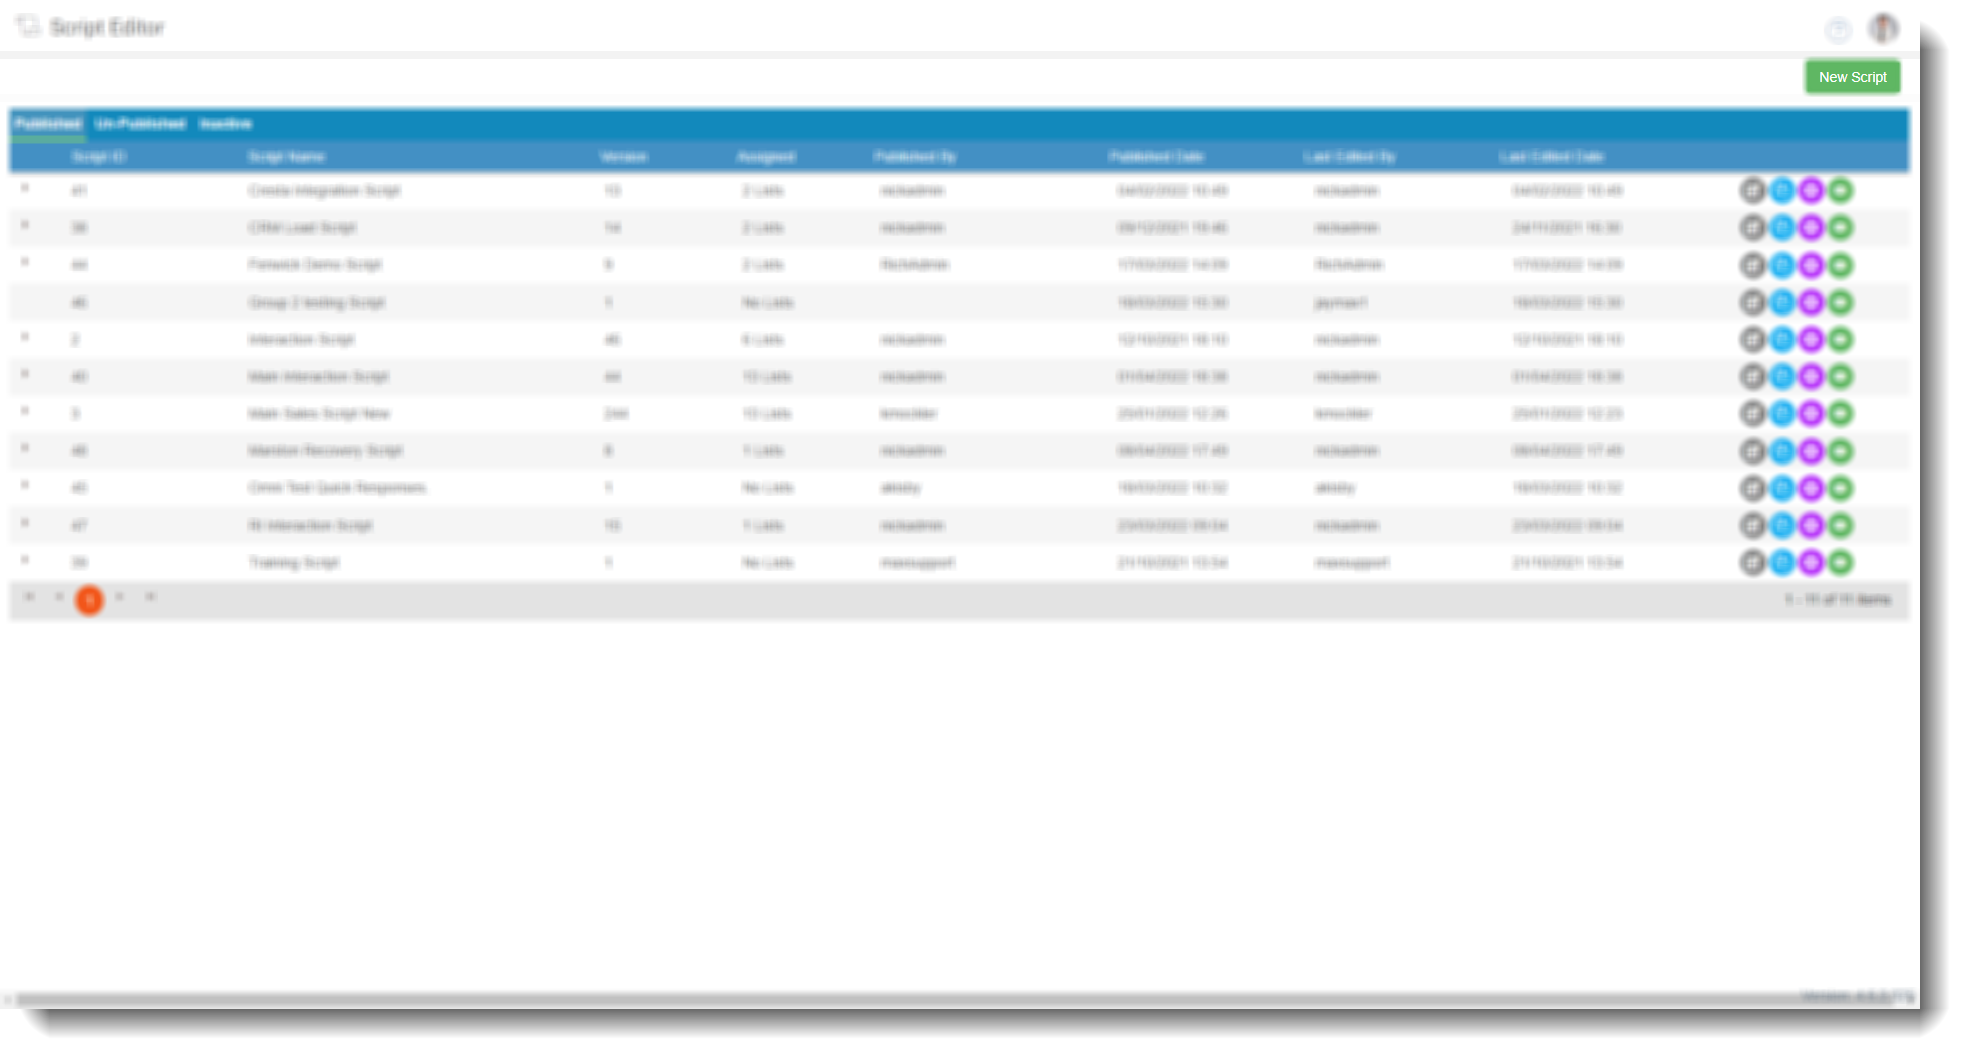
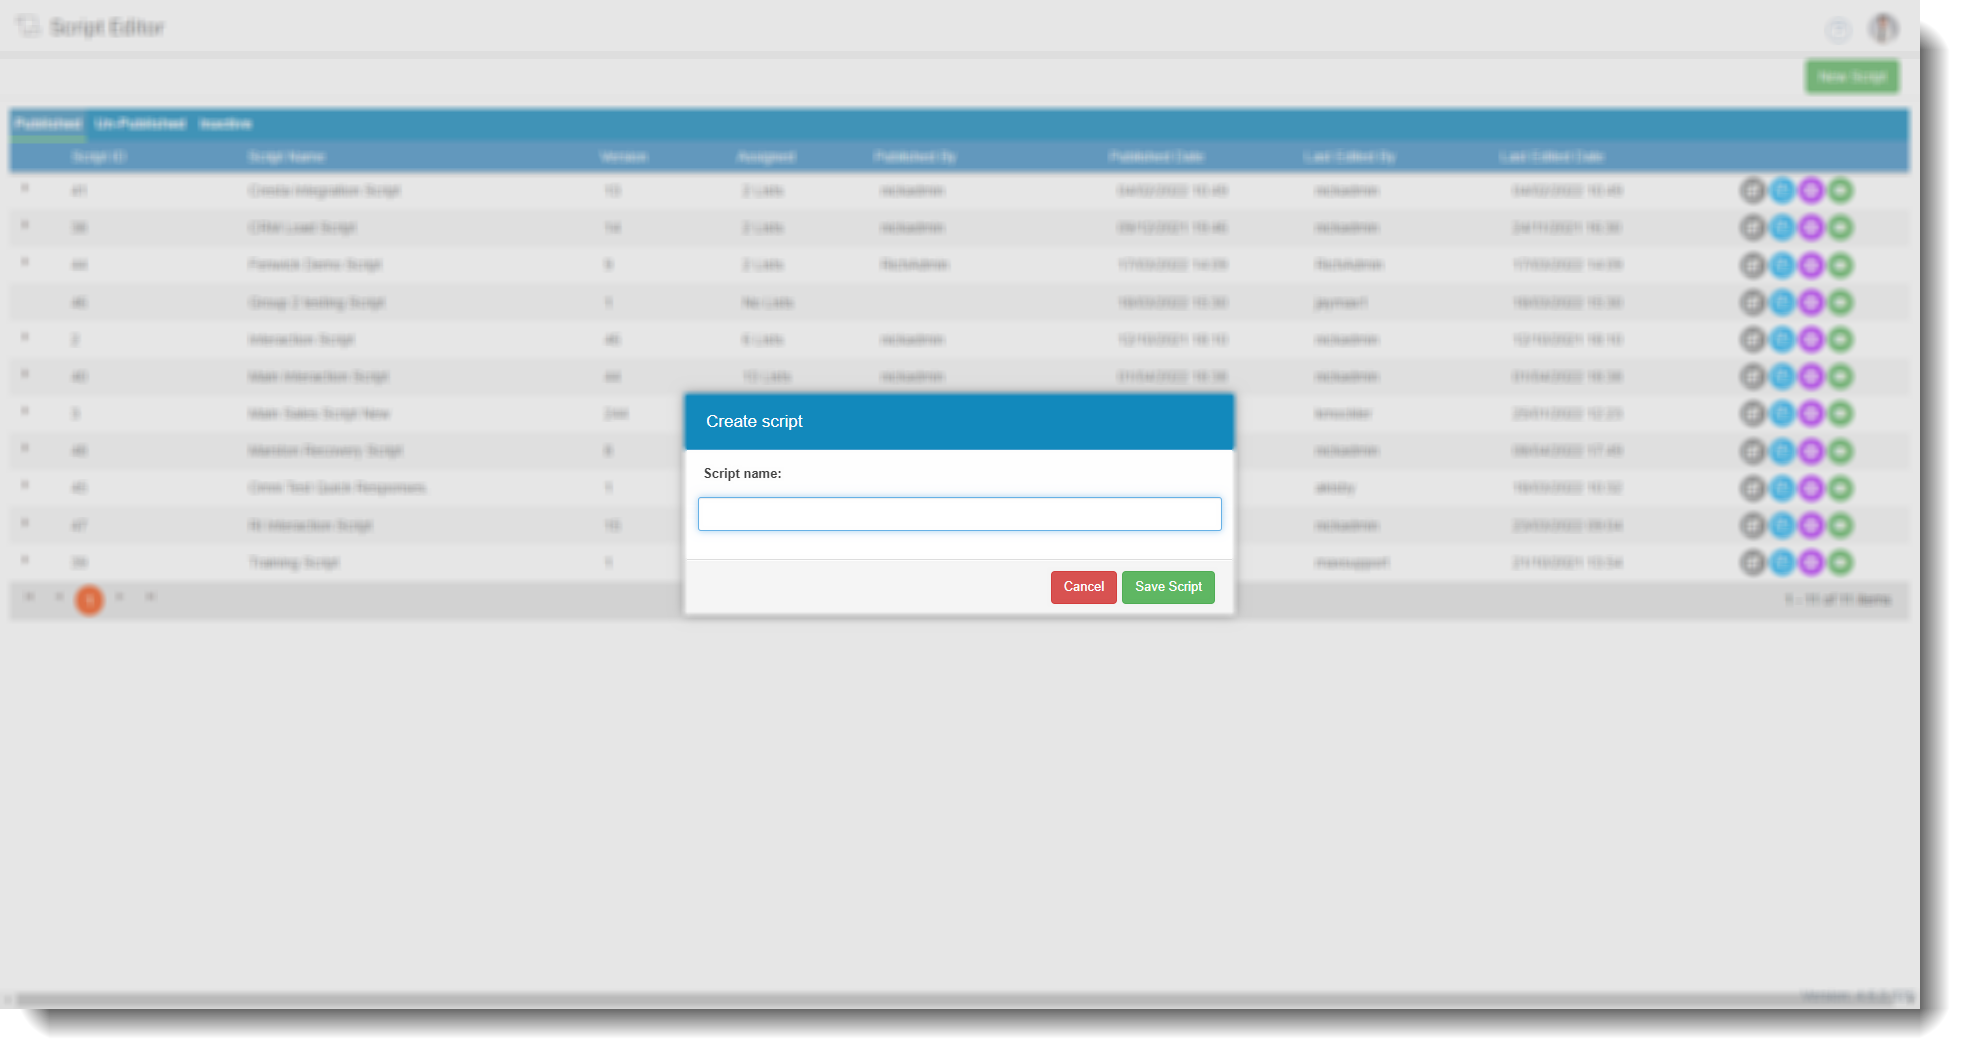
In the Script Editor screen select the ‘New Script’ in the top right-hand corner of the page.
A dialog box will appear prompting you to enter a name for the script;
Along the top of the subsequent screen, you will see the following information;
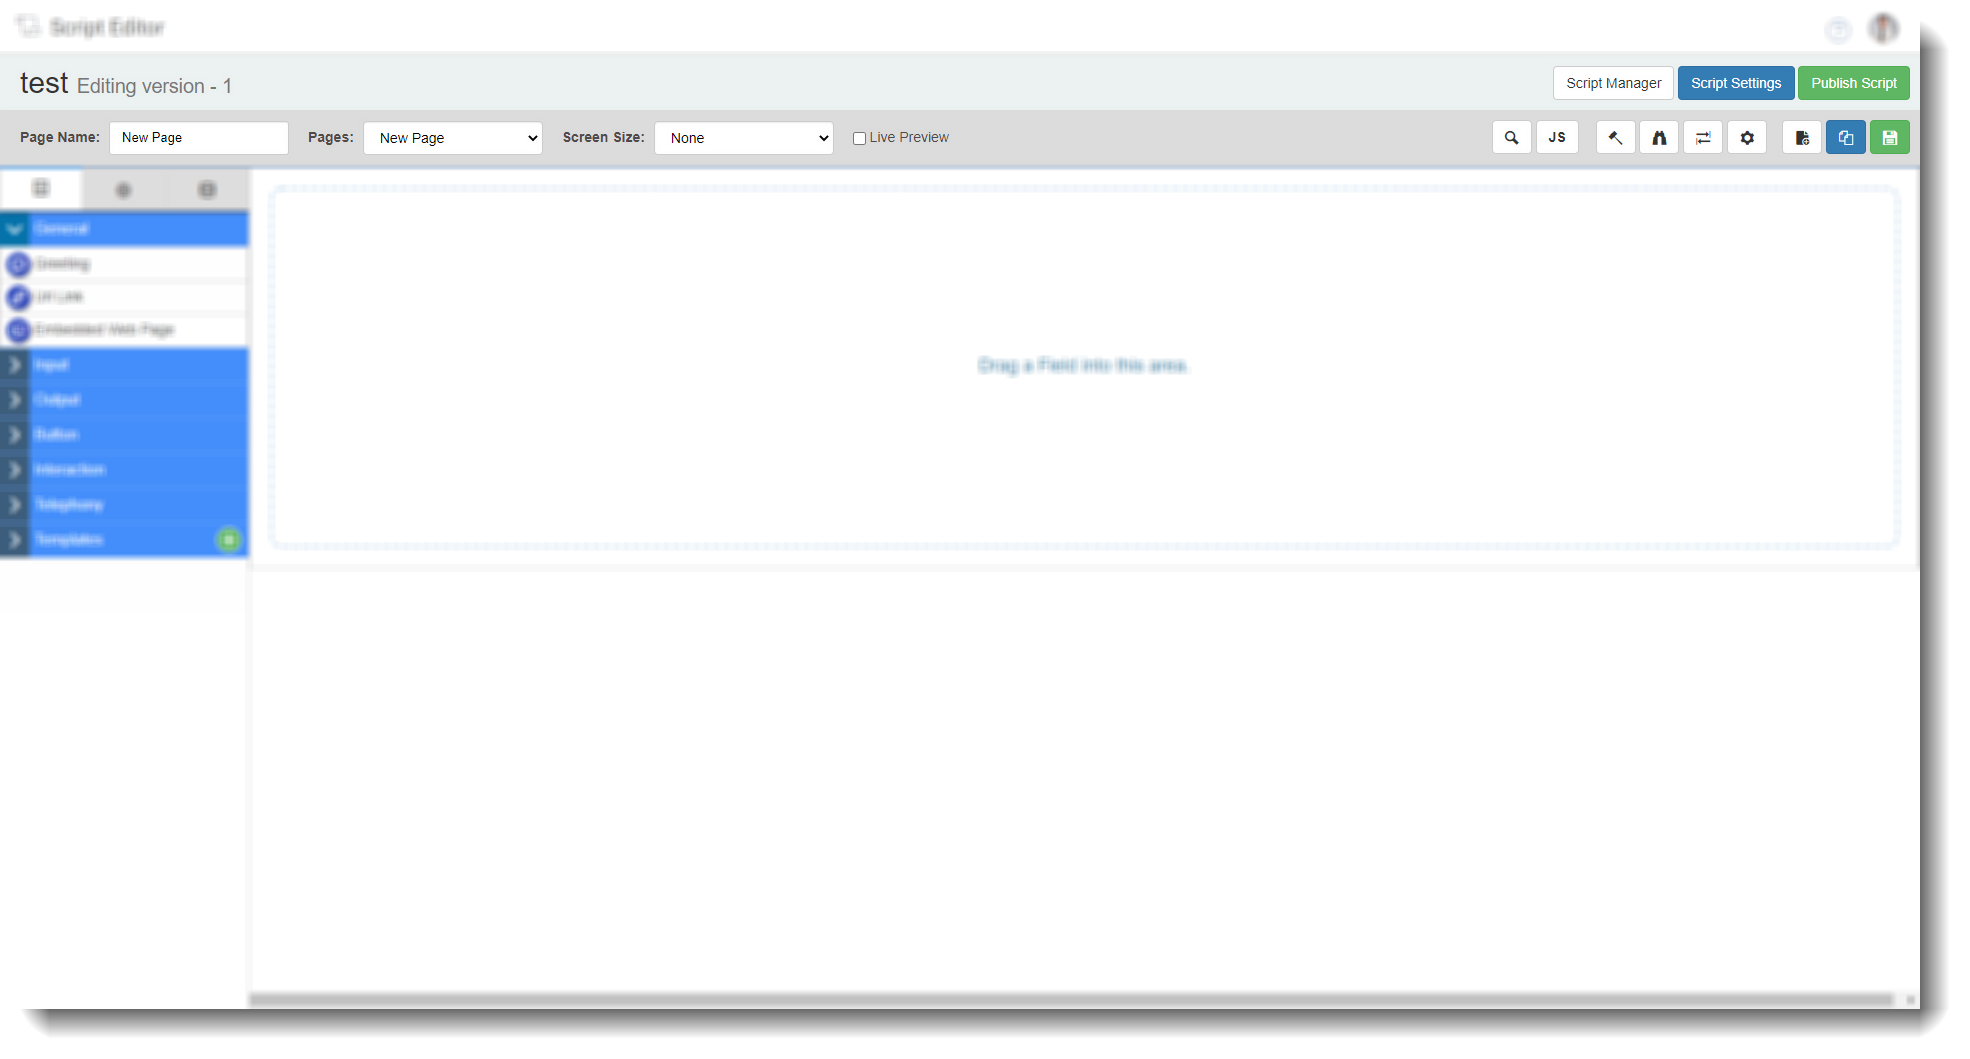
Main script options
Option buttons
| Script manager | Clicking here will take you back to the ‘Script Manager’ screen. |
| Script settings | Clicking here will open a dialog box where users can edit the script name, specify the first page loaded for inbound and outbound calls and choose a default background colour for the script. 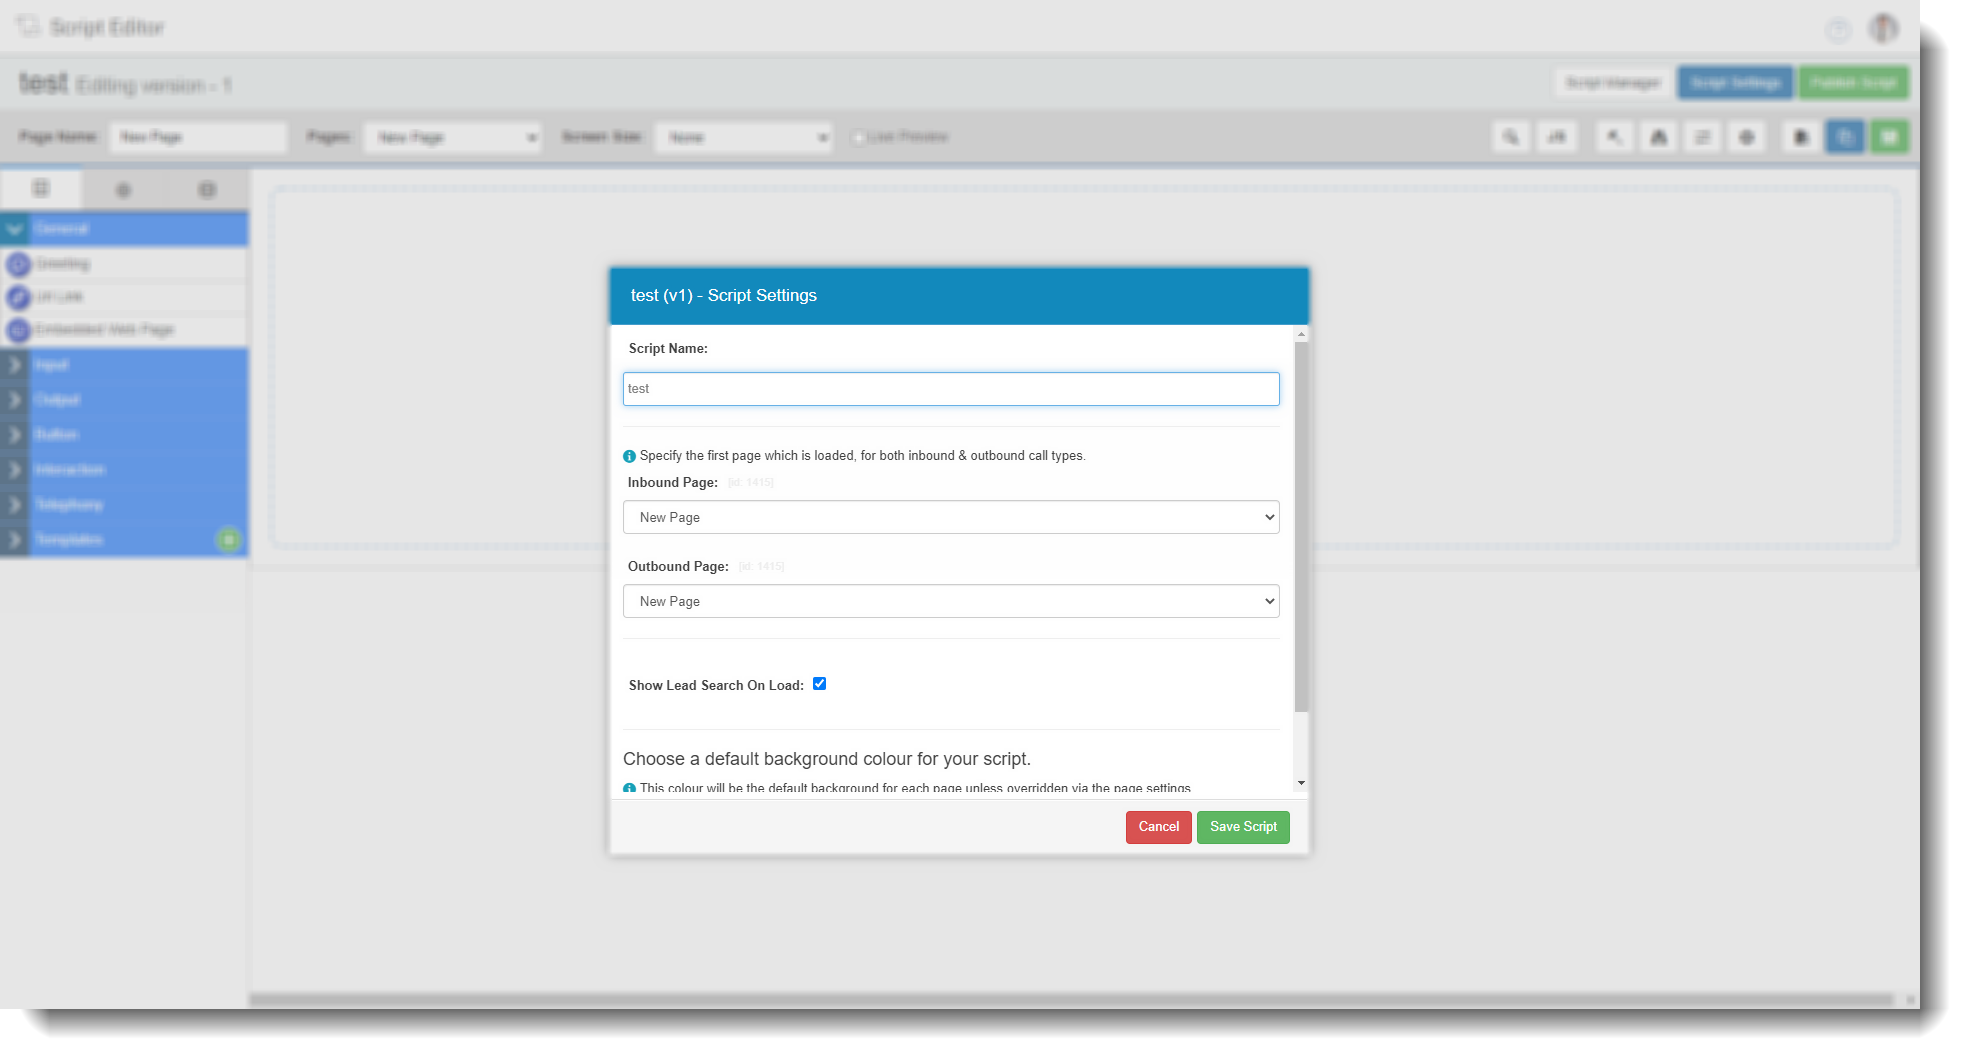 |
| Publish script | Clicking here will publish the script (There will be no warning dialog box, so you should be sure it is correct before proceeding). This will not apply the script to anywhere other than the script manager UNLESS it has previously been published and allocated to lists. |
Script options
| Page name | This shows the current pages name, that being the page currently displayed. |
| Pages | Displays the drop-down menu for you to choose which page to navigate to (Depending on how many, if any, pages there are). |
| Screen size | This allows you to see how the script will look on different resolutions and includes the sample Web Agent graphic. 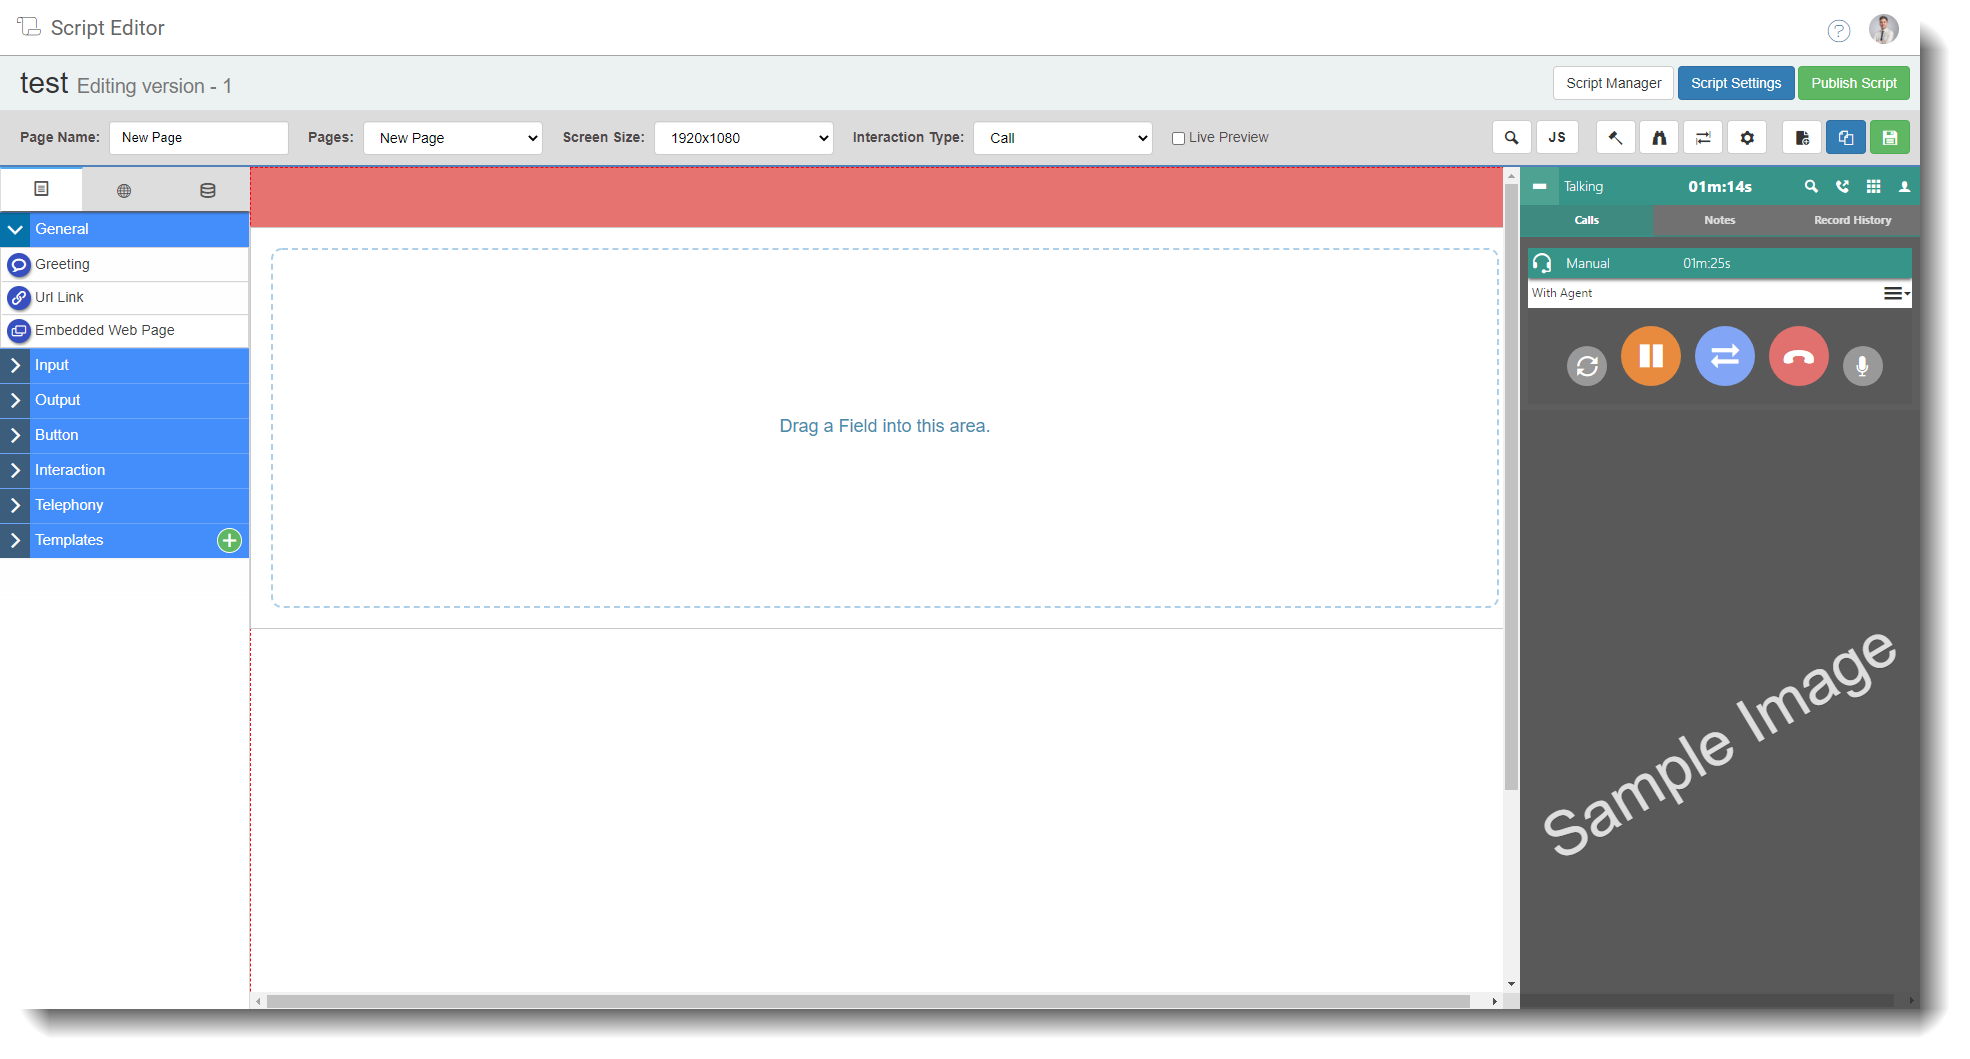 |
| Live preview | Checking this box will show you how the final script will look on screen, including all the functionality of the script (rules, navigation buttons etc). You can combine this with a screen size option for a better preview experience.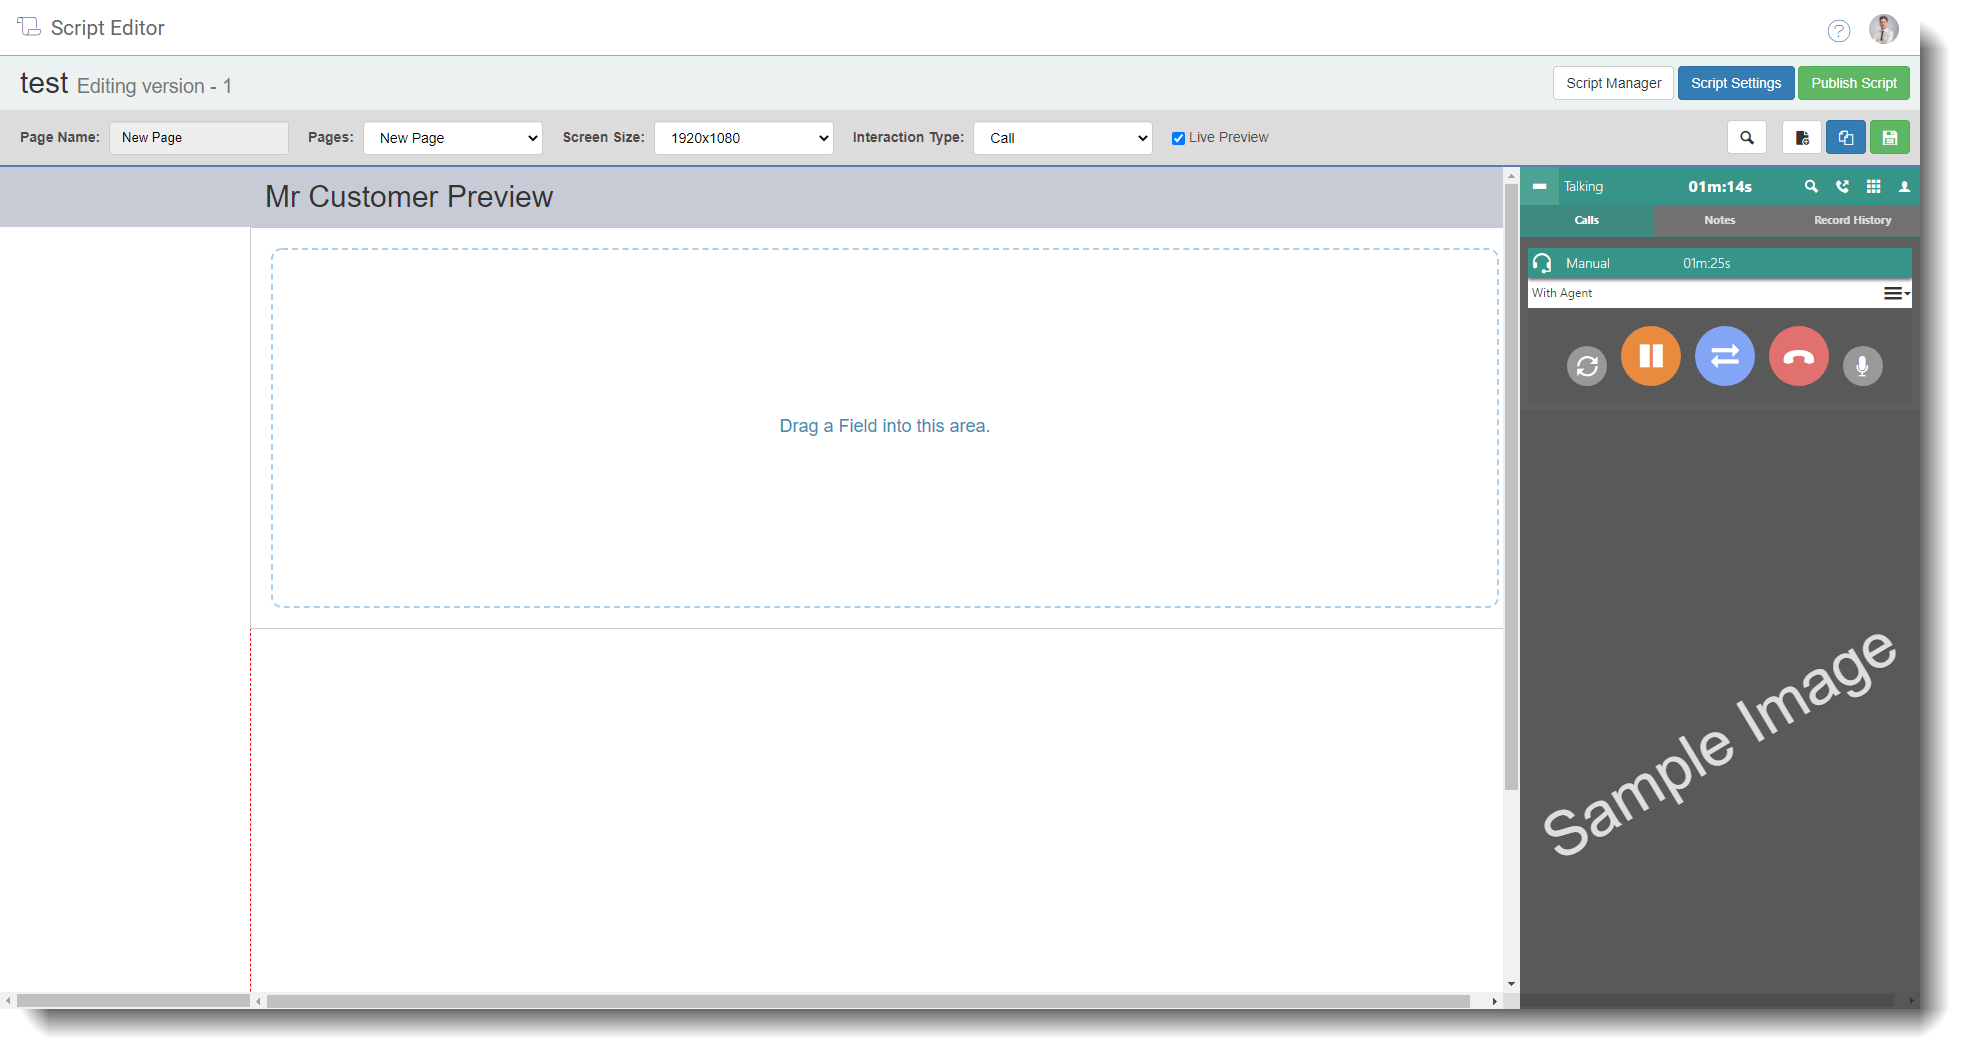 |
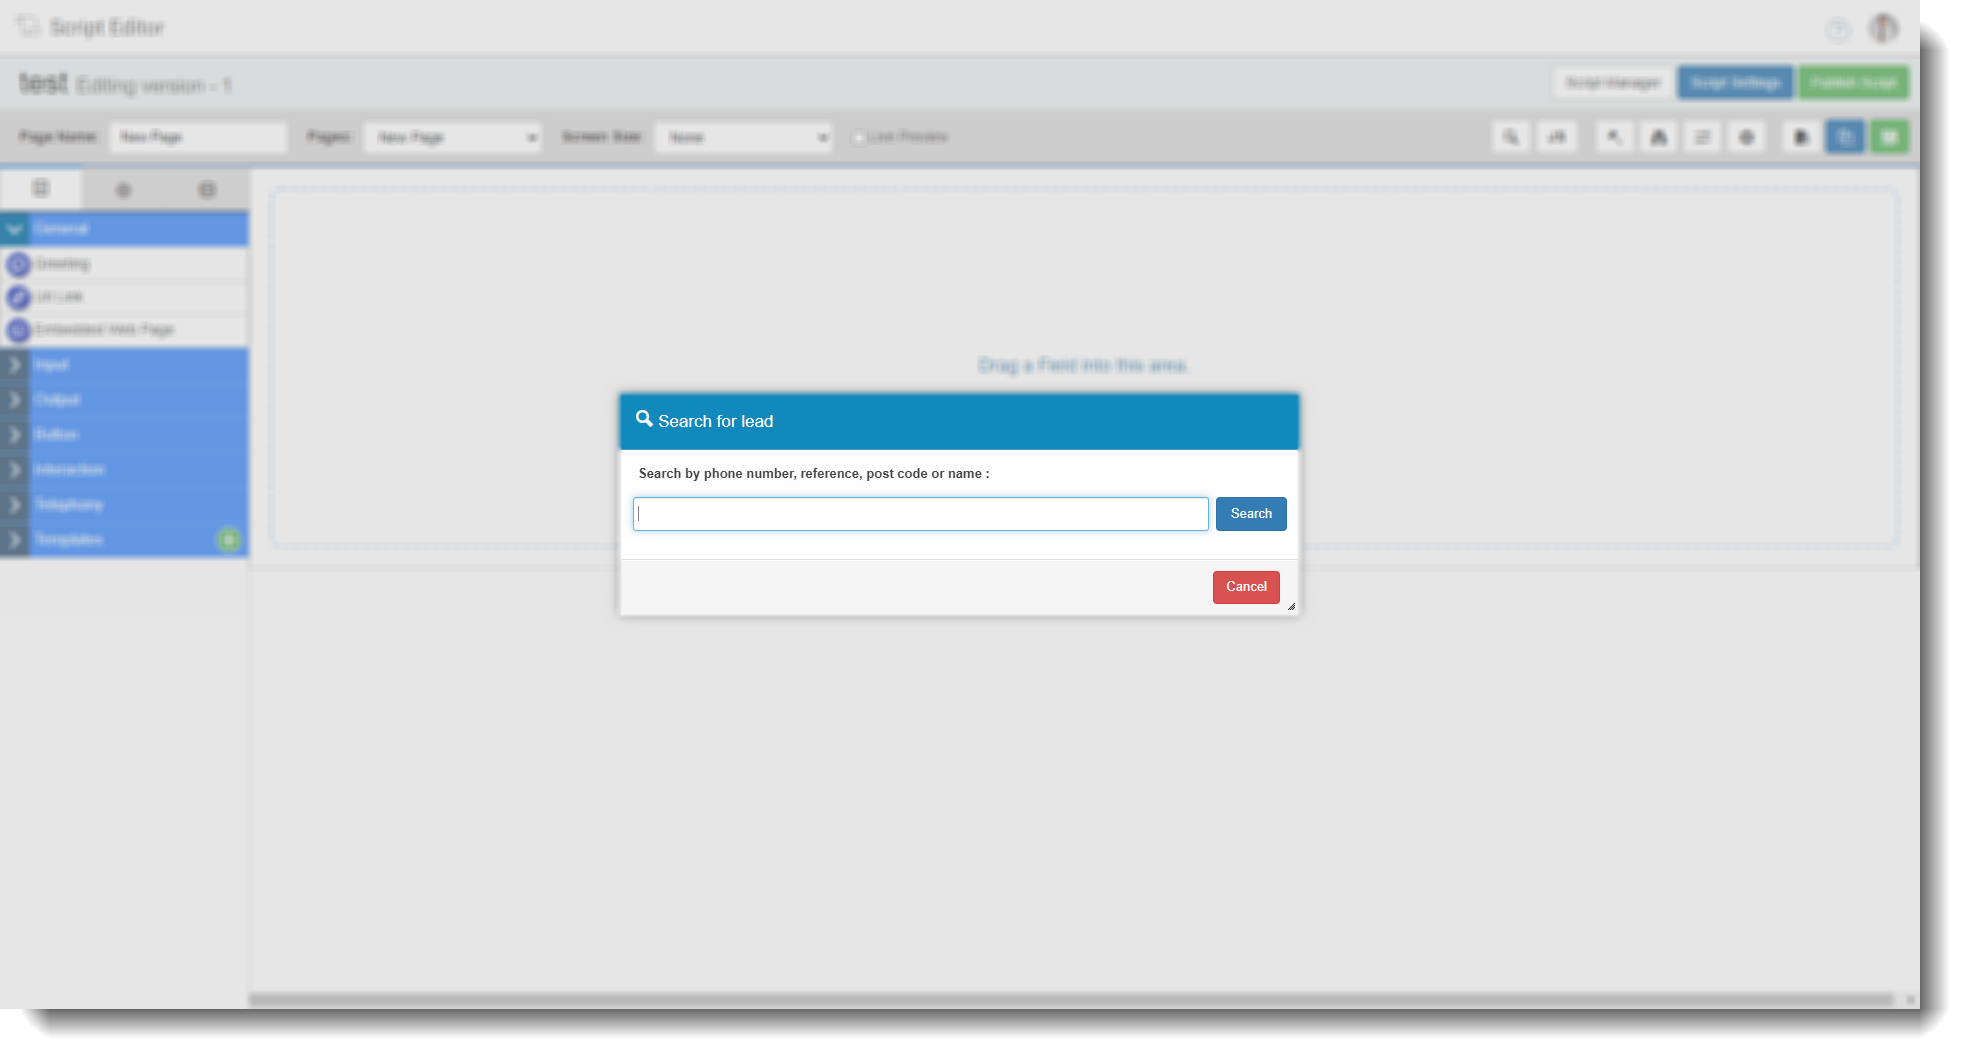
 | Searching for a lead will allow you to see what information will look like when used in the scripting process of a call. Once you have clicked the search button, you can type in a phone number, reference, post code or name and search based on that. Once the results of the search have come through, clicking a lead will take you back to the scripting editor and any information on fields will be populated with information from the lead. |
 | Here, you can enter your own JavaScript logic to manipulate the page/script/web agent. We often use this to create specific functions for customers.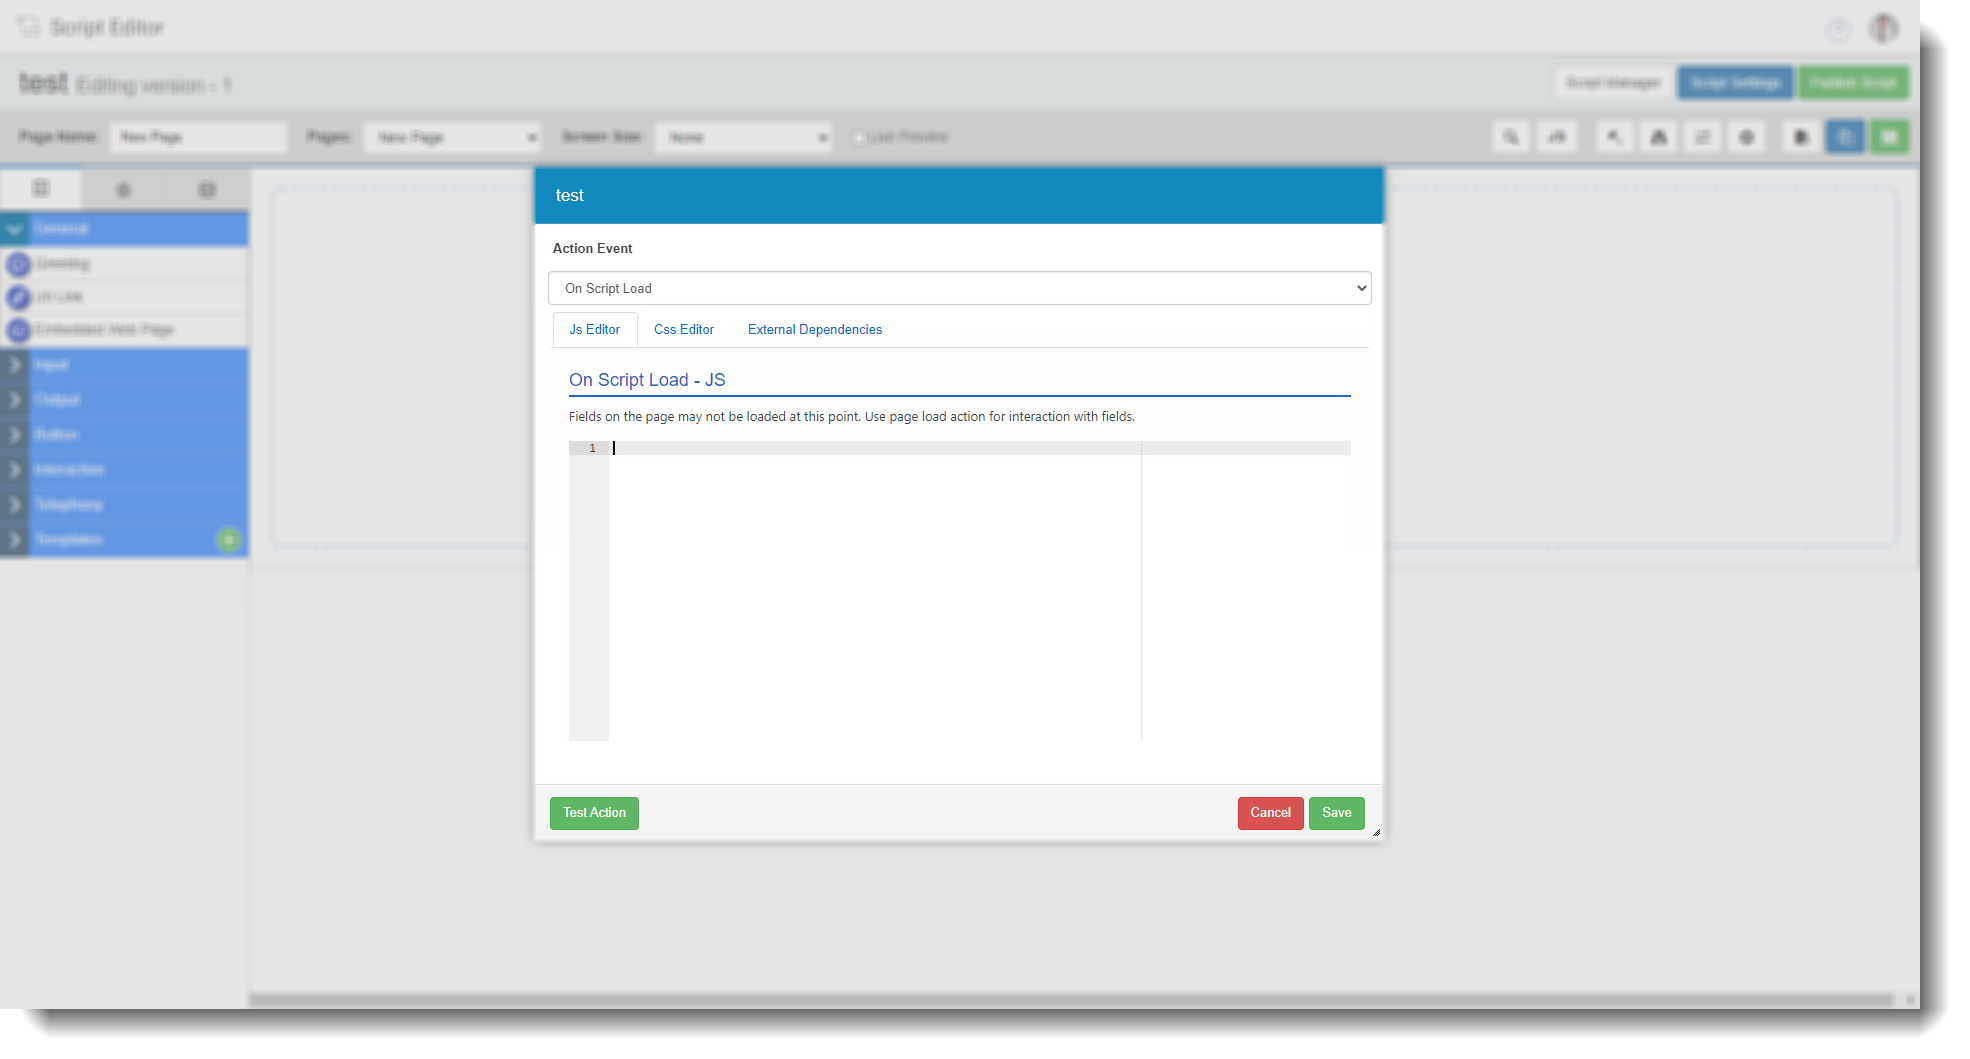 |
 | Here, you can create rules for the page and the fields within. For more on this see the following guide - How to add rules to a script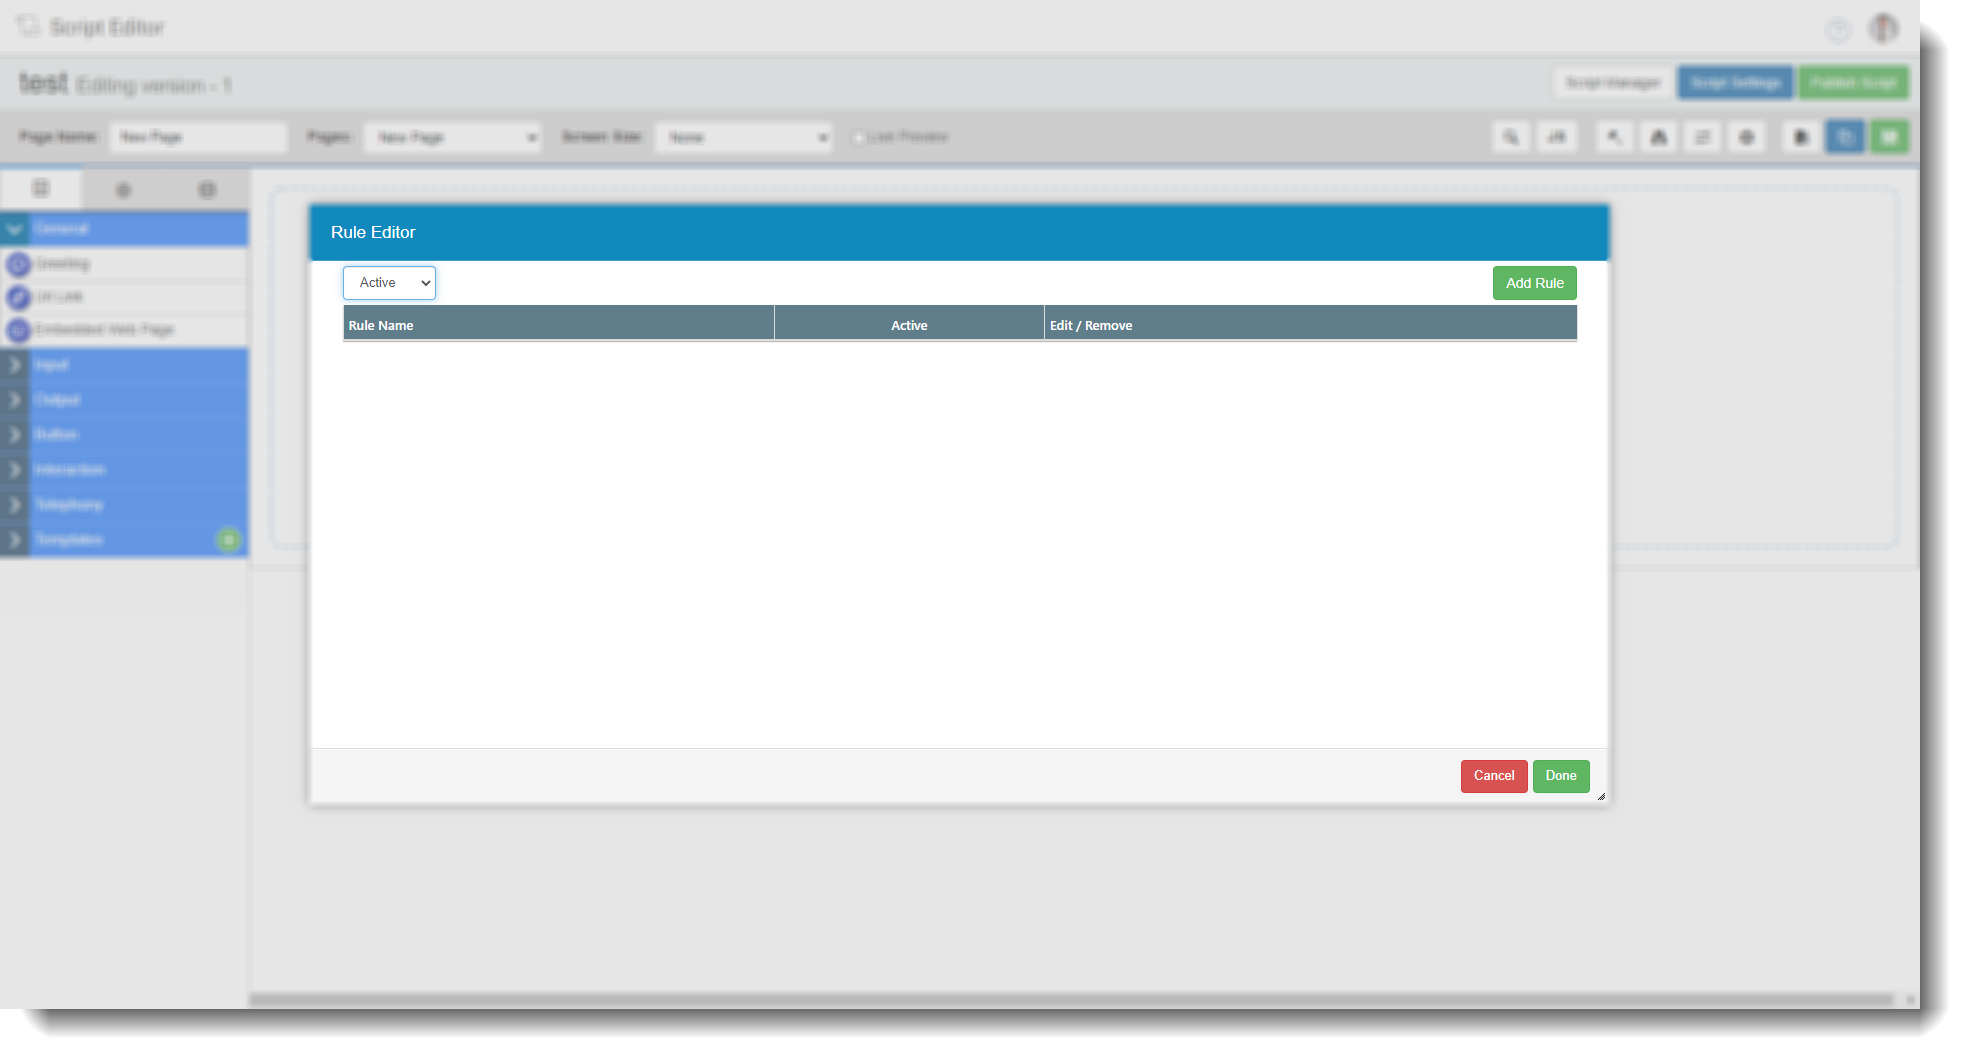 |
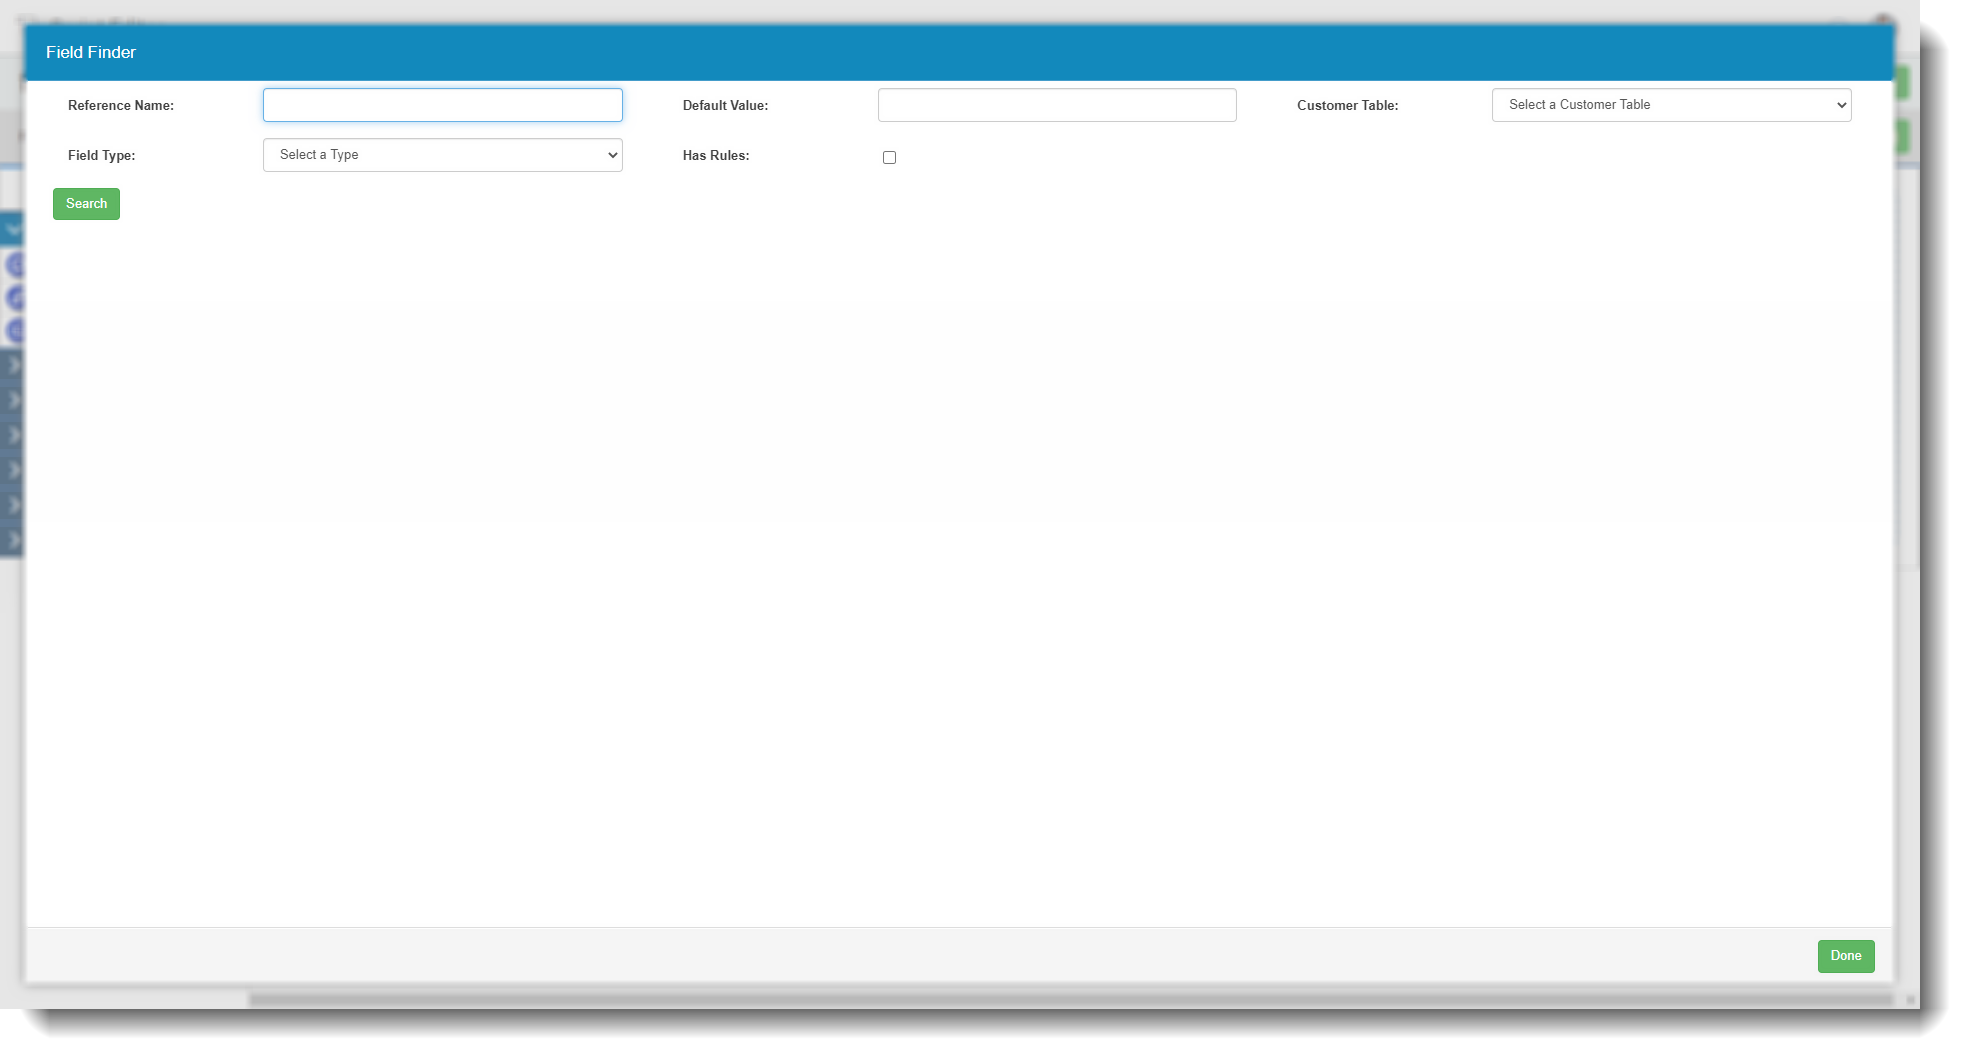
 | Here, you can search for fields within your script in various ways. Reference name. You can enter a Field reference to search for. Default value. You can search by the default value of a field. Customer table. You can search by customer table here. Field type. You can select the field type from the drop down (which contains all types). Has rules. You can search by whether the field has rules or not by checking or unchecking this. |
 | When users are on a script, they can use the 'Tab' button of the keyboard to move through the fields. Tab Ordering allows you to set the order of the fields that tabbing will move through.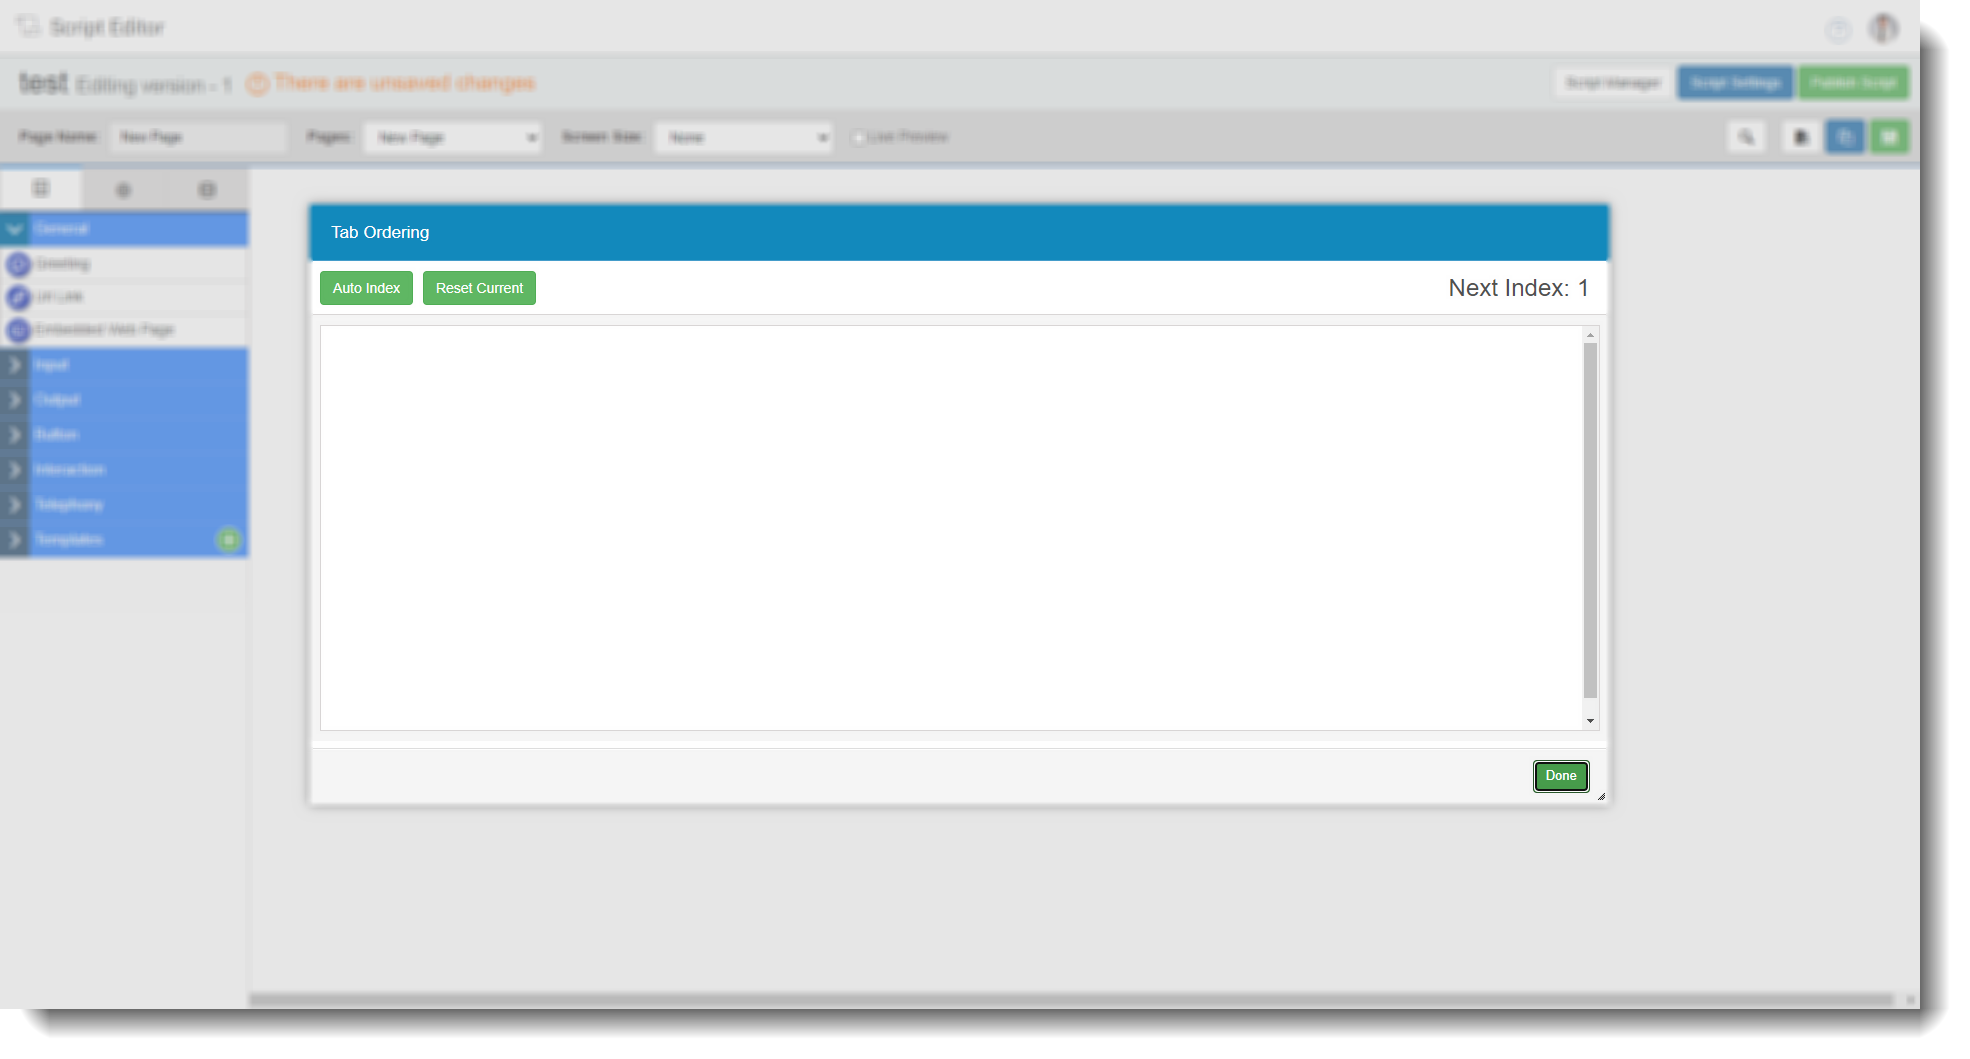 |
 | You can change a pages name, select whether to record calls or not on a certain page and you can change the background colour. You can also delete the page of the script here.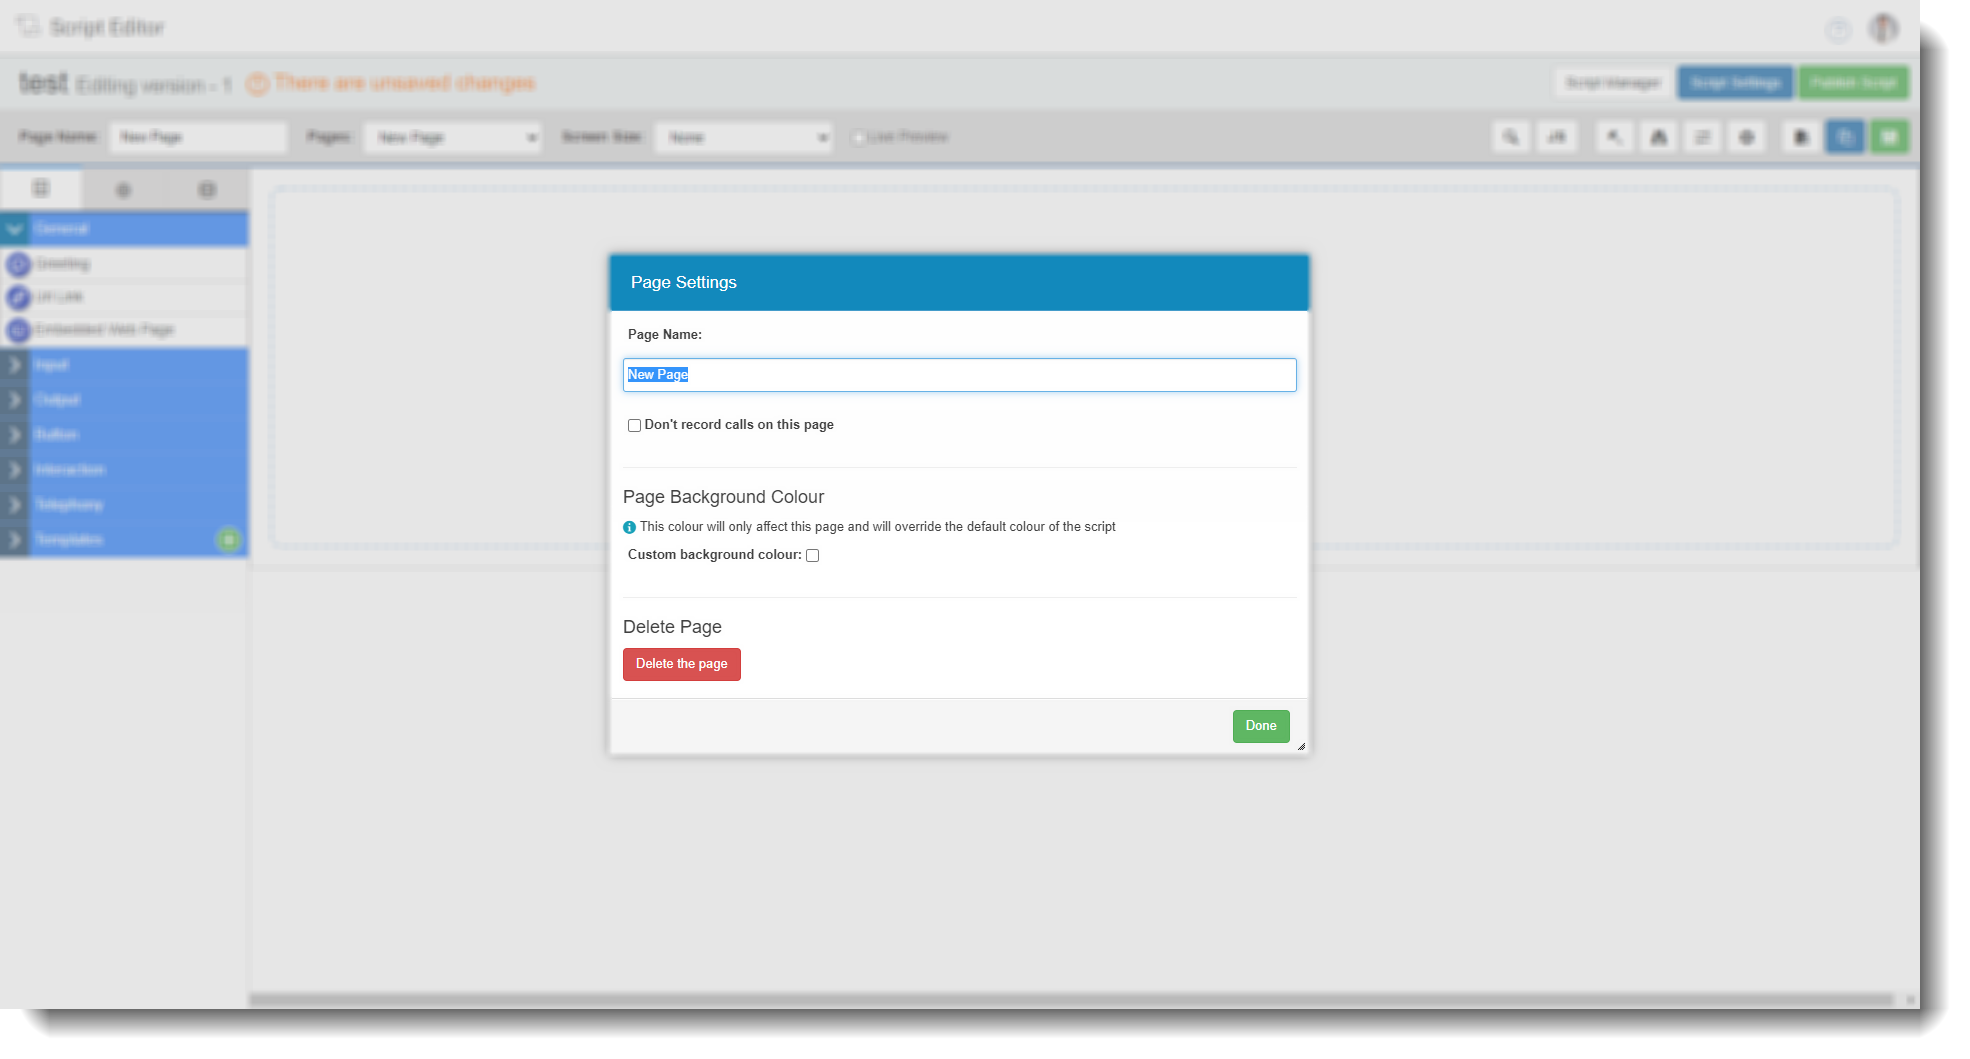 |
 | Adds a new blank page to the script. |
 | Clones the current page. |
 | Saves changes to the page. |