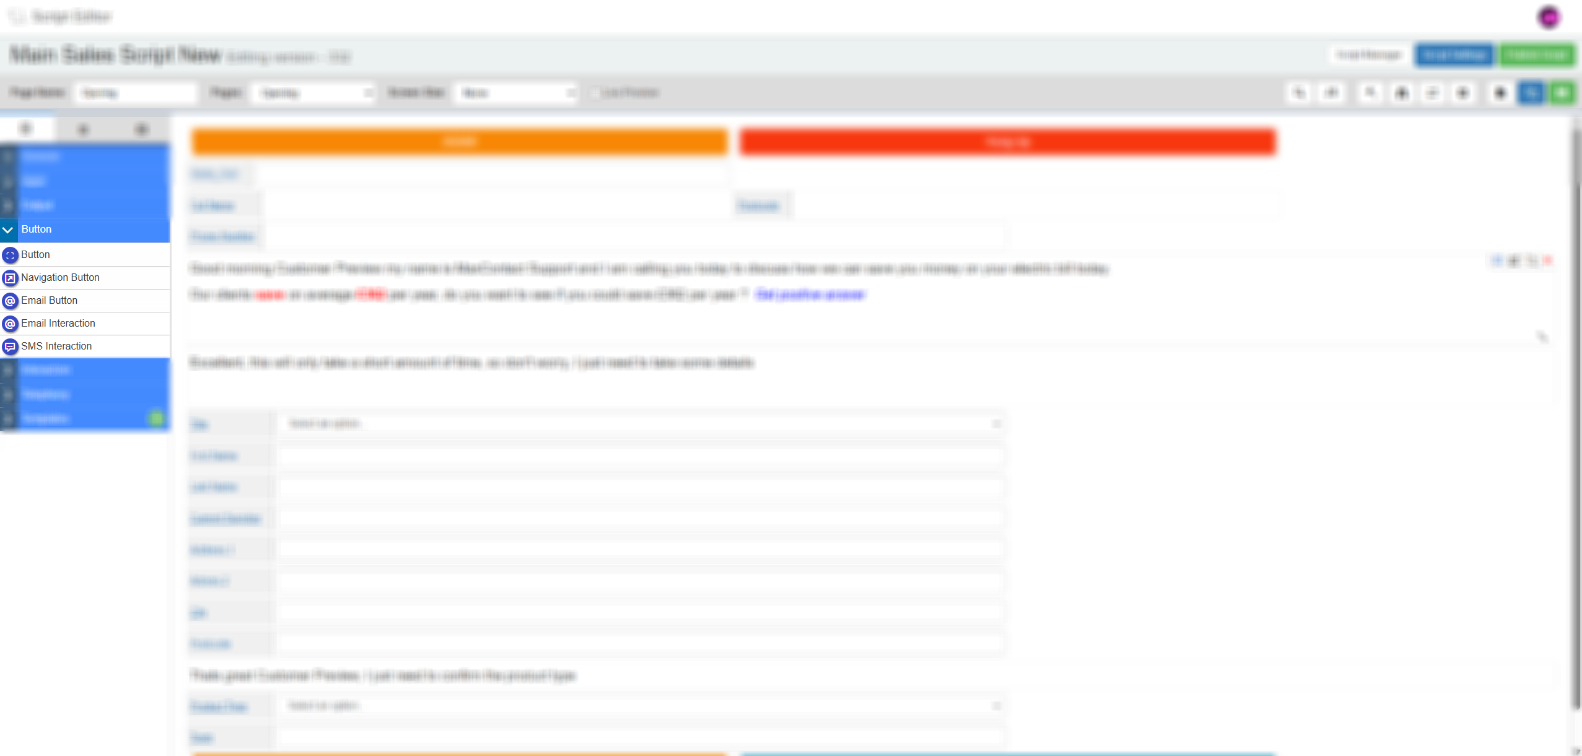
Drag and Drop Fields — Button
The Button tab in the Field Options panel contains five button types: Button, Navigation Button, Email Button, Email Interaction Button, and SMS Interaction Button. Drag any of these onto a script page to add them, then select the edit icon to configure.

Button
A general-purpose button used to trigger custom JavaScript events. Unlike the Navigation Button, it does not move the agent to another script page — its action is defined entirely through JavaScript logic attached to the script.
Tab 1 — Field Config
| Setting | Description |
|---|---|
| Reference name | The system-generated reference for this field. Can be edited. Used to identify the button when writing JavaScript logic. |
| Button text | The label displayed on the button as agents see it. |
Tab 2 — Field Style
| Setting | Description |
|---|---|
| Visible | Controls whether the button is visible on the script when it loads. |
| Font size (px) | Sets the size of the text on the button. |
| Background colour | Sets the background colour of the button. |
| Border colour | Sets the border colour of the button. |
| Font colour | Sets the colour of the button label text. |
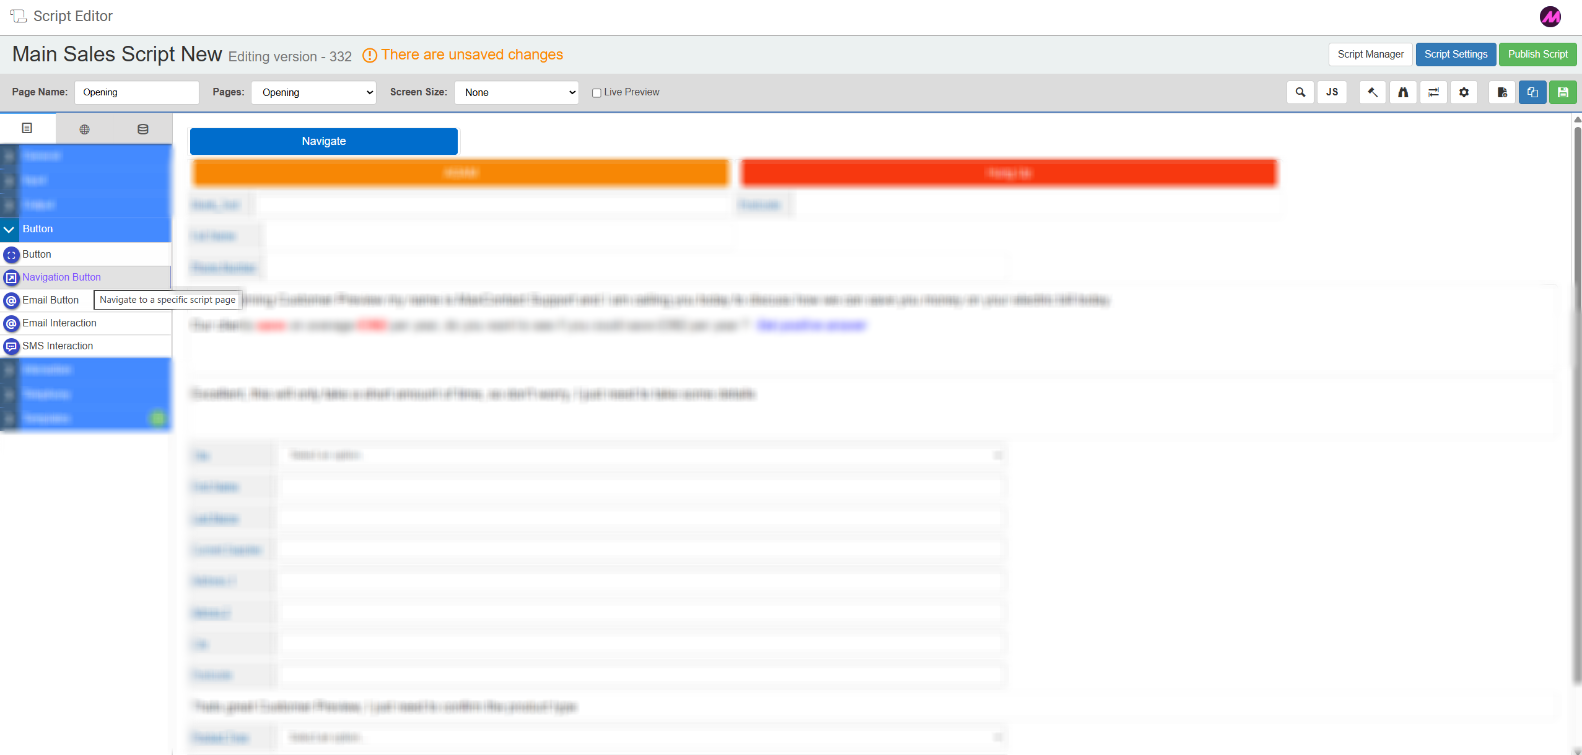
Navigation Button
Moves agents from one page of a script to another when selected. Configure the destination page and whether data should be saved on navigation.
Tab 1 — Field Config
| Setting | Description |
|---|---|
| Reference name | The system-generated reference for this field. Can be edited. Useful for identifying the button in scripts with complex rules or multiple fill points. |
| Button text | The label displayed on the button as agents see it — for example, "Go to callback page" or "Continue". |
| Save on navigation | When enabled, any data entered by the agent is saved back to the database when they select this button. Requires the input fields to be mapped to a data table. |
| Ignore validation on save | When enabled, any required field validation on the current page is bypassed when the agent uses this button. Useful when certain customers can legitimately skip a section — for example, a page collecting information that only applies to a specific customer type. |
| Go to page | Select the destination page from the dropdown. This is the page the agent is taken to when they select the button. |
Tab 2 — Field Style
| Setting | Description |
|---|---|
| Visible | Controls whether the button is visible on the script when it loads. Rules can be added to show or hide the button based on agent actions or customer responses. See Advanced Scripting — Rules for more detail. |
| Font size (px) | Sets the size of the text on the button. |
| Background, border and font colour | Colour pickers for customising the button appearance. |
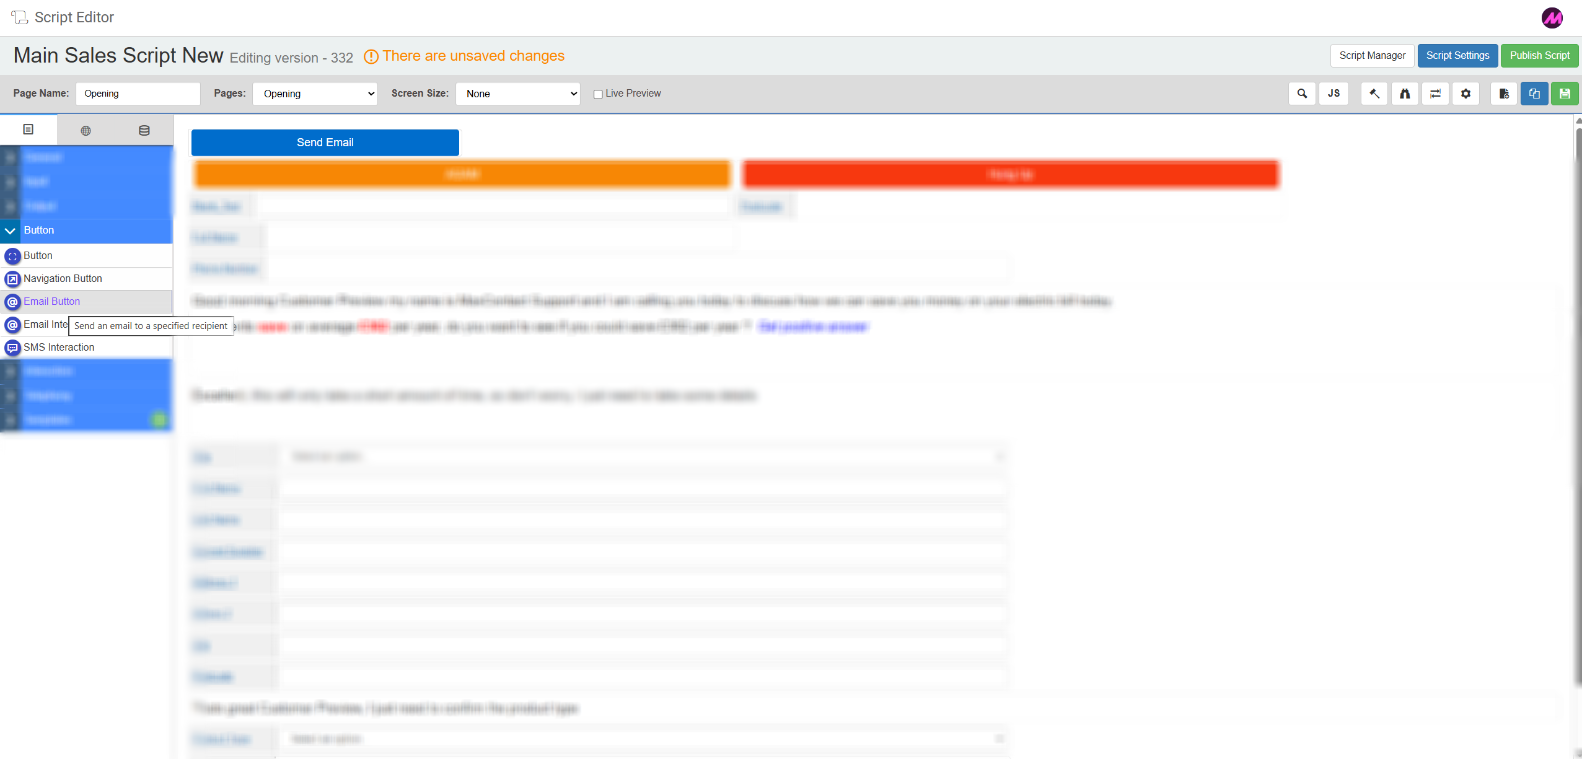
Email Button
Sends a one-way email or SMS to the lead directly from the script. Replies from the customer are not supported — for two-way communication, use the Email Interaction Button or SMS Interaction Button instead.
Tab 1 — Field Config
| Setting | Description |
|---|---|
| Reference name | The system-generated reference for this field. Can be edited. |
| Button text | The label displayed on the button as agents see it. |
| Subject | The subject line for the email sent to the lead. |
| Select an email template | Select an email or SMS template from the dropdown to determine what is sent to the lead. See the Message Templates guide for more detail on creating and editing templates. |
| Navigation | When enabled, the agent cannot navigate to the next script page until the email or SMS has been sent. |
| Edit/Add template | Opens the message template page in a new browser window. |
| Test | Sends a test email to a chosen recipient so you can verify how it will appear to the lead. |
Tab 2 — Field Style
The Field Style tab for the Email Button contains the same settings as the Navigation Button Field Style tab above: Visible, Font size, and Background/border/font colour.
Tab 3 — Email Recipients
| Setting | Description |
|---|---|
| Email from | The sender address for the email. Enter a fixed address (for example, noreply@companyname.com) to use the same address for all emails sent via this button, or select a script field from the dropdown to pull the address dynamically. The dynamic option is useful if you contact leads on behalf of multiple clients — selecting a "client email" field ensures the correct sender address is used automatically. |
| Email to | The recipient address for the email. Enter a fixed address to send all emails to the same destination (for example, an internal mailbox for payment confirmations), or select a script field to pull the customer's email address dynamically. The dynamic option ensures the email goes to the correct lead and allows agents to verify the address on screen before sending. |
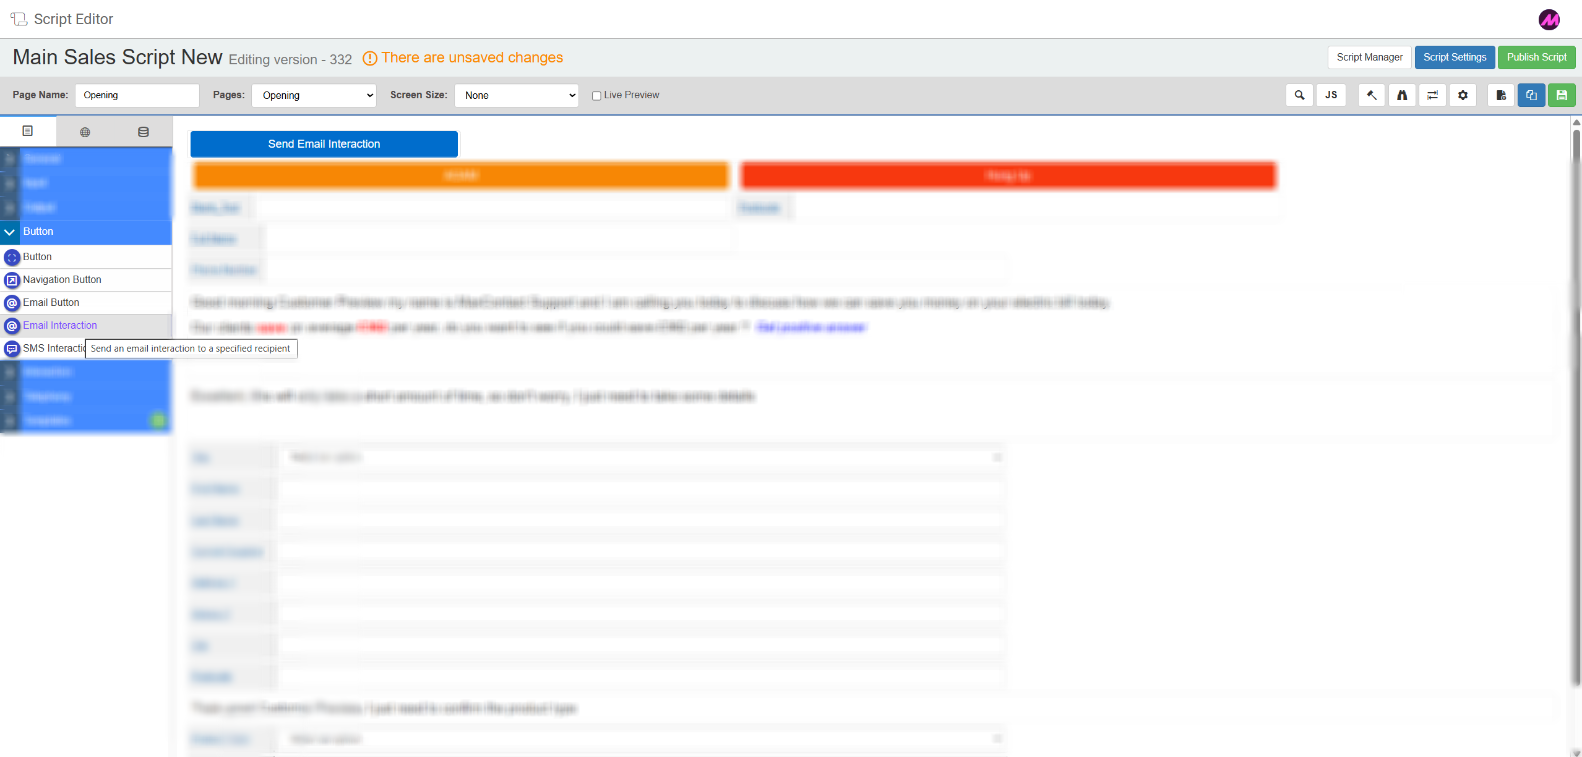
Email Interaction Button
Sends an email to the lead that they can reply to. Replies are routed back into the platform via a configured email channel and are handled as interactions. Use this when a two-way email exchange is needed — for example, sending forms to a customer and receiving their completed response back.
Tab 1 — Field Config and Tab 2 — Field Style
These tabs are identical to the Email Button tabs described above.
Tab 3 — Email Recipients
| Setting | Description |
|---|---|
| Select channel | Select the email channel that will receive the lead's reply. All available email channels are listed in the dropdown. |
| Email subject | The subject line for the email sent to the lead. |
| Email to | The recipient address. Enter a fixed address or select a script field to pull the address dynamically from lead data. |
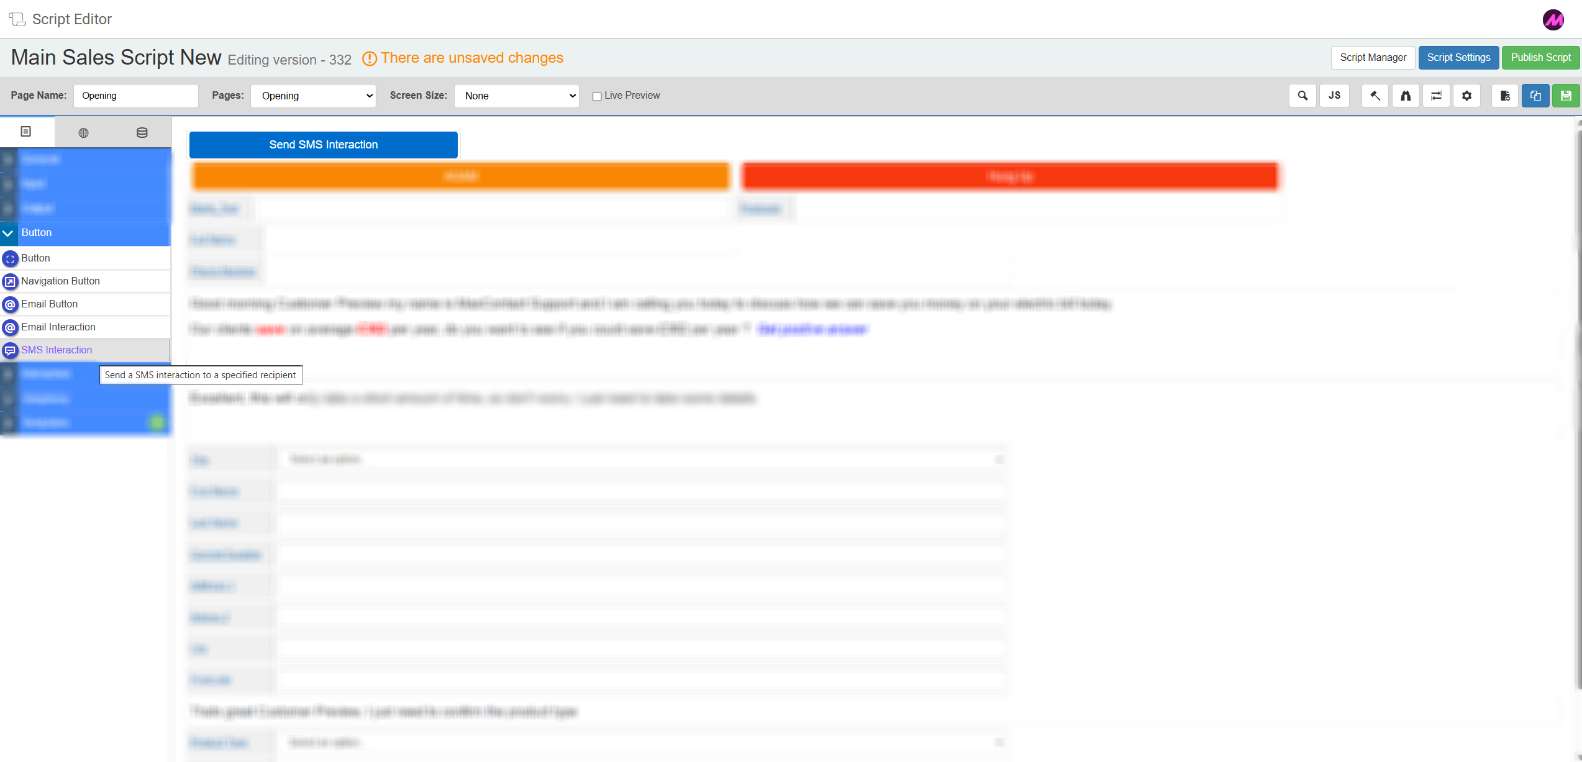
SMS Interaction Button
Sends an SMS to the lead that they can reply to. Replies are routed back into the platform via a configured SMS channel and handled as interactions. Use this for scenarios such as sending booking confirmations or order updates where a customer response may be needed.
Tab 1 — Field Config and Tab 2 — Field Style
These tabs are identical to the Email Interaction Button tabs described above.
Tab 3 — SMS Recipients
| Setting | Description |
|---|---|
| Select channel | Select the SMS channel that will receive the lead's reply. All available SMS channels are listed in the dropdown. |
| SMS to | The recipient mobile number. Enter a fixed number to send all messages to the same destination, or select a script field to pull the lead's mobile number dynamically. |