This element, when added to your IVR after the start element and before your time check element, allows you to block certain dates from your inbound routes by diverting the calls to your out of hours message/a separate out of office message.
Please select the images in this guide to see more detail.Add a blackout day element to your IVRs.
1 - Navigate to the IVR page.

Fig 1. Access the IVR by heading to ADMIN > IVR
2 - Select your IVR from the dropdown at the top of the page so it is displayed on screen.
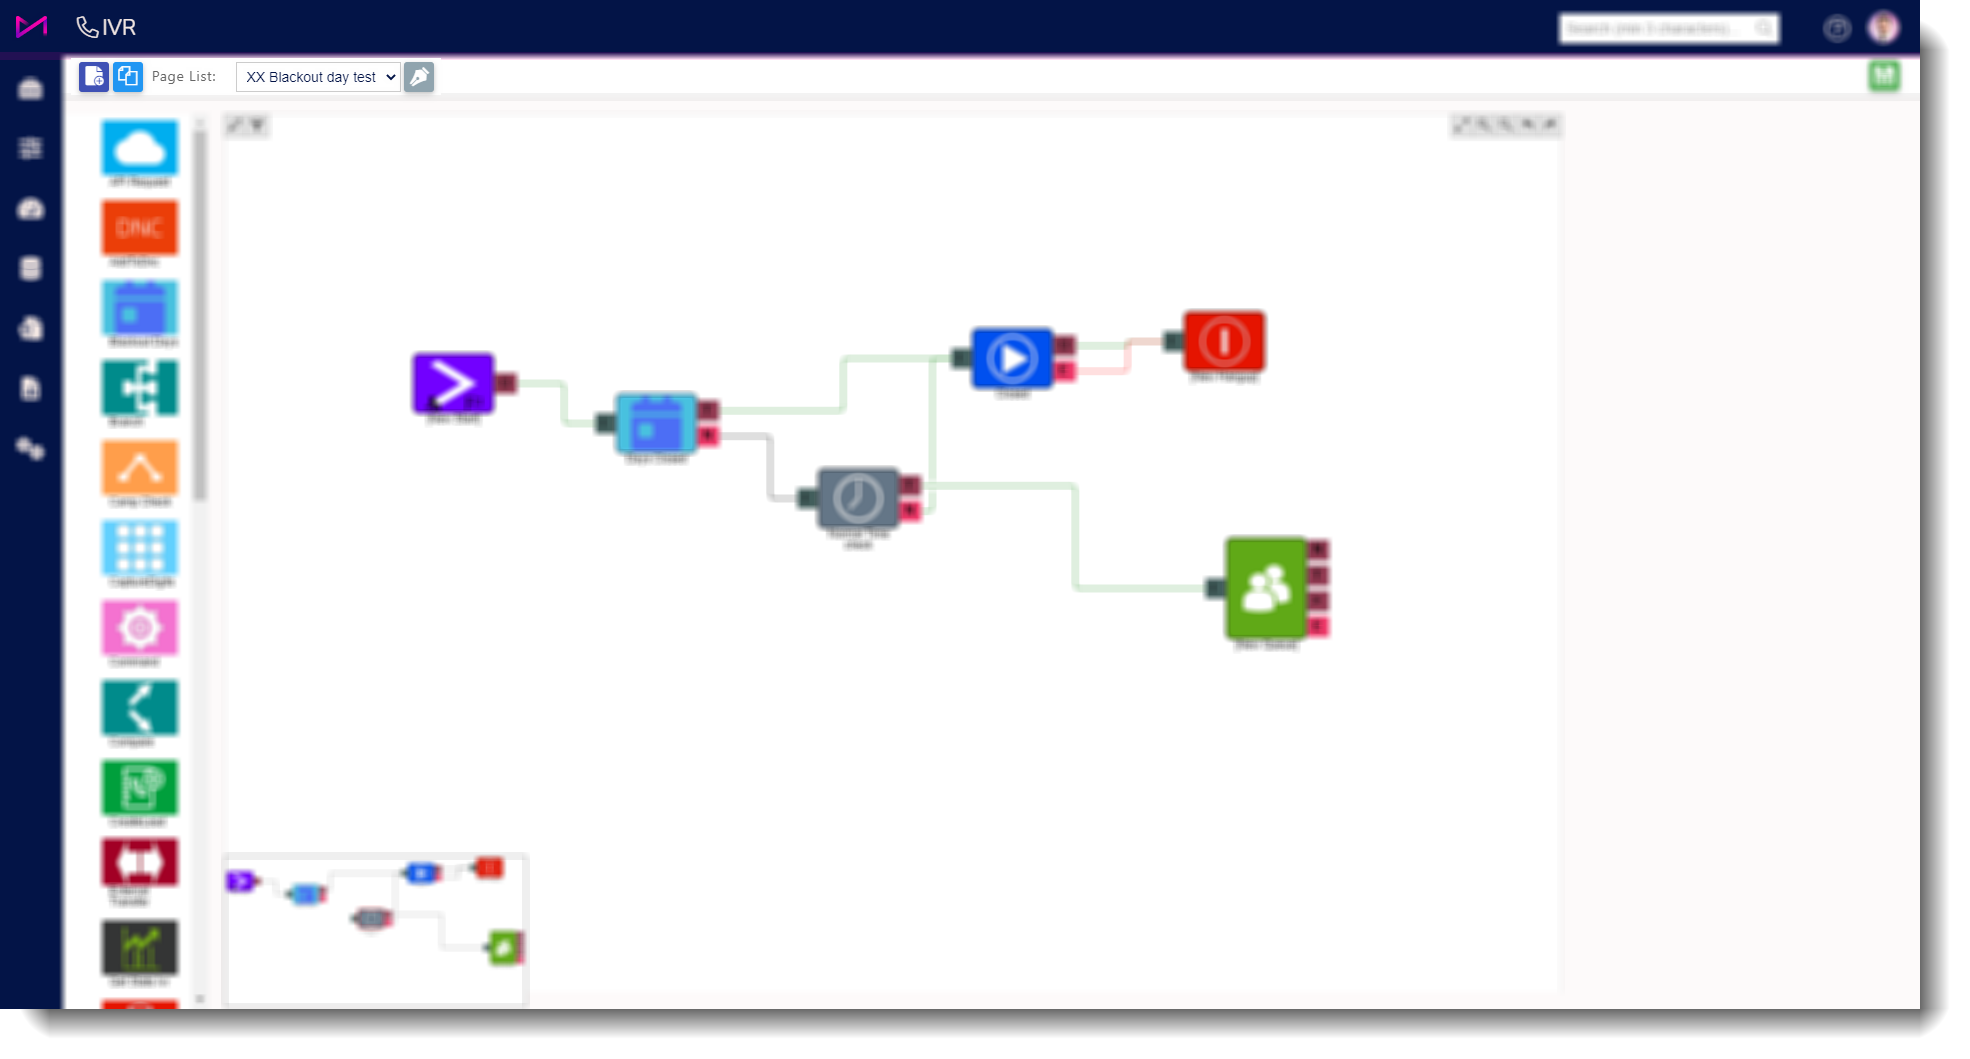
Fig 2. IVR should be shown on screen.
3 - Drag a blackout element onto the page and edit the properties by selecting it.
- Name the element accordingly (will also provide a reminder next year to change the dates! e.g. Xmas holiday closure 2021)
- Add the relevant days by selecting the 'Add' button on the right hand pane, then select the date(s) required. You can add a maximum of 7 days per element. To add more, simply chain another element after the first and connect via the N (no match) option.

Fig 3. Editing the days via the right hand panel.
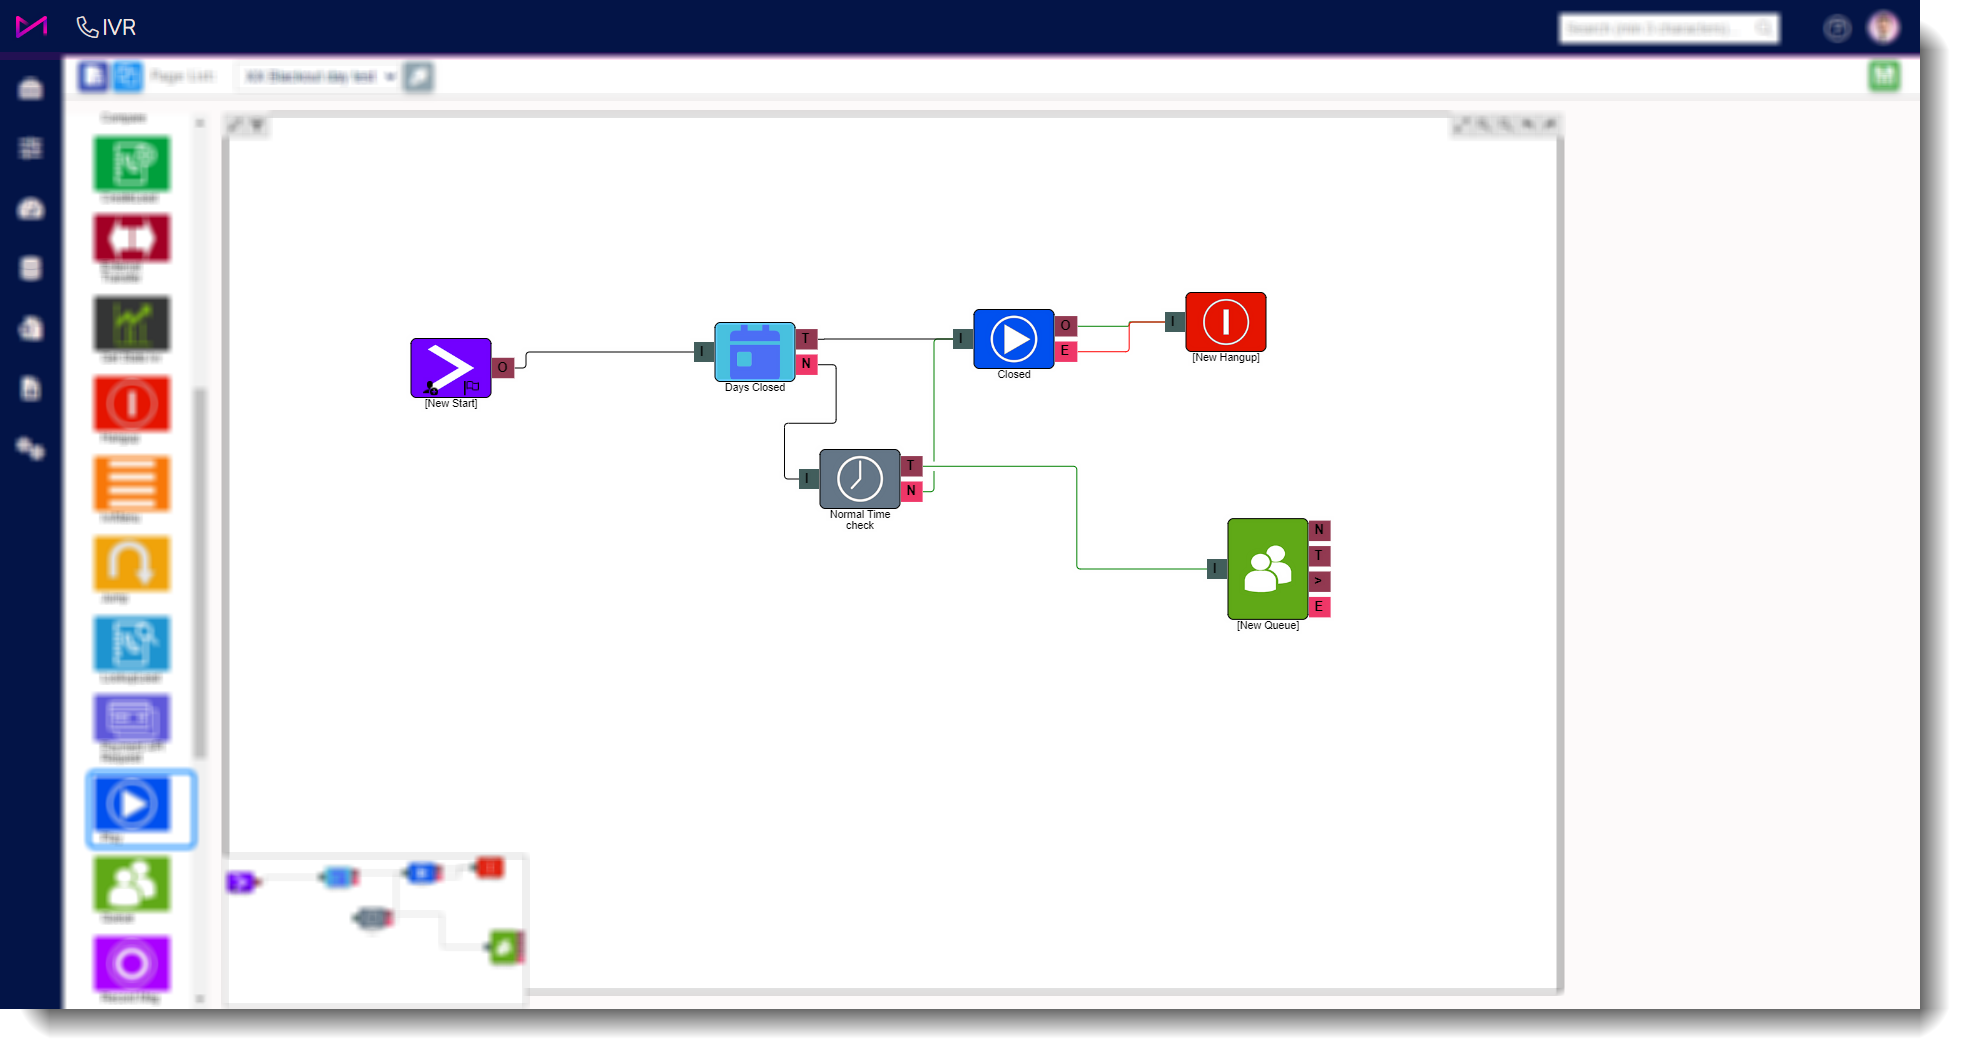
4 - Connect the element to your IVR. You may wish to add a separate out of office message either by using the Text To Speech element or by recording a separate message and adding it to a play element.
NOTE ON CONNECTING
The blackout element needs the T (true) connecting to the out of office message and the N (no match) should be connected to the next element in your 'standard' IVR.
e.g. if it matches the date (T) play the OOO message, if it doesn't match the date (N), continue as normal.
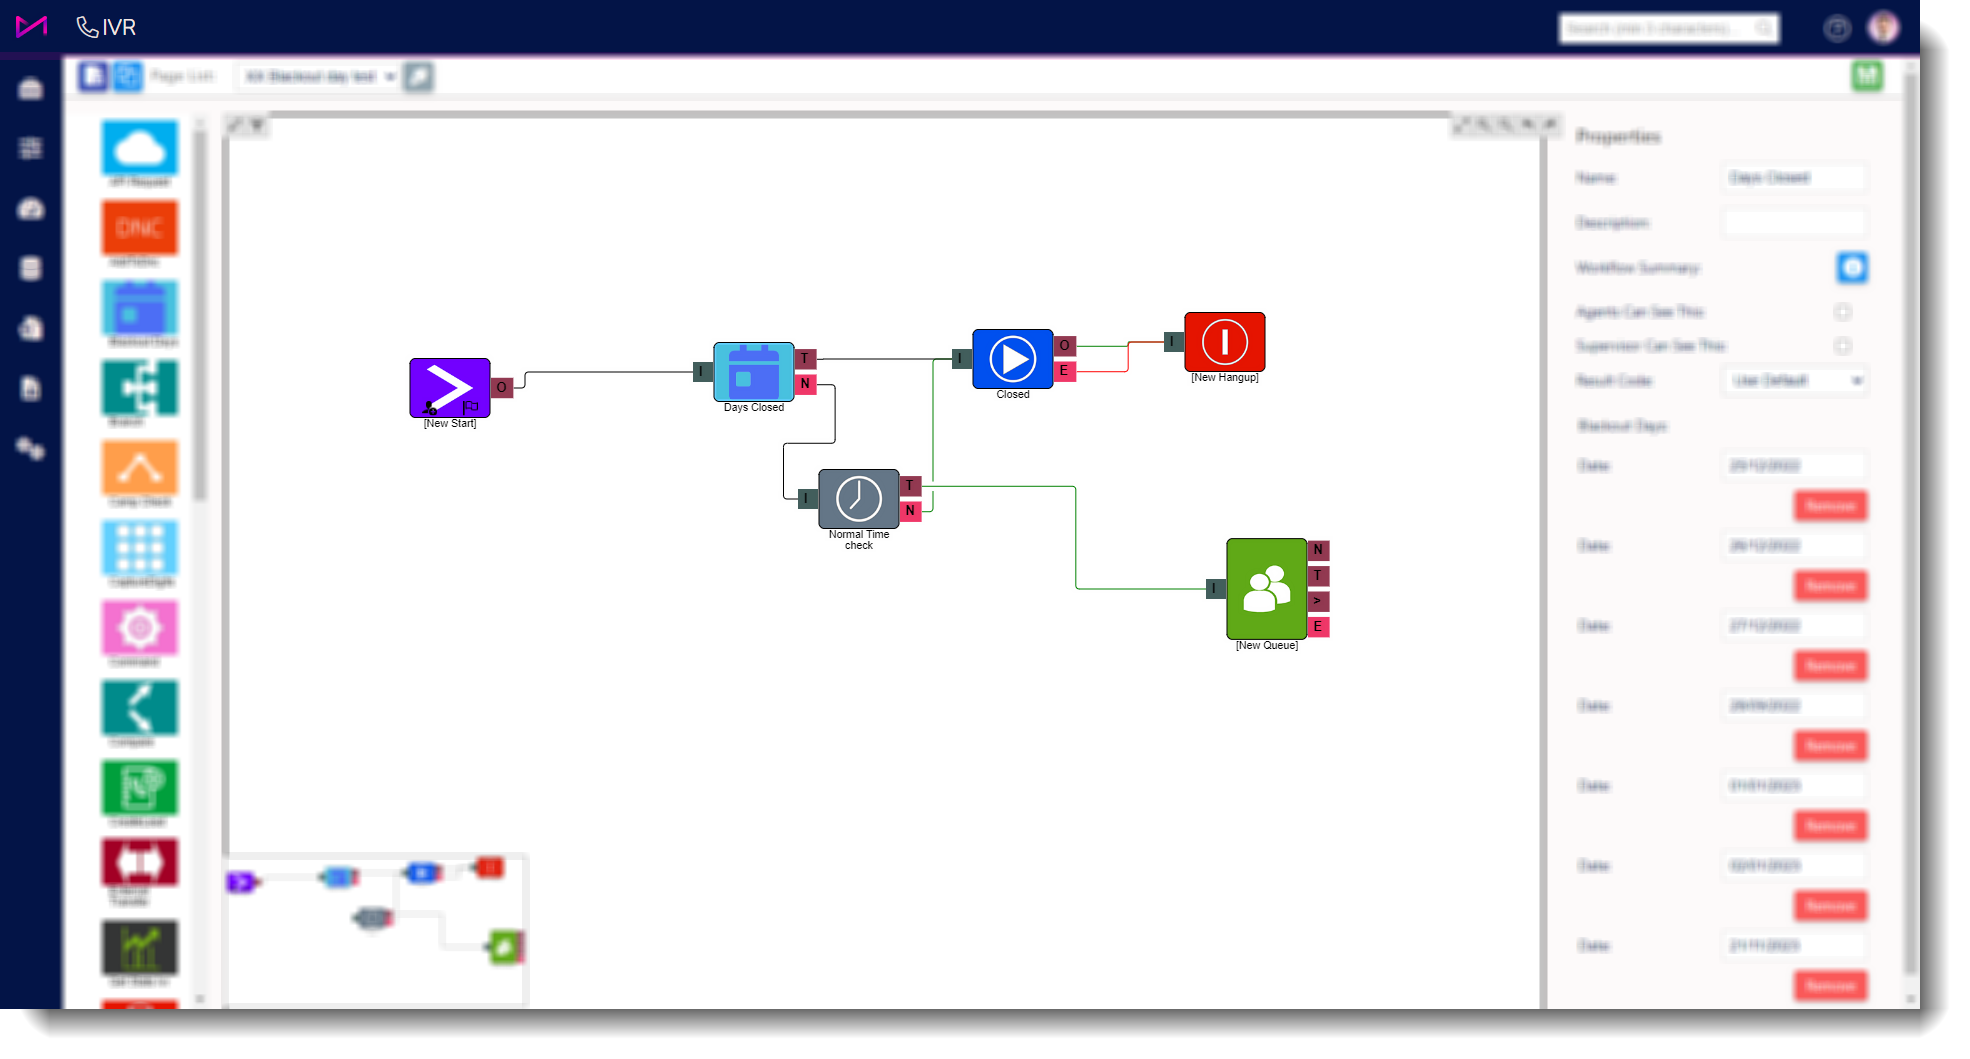
Fig 4. Blackout element connected to original IVR.
5 - Once you are happy with the IVR, select the save button in the top right of the page. If a customer rings in on the selected dates, they will hear your new out of office message/existing ooh message (depending on where you have routed it).
| Example with new out of office message | Example with existing out of hours message connected. |
 |  |