This guide provides a comprehensive overview of how to efficiently transfer email interactions within Contact Hub, highlighting the various methods available based on admin settings. It simplifies the process into clear steps, ensuring that users can easily navigate through options like User and Queue transfers.
For forwarding emails via Address Book and Third Party please refer to the following article.
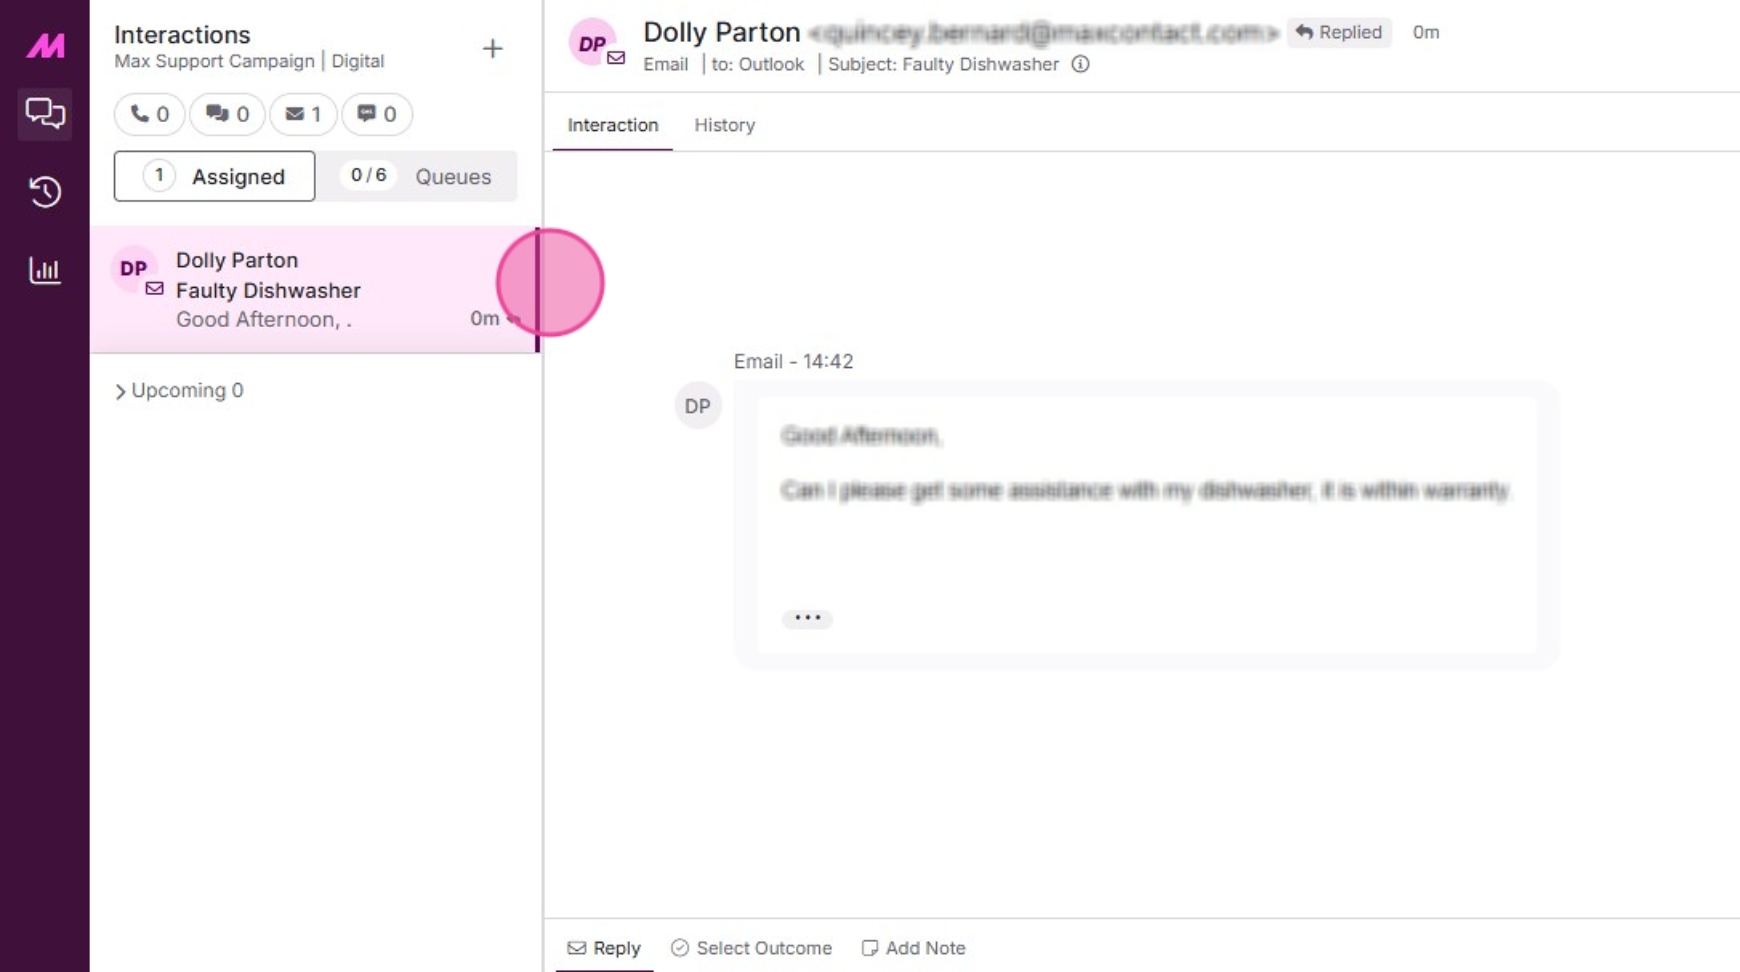
1. When dealing with an email interaction, you are able to transfer the interaction in up to 2 different ways (depending on Admin settings).
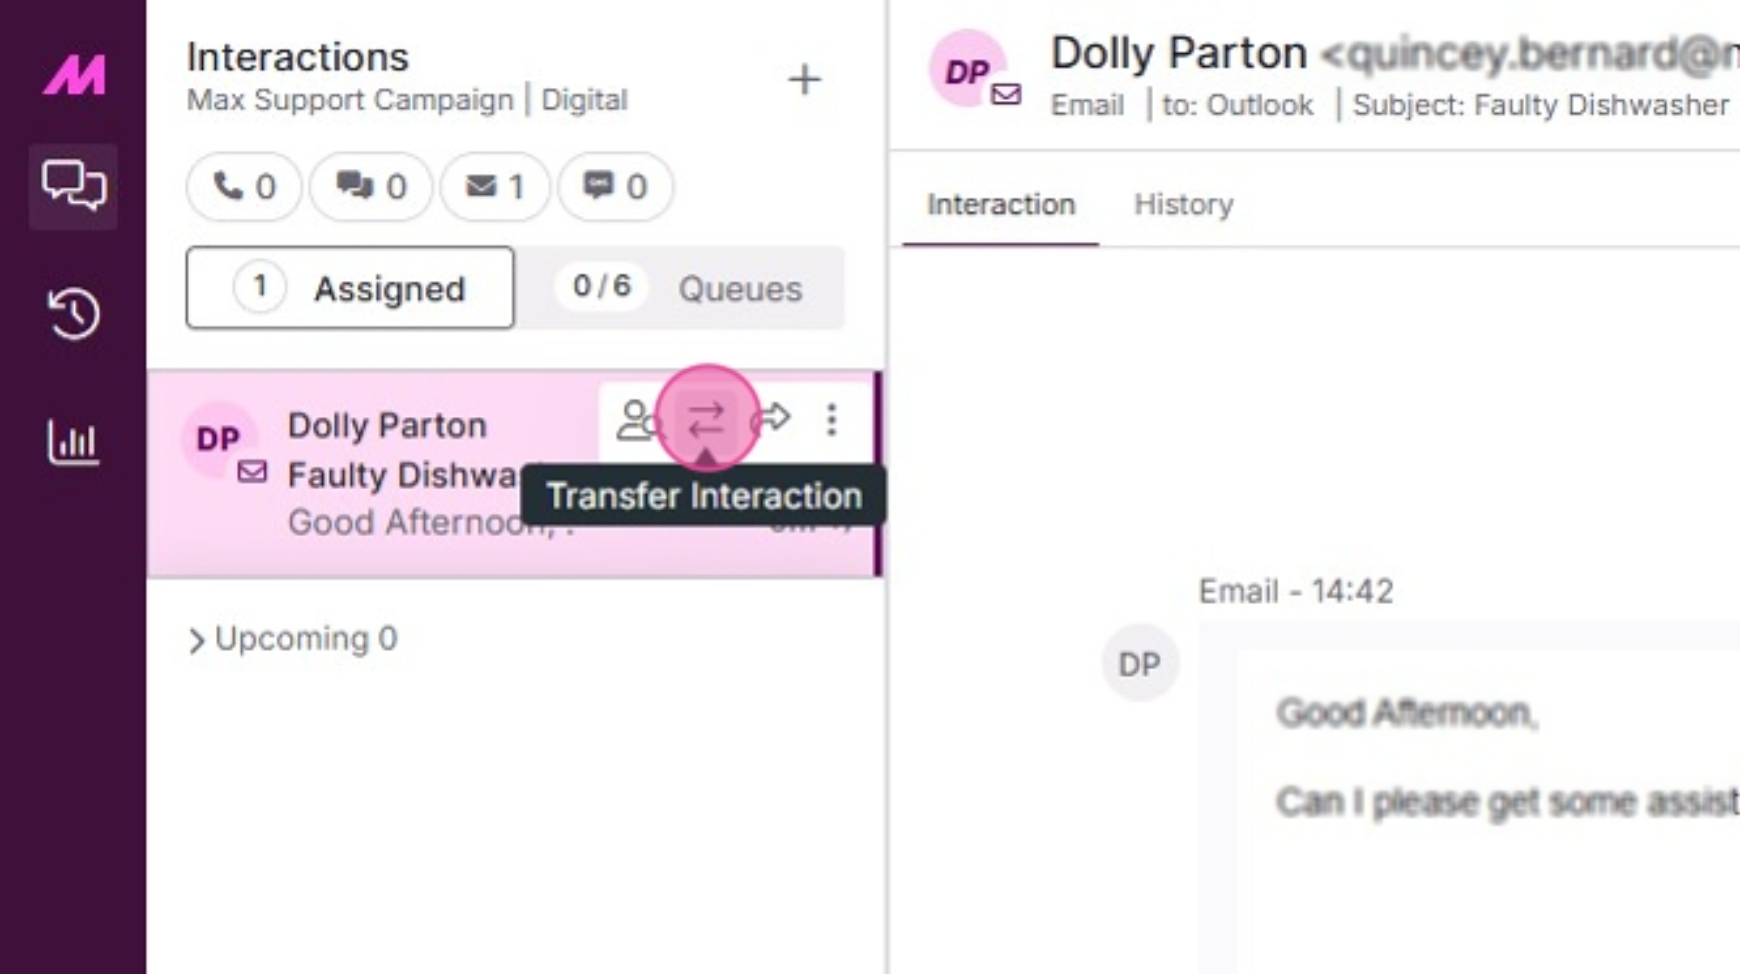
2. To begin the transfer process, simply hover over the interaction to reveal the quick action buttons. Select the Transfer Interaction button.
3. You will see the options available to you in the "Select a Transfer Type" card.
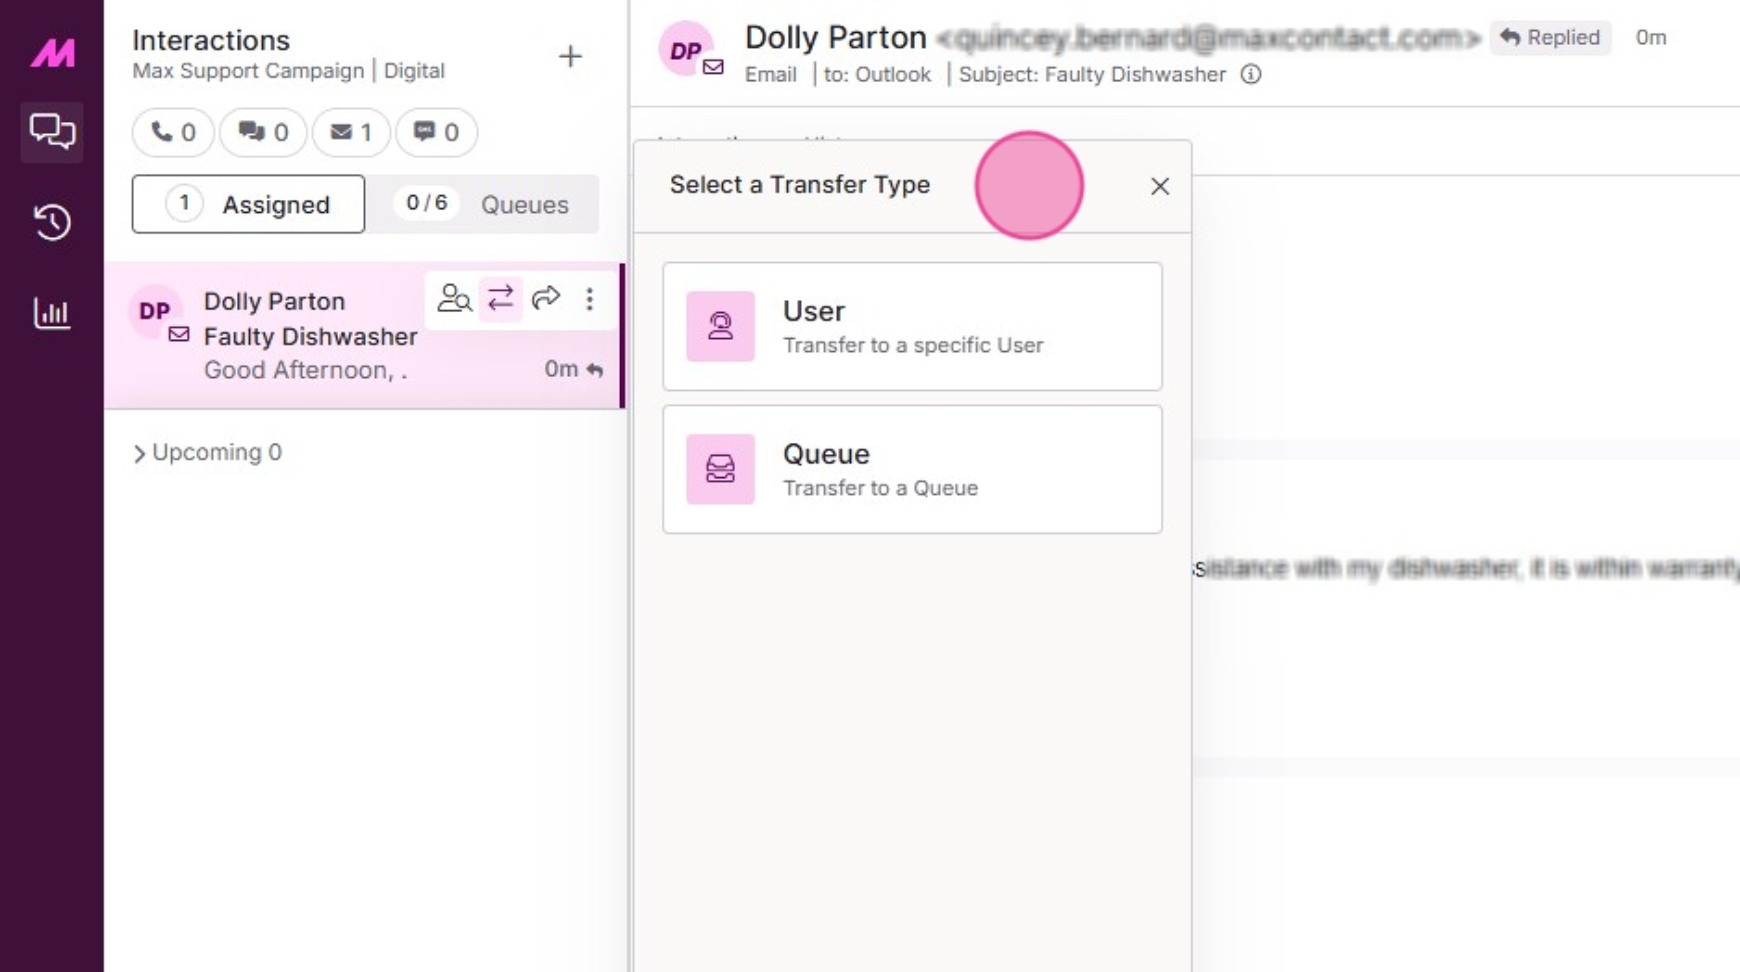
User Transfer
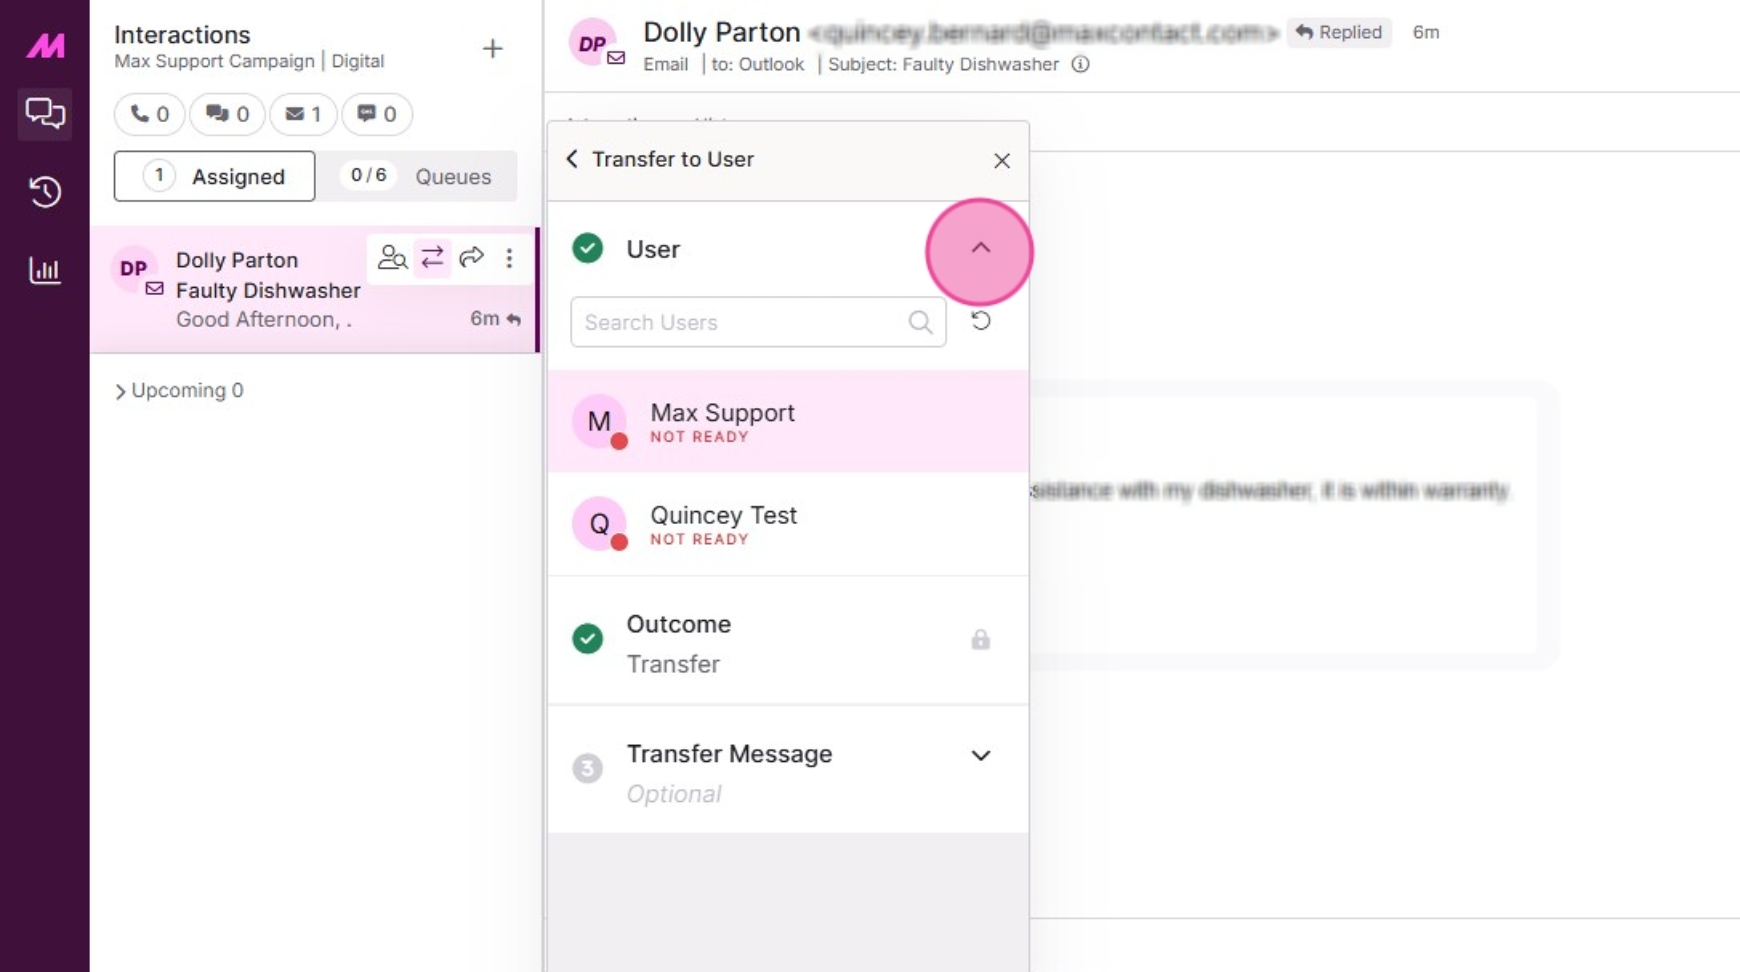
10. Select a User from the list of available Users.
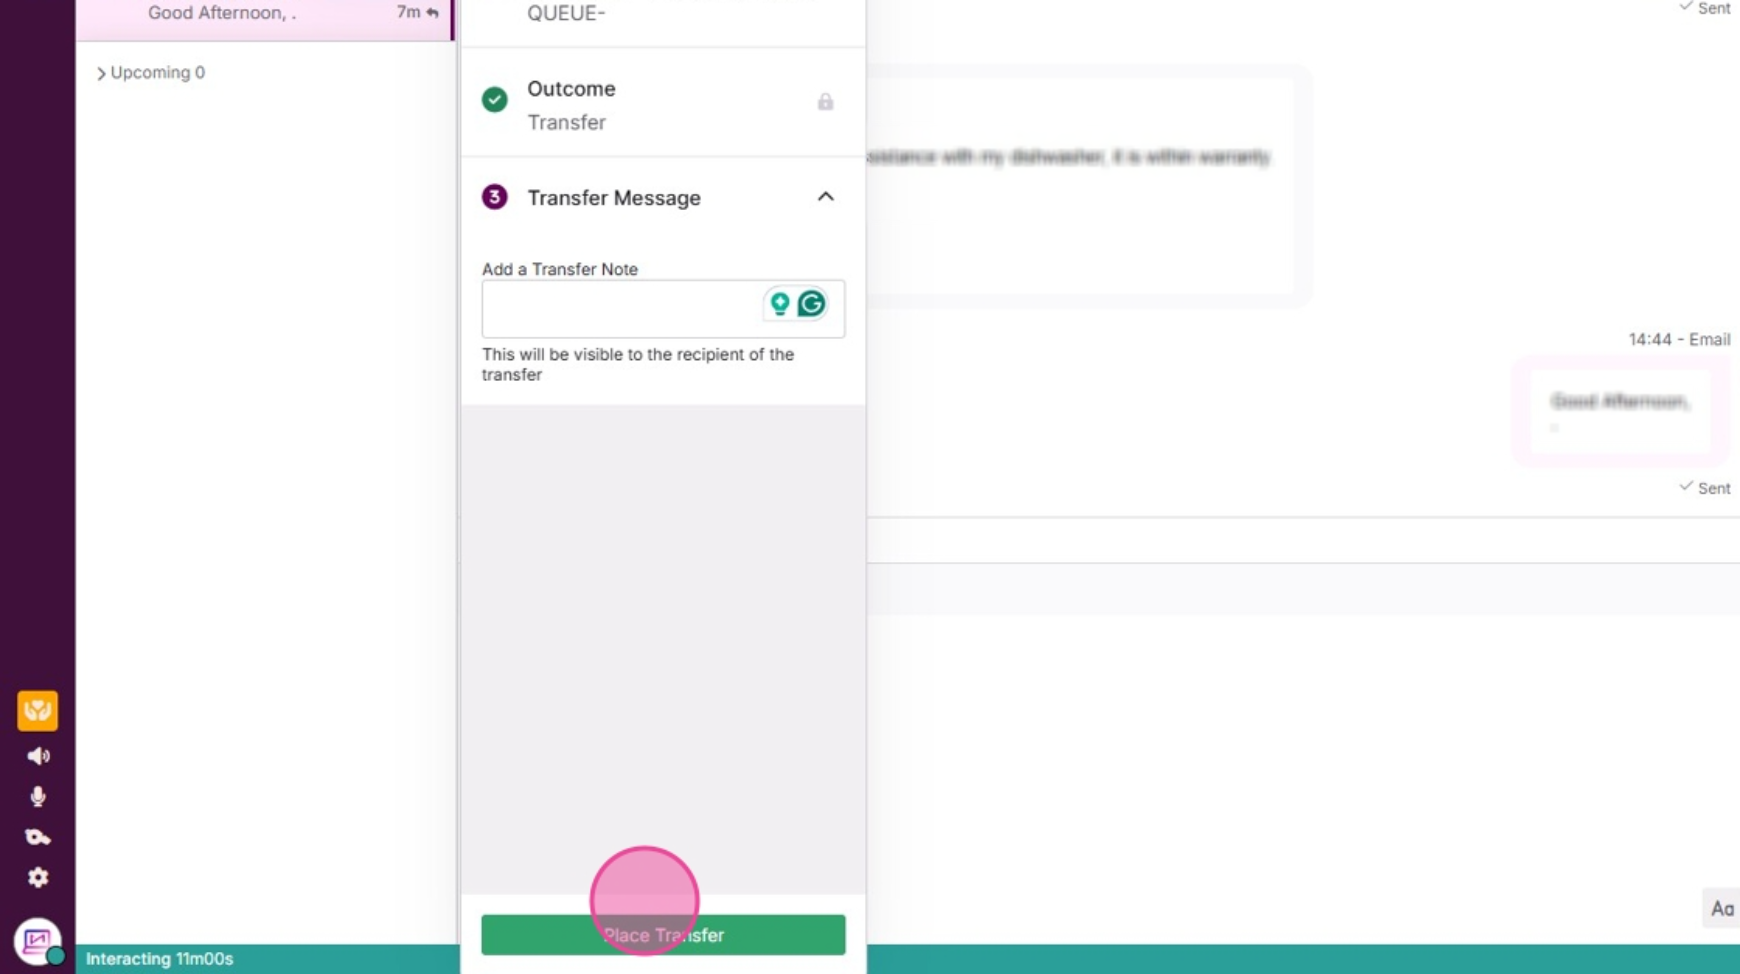
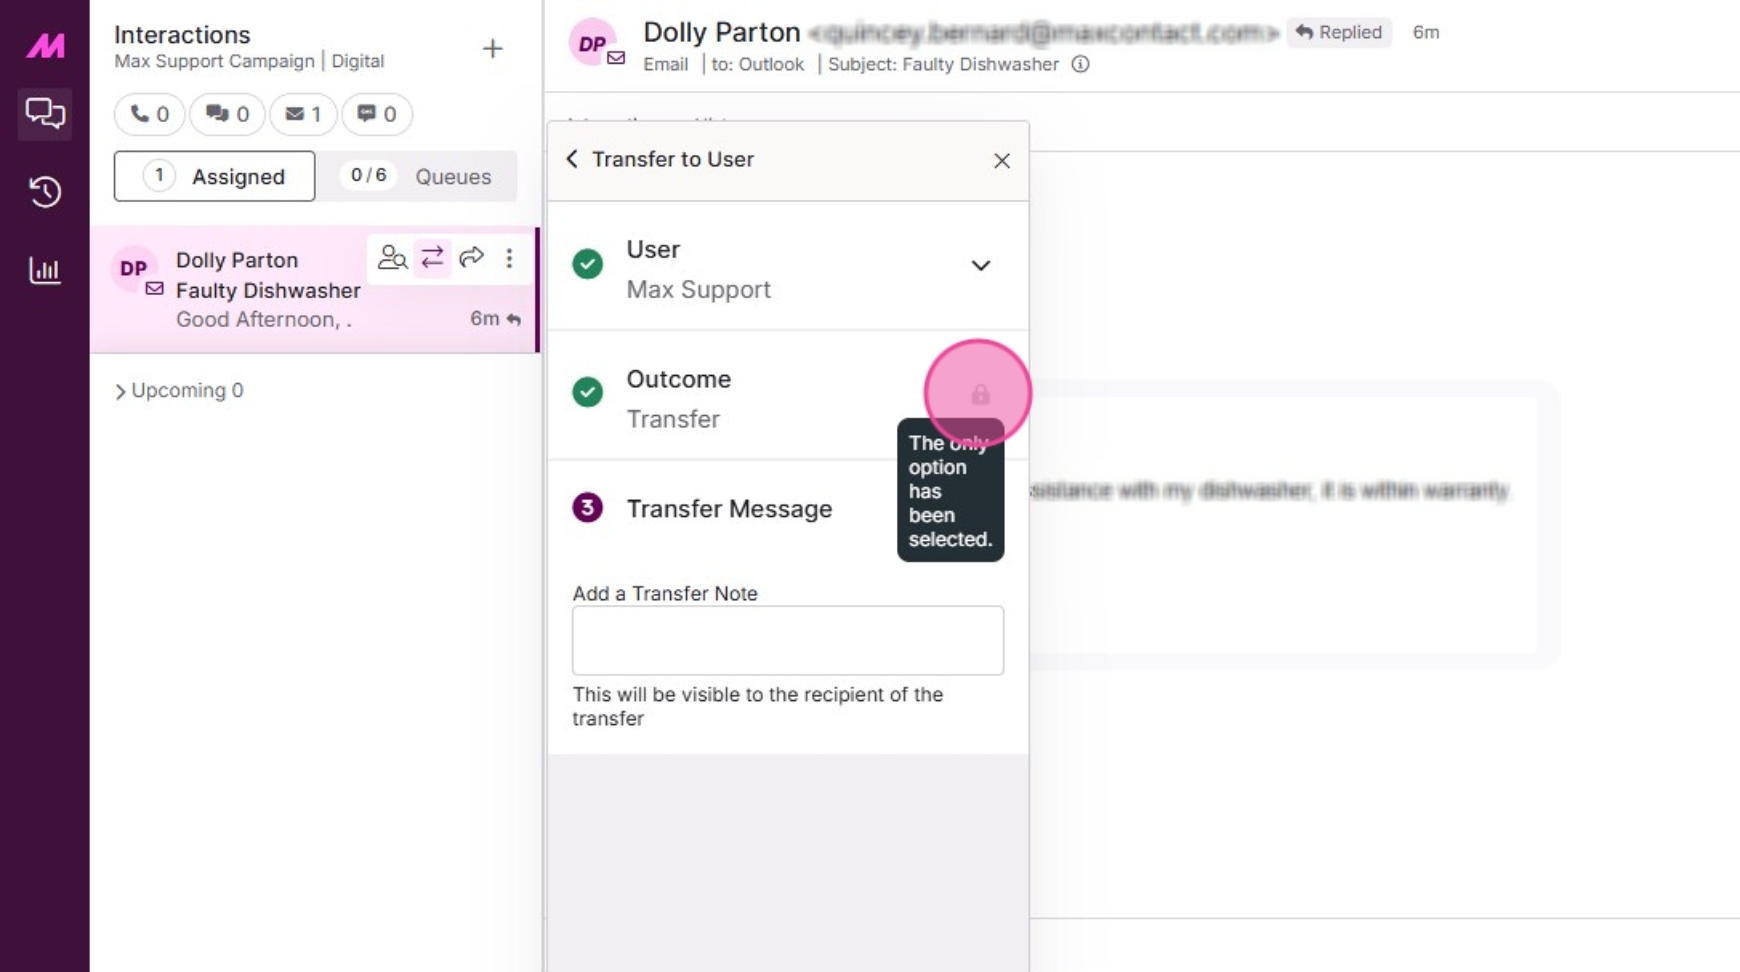
11. Select an outcome to use for the transfer.
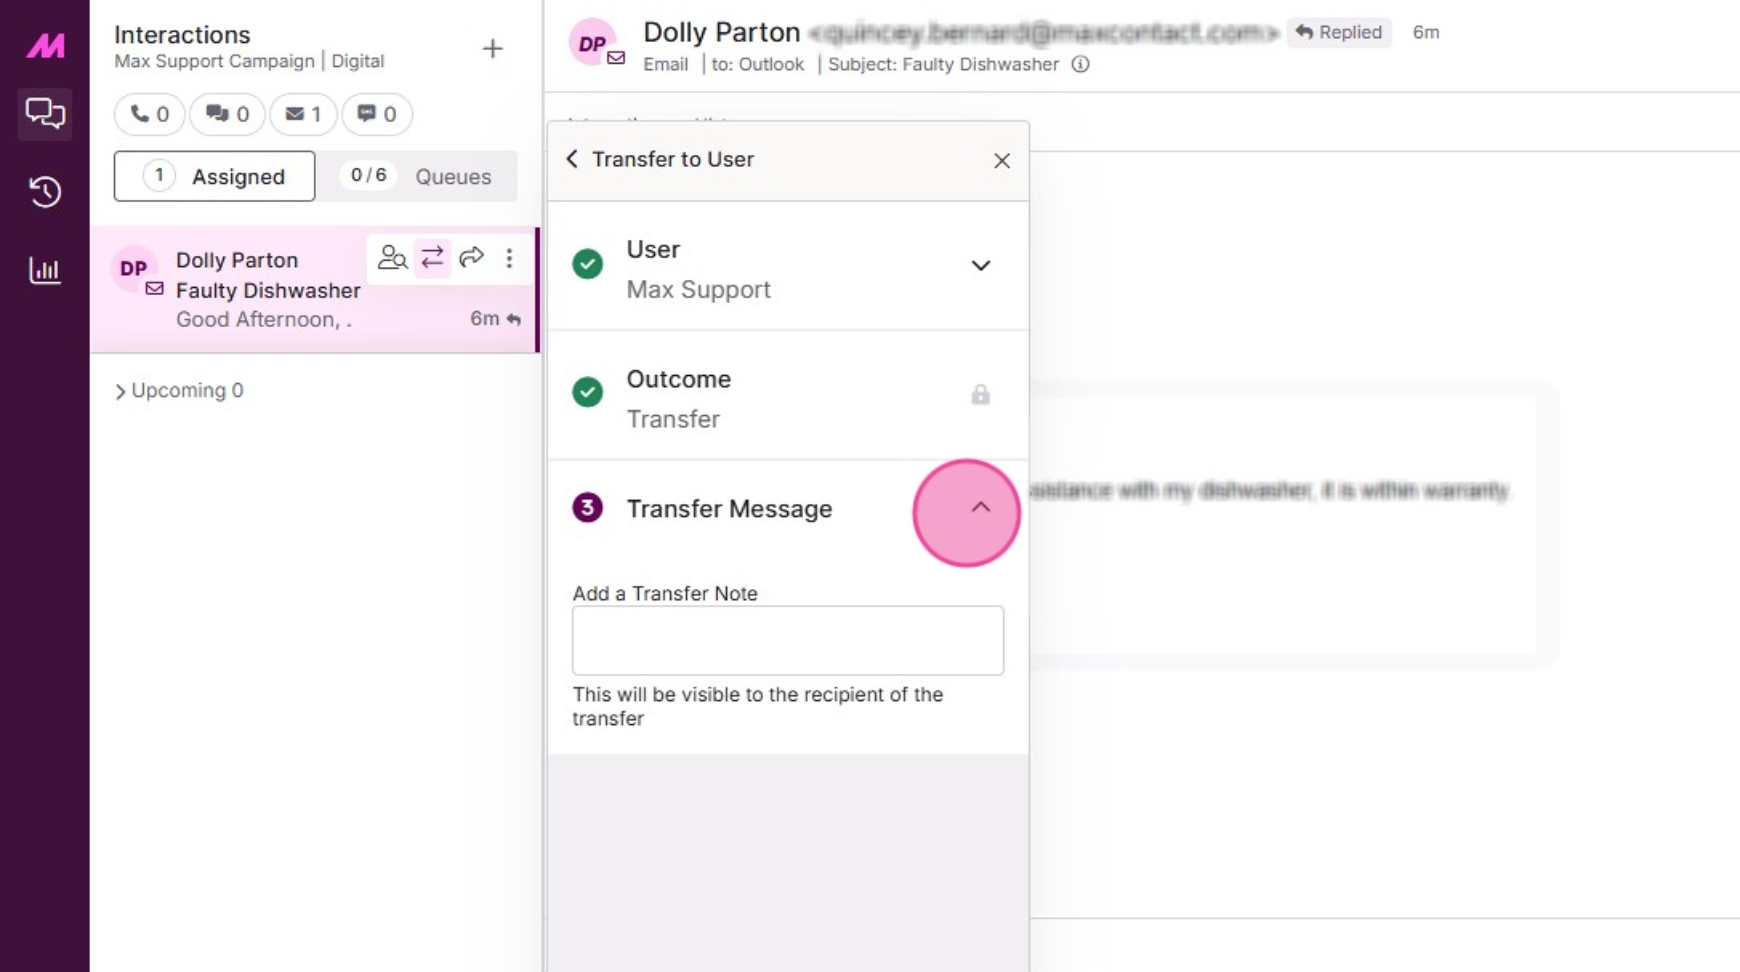
12. Add a transfer message.
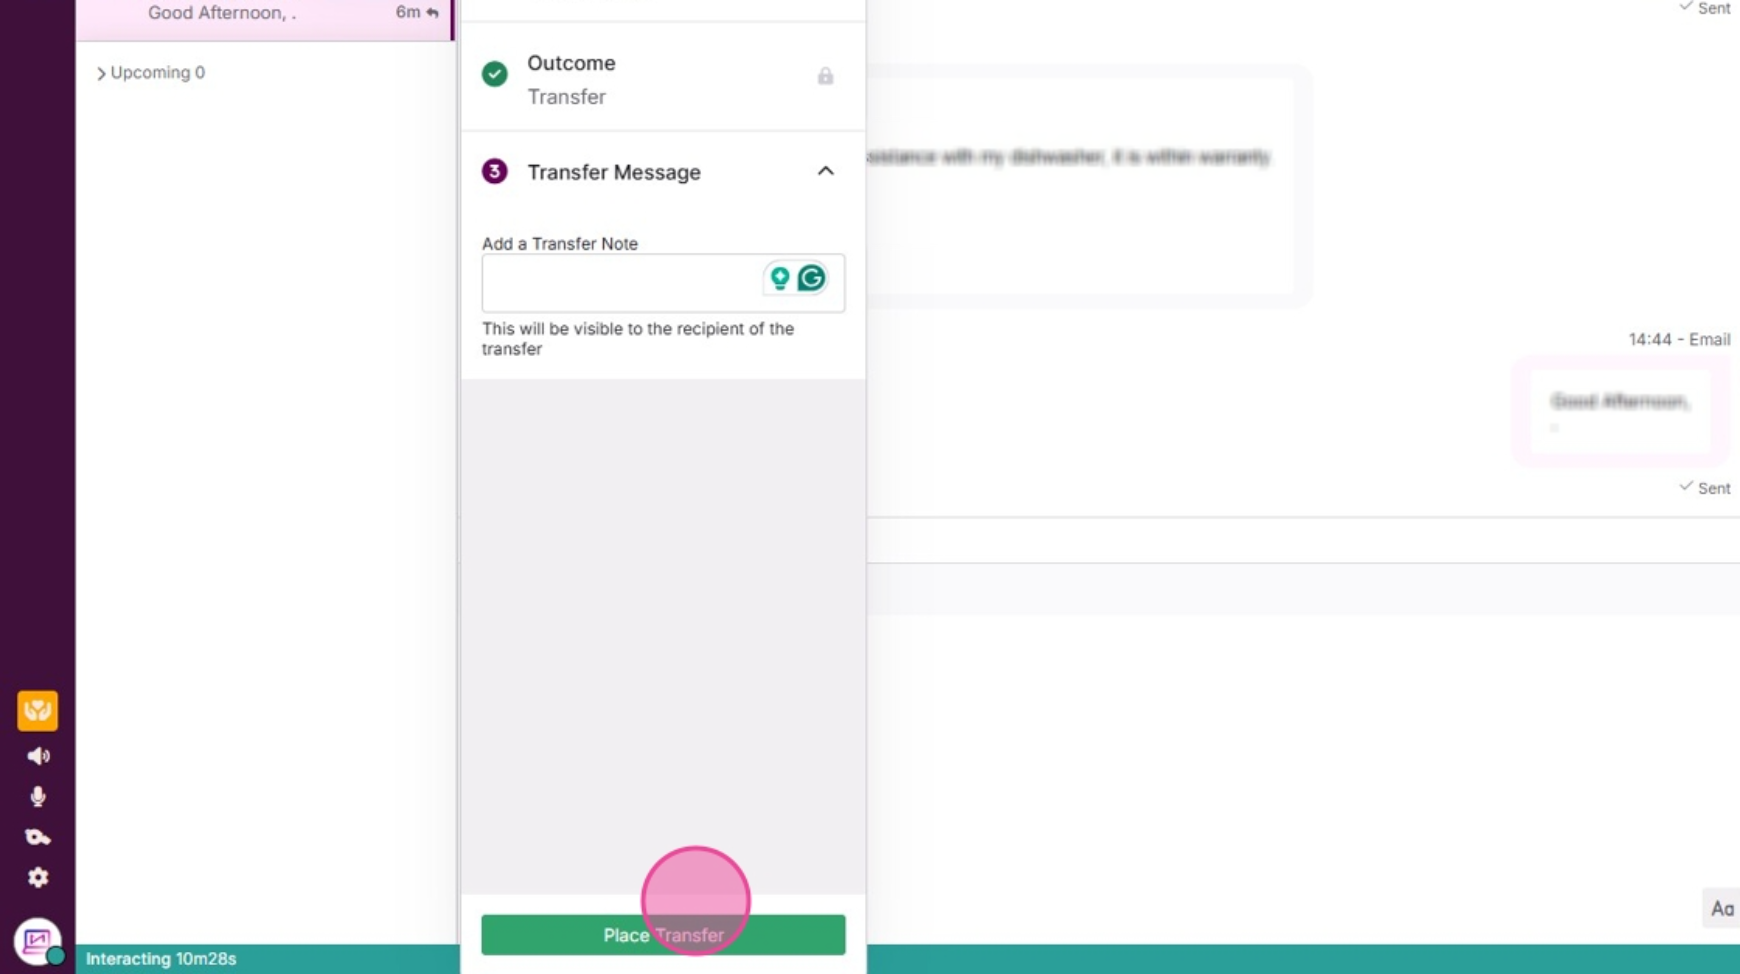
13. Click place transfer to initiate the transfer. The interaction will then leave your "Assigned to me" list.
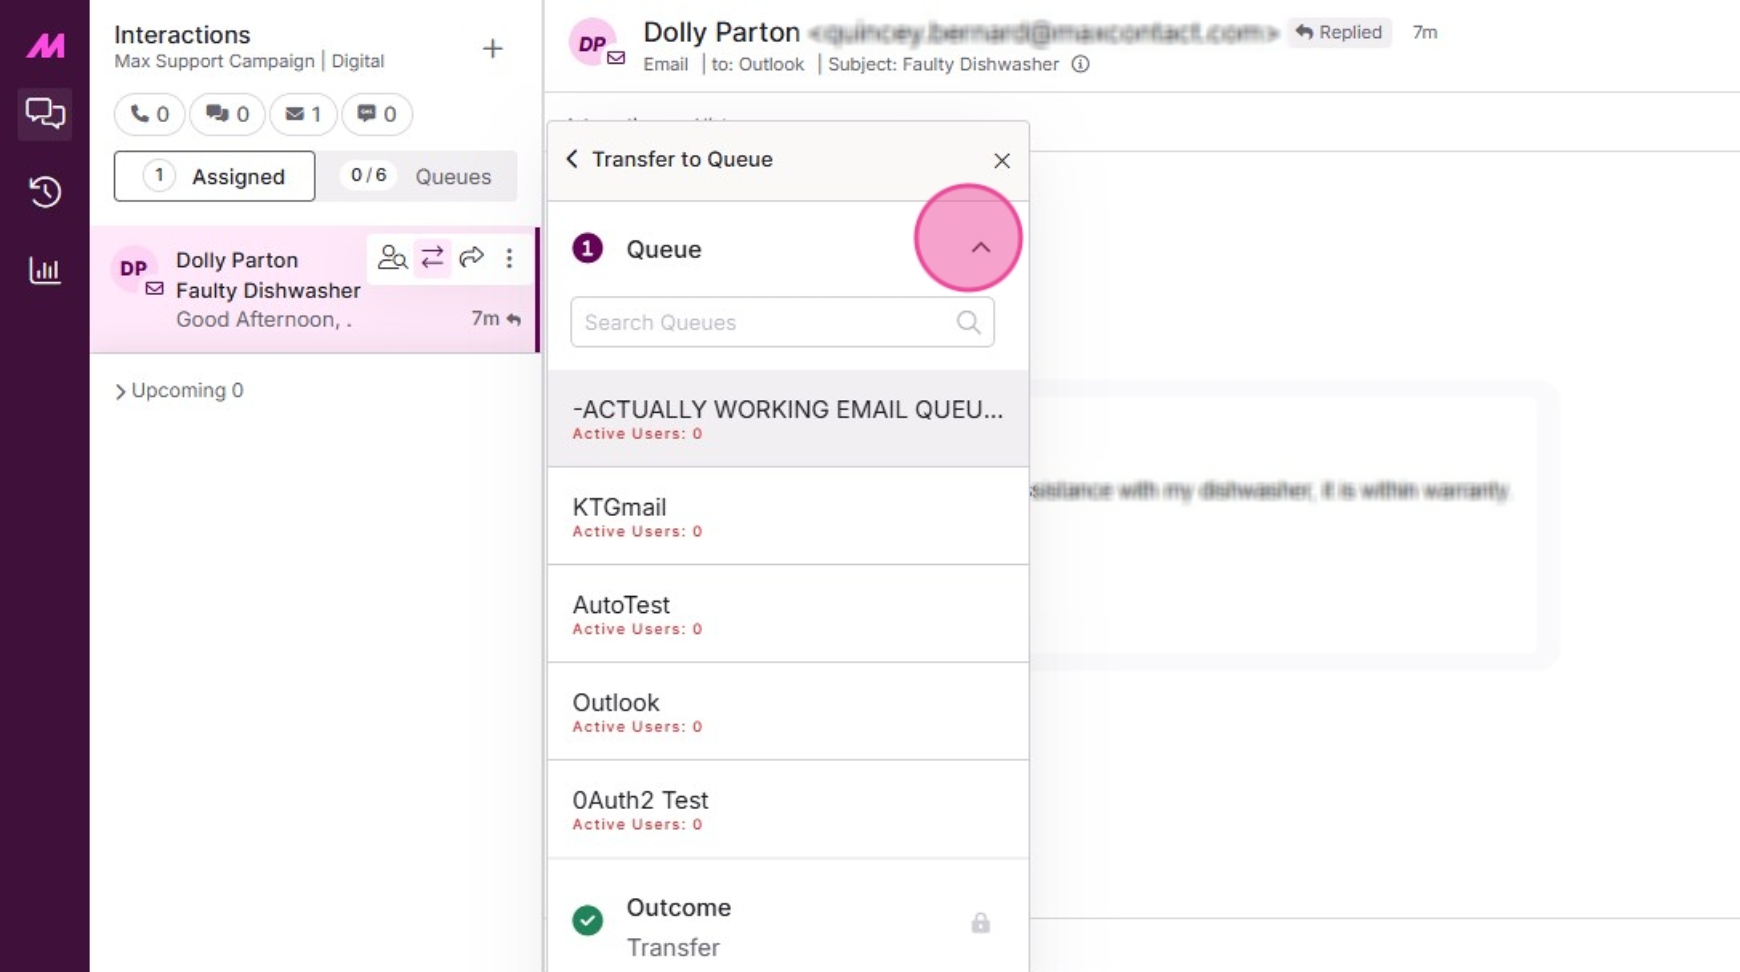
Queue transfer
14. Select a queue from your available Queues.
15. Choose an outcome to be applied to the transfer.
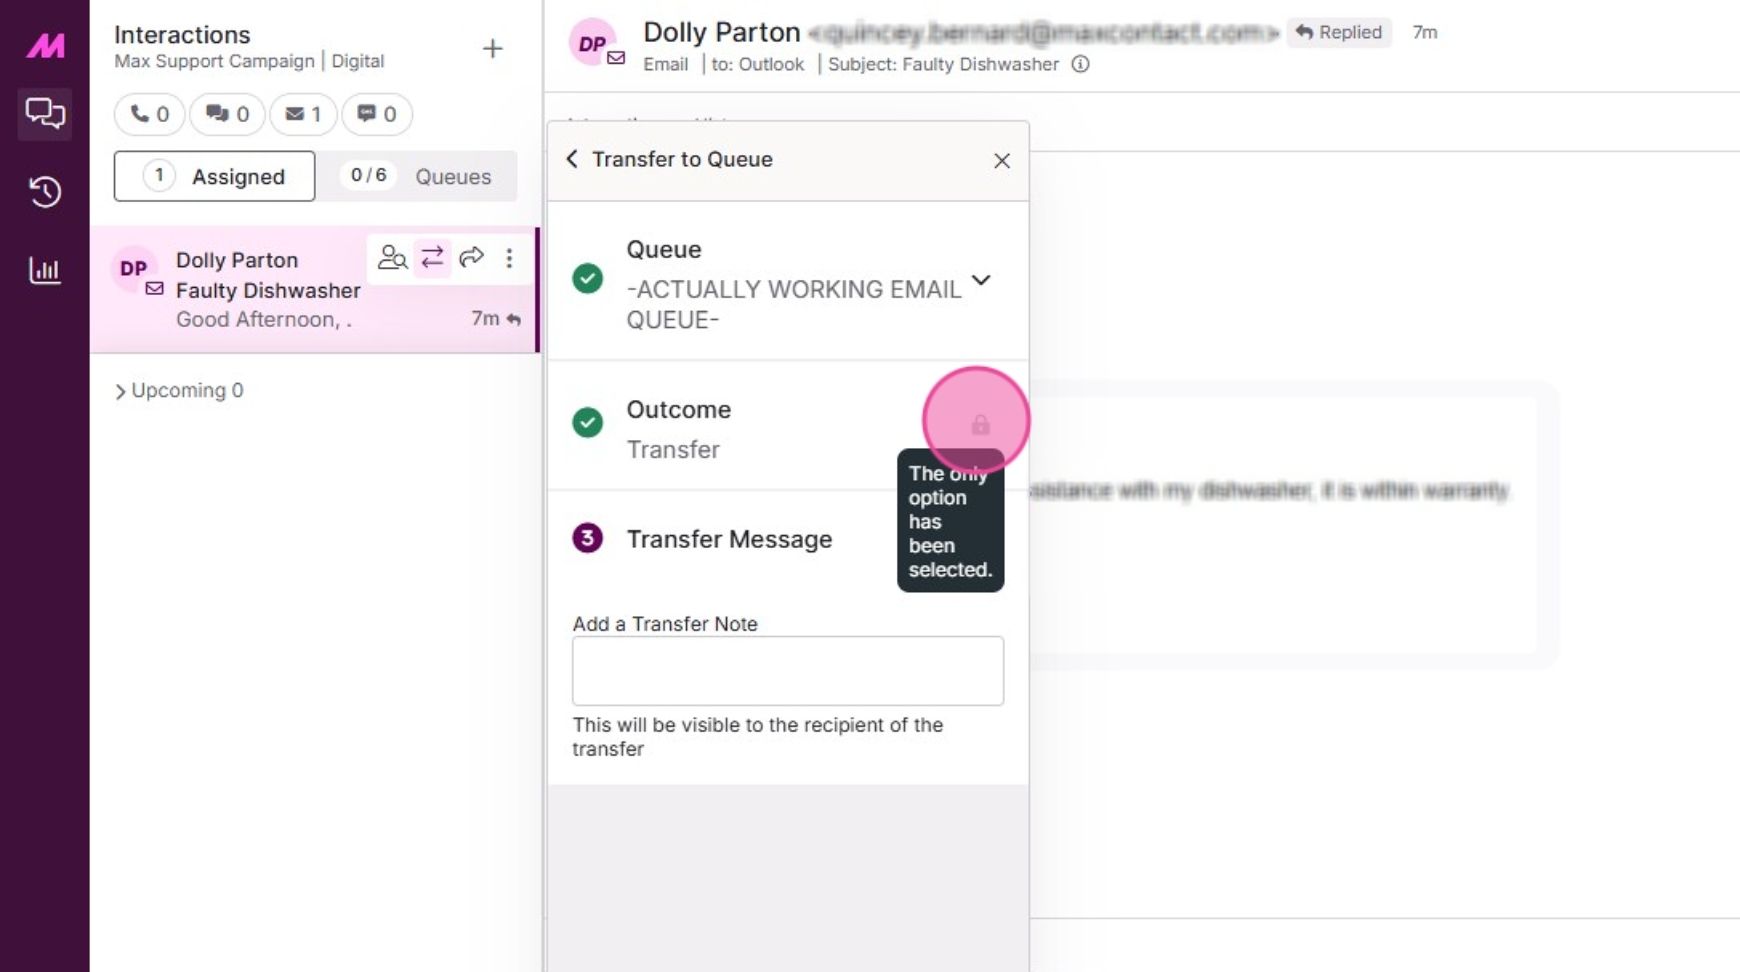
16. Add a Transfer message.
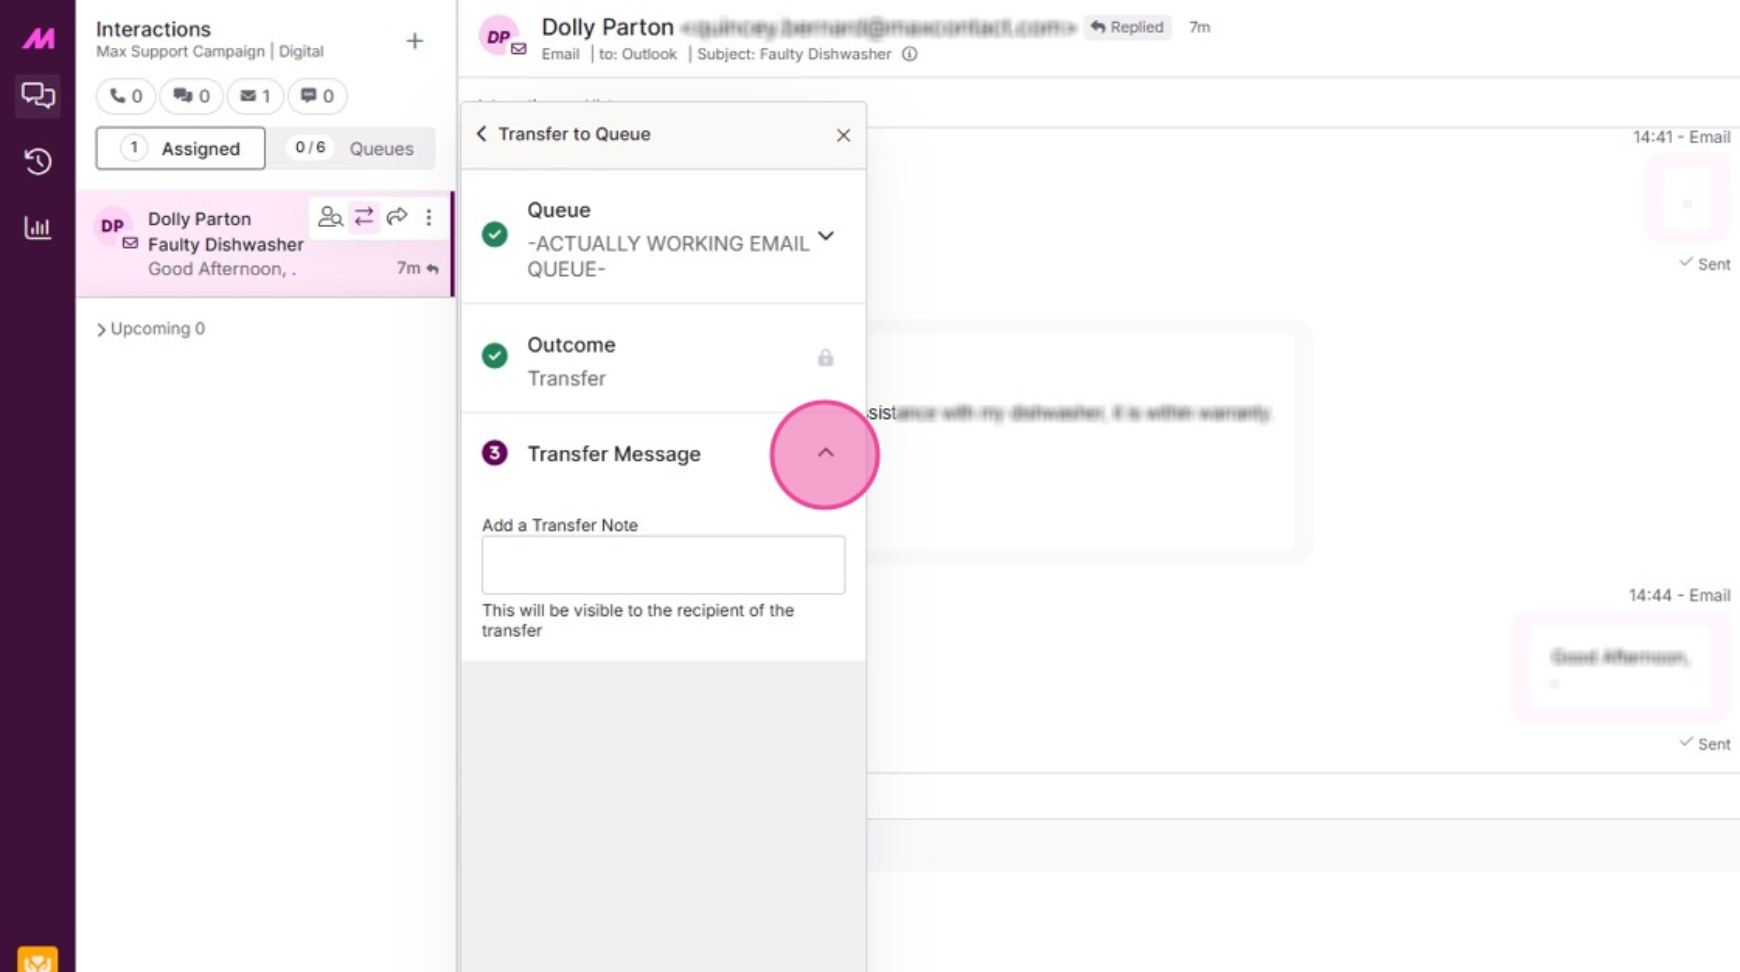
17. Click place transfer to initiate the transfer. The interaction will then leave your "Assigned to me" list.