
Webchat Channel Configuration Options
The webchat channel configuration is split across seven tabs. This article describes each tab and the settings within it.
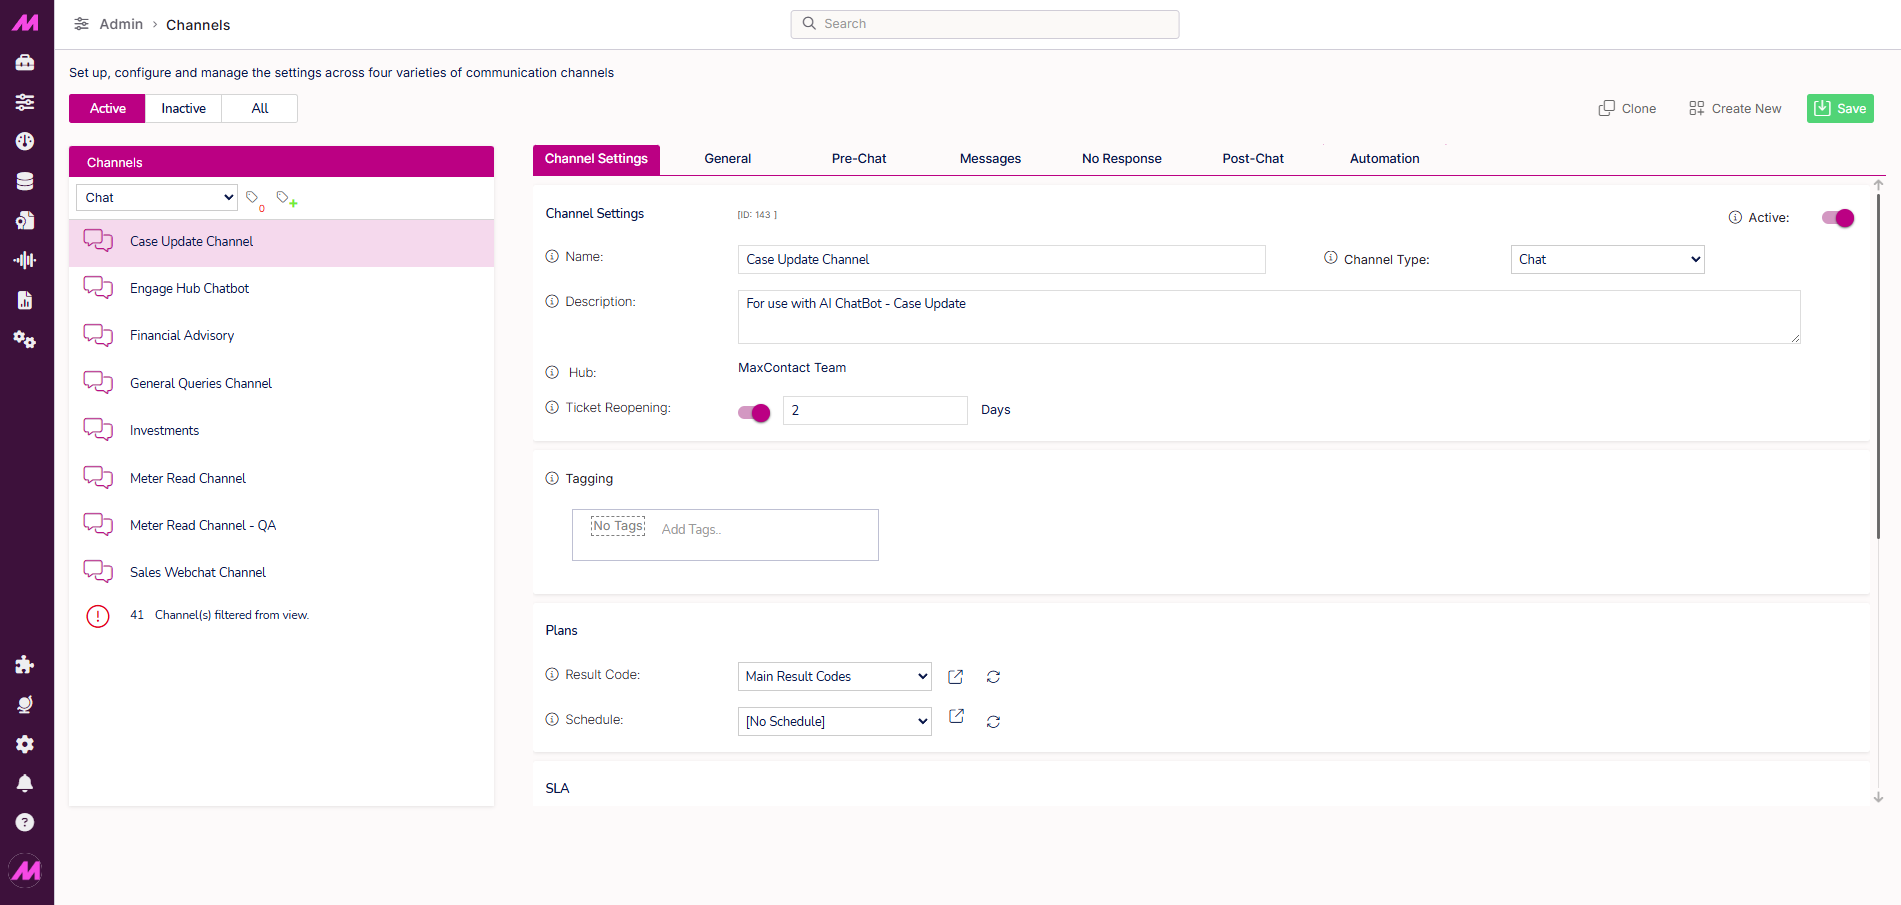
To access a webchat channel, go to Admin > Channels > Channels, filter by Webchat, and select the channel you want to configure.
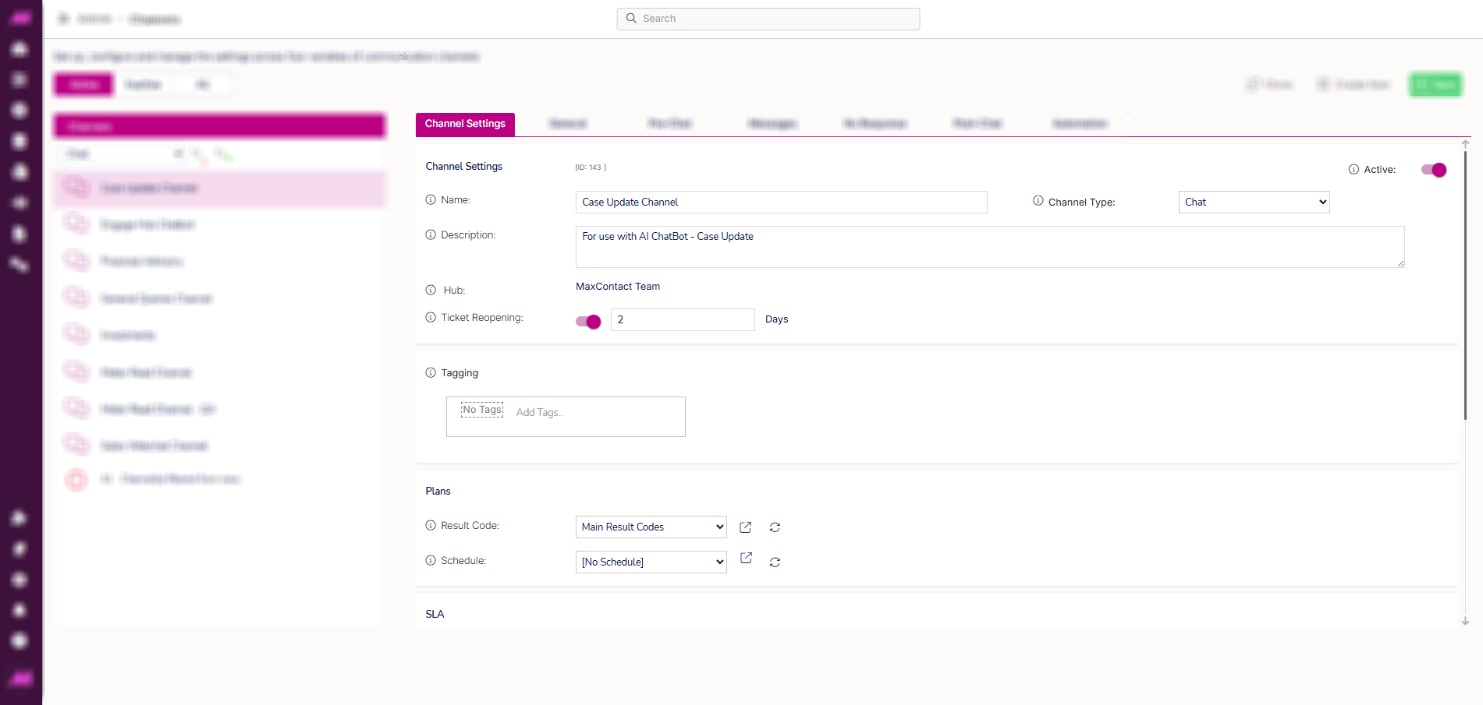
Channel Settings tab
Channel settings
| Setting | Description |
|---|
| Name | The channel name, visible to agents and used in reporting. Maximum 40 characters. |
| Channel type | The type of channel. Set to Chat. |
| Active | Toggle to make the channel active or inactive. |
| Description | An internal description for the channel. Not visible to customers. Maximum 1,000 characters. |
| Hub | Visible only when Channel Hubs are enabled. Displays the name of the Channel Hub this webchat channel is assigned to. |
| Ticket reopening | When enabled, a customer who returns within the specified number of days will reopen their previous ticket rather than creating a new one. Enter the maximum number of days a ticket can be reopened. If the period has expired, a new ticket is created automatically. |
Tagging
Visible only when the tagging feature is enabled. Select the tag field to assign or remove tags on this channel. Tags control which agents can see and access the channel. For more information, see Tagging — Where and how it affects the system.
Plans
| Setting | Description |
|---|
| Result code | The result code plan used for interactions on this channel. Only result codes within the selected plan are available to agents when dispositioning. Use the Go to button to edit the selected plan. Result codes must also have the Webchat channel type assigned in their configuration to appear. See Result Codes for more detail. |
| Schedule | The schedule plan for this channel, controlling when it is open or closed. When a schedule is assigned, out of hours automation in the Automation tab becomes available. Use the Go to button to edit or create schedule plans. See Plans for more detail. |
SLA
| Setting | Description |
|---|
| Response time | The maximum time an agent should take to respond to an interaction. A countdown timer is displayed on the interaction tab in Contact Hub. |
| Response warning | The percentage of the response time at which agents are warned they are approaching the SLA. The interaction tab changes from green to amber at this point. Set to 100% to disable the warning. |
User settings
| Setting | Description |
|---|
| Capacity | The maximum number of concurrent webchat interactions an agent can handle from this channel at any one time. Capacity is cumulative across all channels an agent is assigned to unless a specific user capacity plan is set. See Agent Capacity Plans for more detail. |
| Force ready | When disabled (default), agents go Not Ready when they receive an interaction and return to ready manually. When enabled, agents remain ready after receiving an interaction until their capacity is filled, and automatically return to ready once capacity drops. Agents can only leave the campaign or take a break after their current interactions are completed. |
Scripting
| Setting | Description |
|---|
| Enable | Toggle to enable or disable the use of a script on this channel. |
| Provider | Select Max to use a script built within MaxContact, or Other to use an external CRM or third-party system. |
| Max Script | The MaxContact script to display to agents for interactions on this channel. Only available when Provider is set to Max. |
| Script URL | The URL for the script. Populated automatically for Max scripts. Enter the URL manually when Provider is set to Other. |
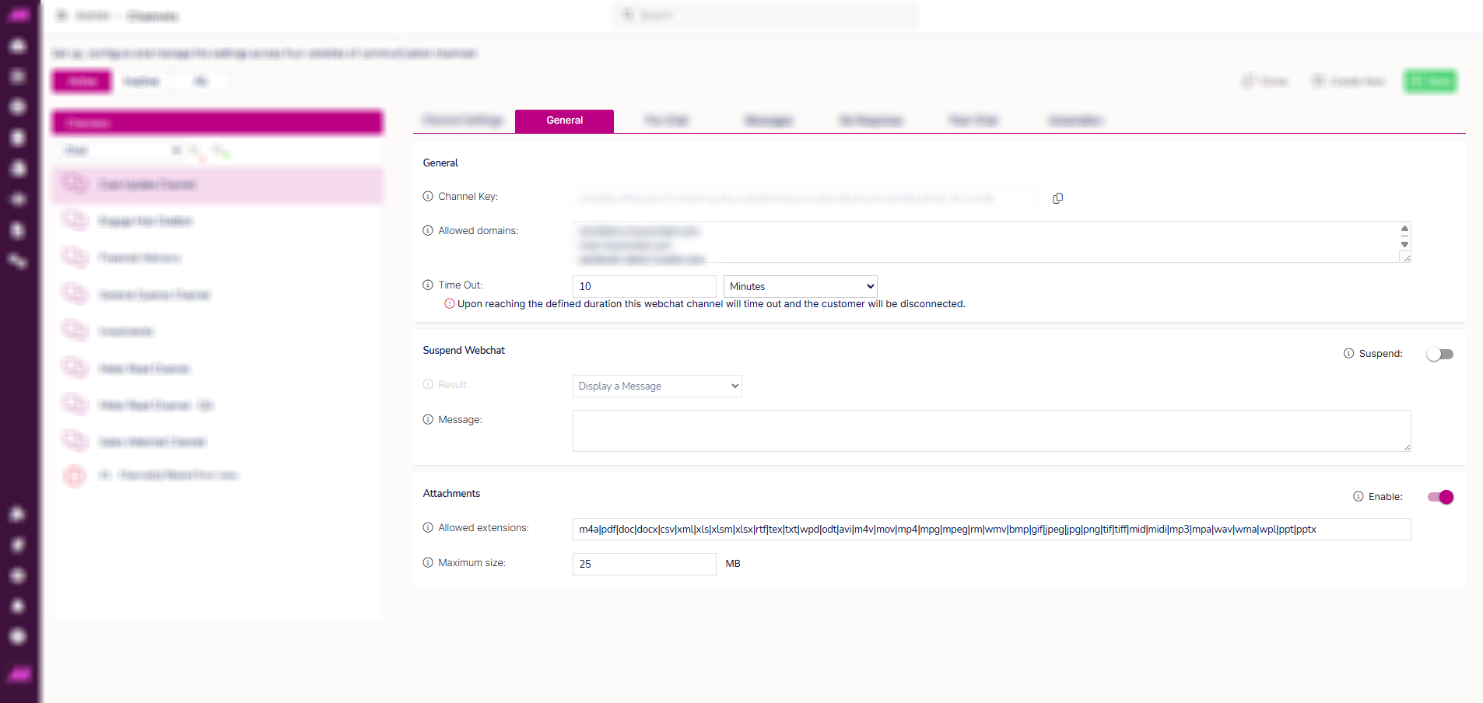
General tab
General
| Setting | Description |
|---|
| Channel key | A unique key generated when the channel is created. Your website team uses this to integrate the webchat widget with your website. Contact the MaxContact support team if you need guidance on this after go-live. |
| Allowed domains | The website URL(s) where the webchat widget is permitted to appear. Used to prevent unauthorised third parties from loading the widget. Wildcard entries are supported (e.g. example.co.uk). Enter * alone to allow all domains. |
| Time out | The maximum time a customer will wait in the queue before being disconnected. Can be set in seconds, minutes, hours, or days. Set to 0 for no timeout. If the timeout exceeds the abandon threshold on the associated queue, the interaction will be counted as an abandon. |
Suspend webchat
| Setting | Description |
|---|
| Suspend | Toggle to temporarily suspend the webchat channel. Off by default. |
| Result | What customers see while the channel is suspended. Options are: Hide webchat, Display a message, or Display email form. If Display email form is selected, configure the email form in the Automation tab. |
| Message | The message displayed to customers when the channel is suspended. Available when Result is set to Hide webchat or Display a message. |
Attachments
| Setting | Description |
|---|
| Enable | Toggle to allow customers and agents to send file attachments in the chat. |
| Allowed extensions | The file types permitted as attachments, separated by. Attempted uploads of unlisted types are rejected with a notification to the sender. Supported extensions include common document, image, audio, video, and spreadsheet formats.
To see the supported formats, hover over the tooltip. |
| Maximum size | The maximum permitted file size in MB. Must be between 1 and 30. |

Pre-chat tab
Customer reference
| Setting | Description |
|---|
| Customer details headline | The headline text displayed to the customer in the top bar of the webchat widget when they are prompted to enter their details. The text is automatically prefixed with "Hello," — for example, "Please enter your details" displays as "Hello, please enter your details." Maximum 55 characters. |
Customer information display
Visible only when enabled on the system. Provides two toggles to control what additional information is presented to agents about the customer.
| Setting | Description |
|---|
| Display IP and location information | When enabled, presents the agent with additional customer information such as IP address and location at the start of the interaction. |
| Display referrer webpage | When enabled, presents the agent with the URL of the webpage the customer was viewing when they initiated the webchat interaction. |
Primary questions
| Setting | Description |
|---|
| Request name | Asks the customer for their name before they enter the chat. Mandatory and cannot be disabled. |
| Request reference | Asks the customer for a reference number. Optional — can be toggled on or off and can be set as mandatory. If mandatory and left blank, the customer cannot join the chat. |
Pre-chat questions
Up to 15 custom questions can be added to the pre-chat form. Questions can be enabled, disabled, or made mandatory. If a mandatory question is left unanswered, the customer cannot proceed to the chat. Questions are free text up to 100 characters.
For each question, select the answer format from the Data type column: Text, Text area, Number, True/False, Date, Time, or Dropdown. If Dropdown is selected, up to 10 options can be added.
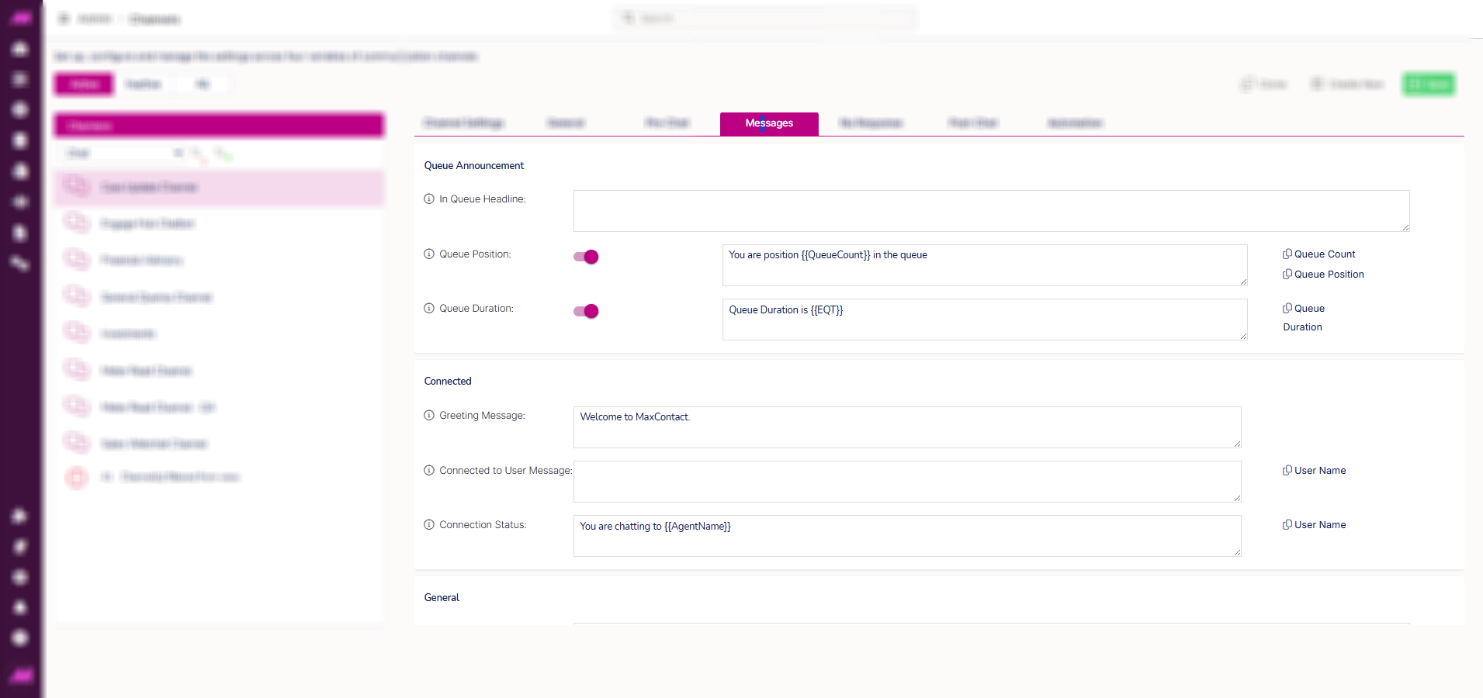
Messages tab
Queue announcement
| Setting | Description |
|---|
| In queue headline | The text displayed to the customer in the top bar of the widget while they are in the queue. Automatically prefixed with "Please wait". 0–55 characters. |
| Queue position | Toggle to show a queue position message. Use {{QueuePosition}} or {{QueueCount}} as fill points. If both Queue position and Queue duration are enabled, the two messages rotate. 0–200 characters. |
| Queue duration | Toggle to show an estimated wait time message. Use {{EQT}} as a fill point. Time is displayed as HH:MM:SS. 0–200 characters. |
Connected
| Setting | Description |
|---|
| Greeting message | Displayed as a system message when the customer is connected to an agent. 0–400 characters. |
| Connected to user message | Displayed as a speech bubble message from the agent when connected. Use {{AgentName}} to personalise. 0–400 characters. |
| Connection status | A persistent system message displayed at the bottom of the widget during the chat. Use {{AgentName}} to personalise. |
General
| Setting | Description |
|---|
| Branching message | The system message displayed to the customer when an agent branches the current chat into a new ticket. 0–400 characters. |
| Transferred message | The holding message displayed to the customer when they have been transferred to another queue and are waiting for an agent. 0–400 characters. |
| Closed/Resolved message | The message displayed to the customer when the agent closes the chat. 0–400 characters. |
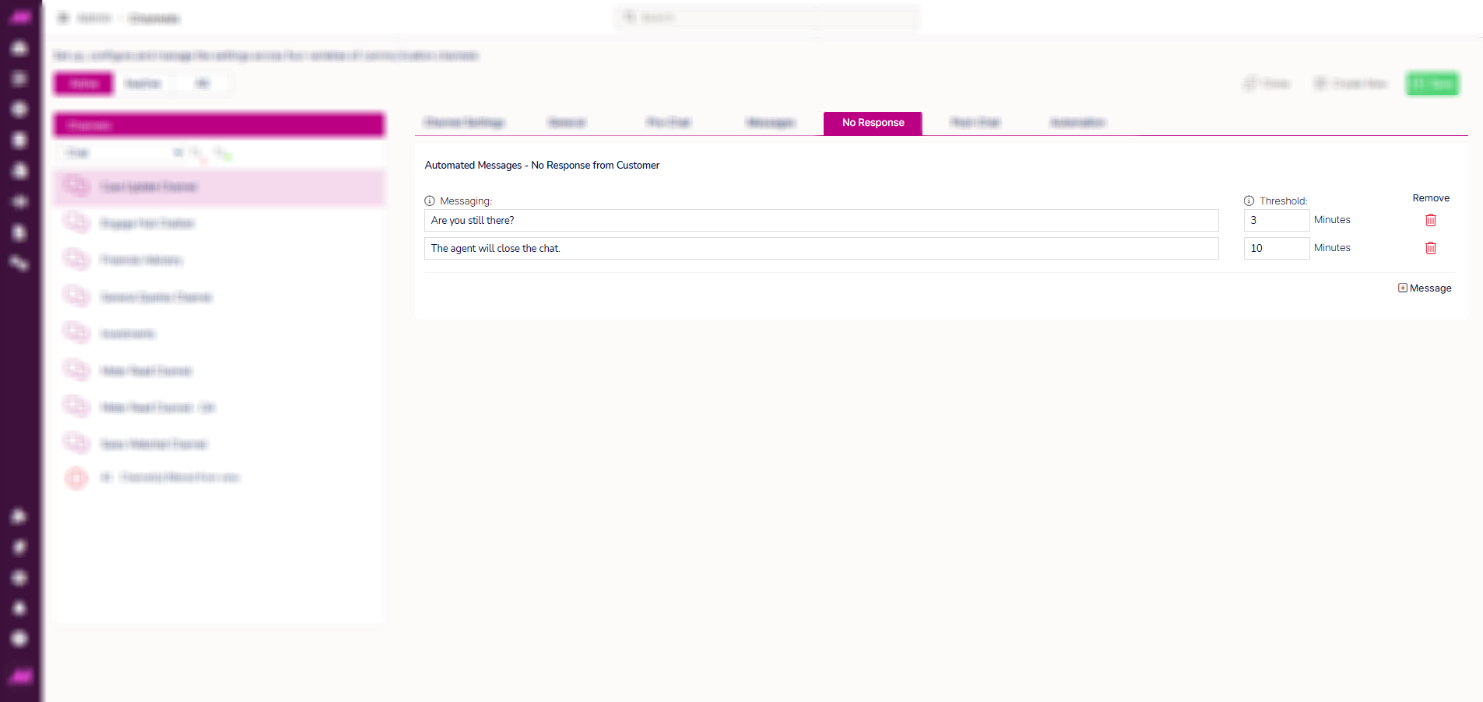
No Response tab
Automated messages are sent to the customer as system messages after a set period of inactivity. You can add multiple messages, each with its own threshold.
| Setting | Description |
|---|
| Messaging | The message to send to the customer after the threshold is reached. |
| Threshold | The time since the last customer message before the automated message is sent. Maximum 99 minutes. Where multiple messages are configured, each threshold is measured from the previous customer message — not from the previous automated message. |
| Add message | Adds another automated message row. |
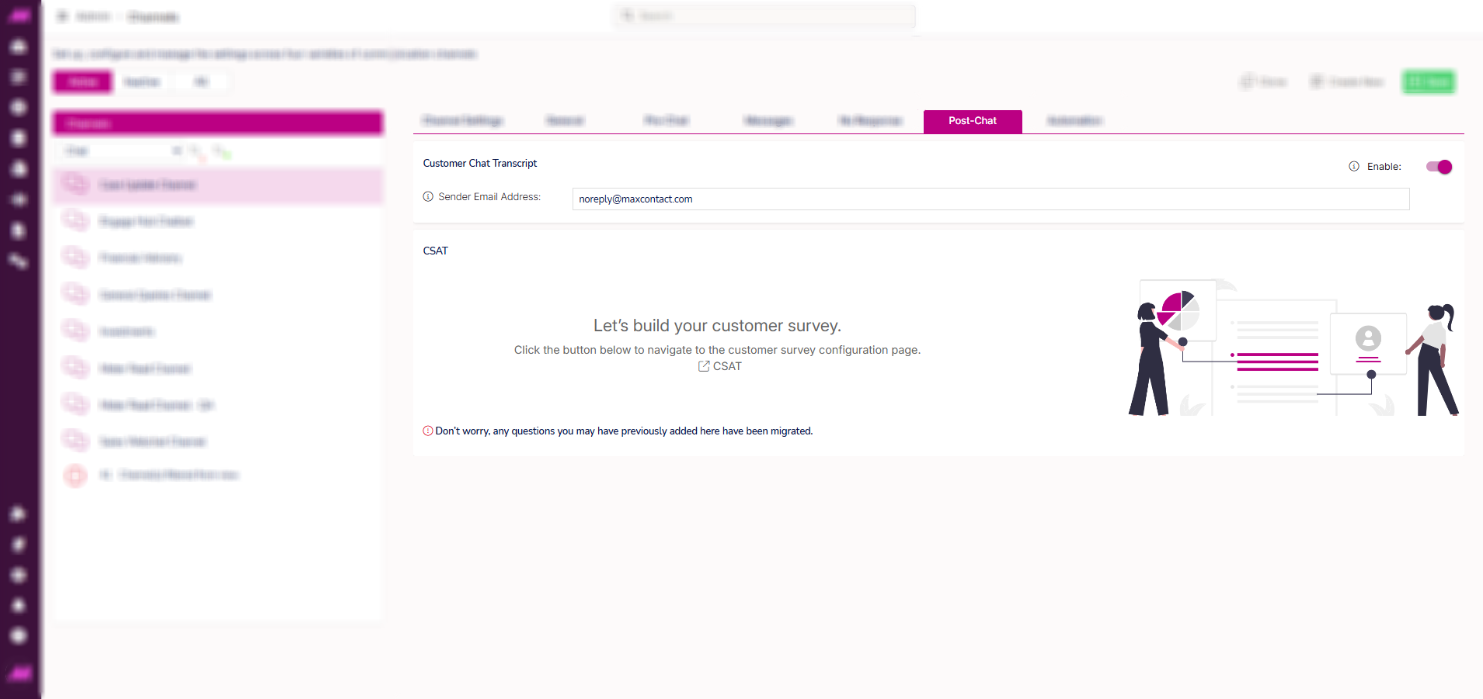
Post-chat tab
Customer chat transcript
| Setting | Description |
|---|
| Enable | Toggle to allow customers to receive a transcript of the chat by email after the interaction ends. |
| Sender email address | The email address transcripts are sent from — for example, noreply@companyname.com |
CSAT
Select the CSAT shortcut to open the Customer Satisfaction Surveys page in a new browser tab, where you can configure surveys and assign them to this channel. See Customer Satisfaction Surveys for more detail.

Automation tab
The Automation tab lets you configure how the webchat channel behaves when it is unavailable — whether due to being out of hours, having no agents available, or exceeding volume or queue time thresholds. Each section has a Process action dropdown with the same four options: Do nothing, Hide webchat, Display email form, or Display a message.
Note. If any section is set to Display email form, the Email form section at the bottom of this tab must be configured before the option will work.
AI Agent
The AI Agent section is an additional feature that must be enabled and set up by the MaxContact team. If you are interested in using it, contact your Account Manager.
| Setting | Description |
|---|
| Enable | When enabled, incoming chats are routed to the configured Workflow Studio campaign. When disabled, chats are not sent to Workflow Studio. |
| Workflow Studio URL | The URL of the Workflow Studio environment. The chat application sends customer messages to this endpoint and receives responses to display in the conversation. The URL must match the correct environment (for example, production or staging). |
| API Key | A valid API key from Workflow Studio. This key authenticates requests between the chat application and Workflow Studio. If the key is invalid or inactive, the AI Agent cannot send or receive messages. |
| Workflow ID | The Campaign ID from Workflow Studio that should handle chat interactions. When a conversation starts, the chat application routes it to this campaign. If the ID does not match an active campaign, chats will not be handled. |
Out of hours
| Setting | Description |
|---|
| Process action | What customers see when they try to use webchat outside the channel's opening hours. |
| Message | Available when Process action is set to Hide webchat or Display a message. Defaults to "Currently out of hours" if left blank. 1–400 characters. |
No users available
| Setting | Description |
|---|
| Process action | What customers see when no agents are available on the queue. The webchat widget only appears when at least one agent is in a Ready or Not Ready state on the queue. |
| Message | Available when Process action is set to Hide webchat or Display a message. Defaults to "Currently no staff available, please try again later" if left blank. 1–400 characters. |
Requested chat volume
| Setting | Description |
|---|
| Process action | What customers see when the maximum queue size is exceeded. |
| Max requested volume | The maximum number of customers permitted in the queue at any one time. |
| Message | Available when Process action is set to Hide webchat or Display a message. Defaults to "Currently the number of chats in the queue has been exceeded. Please try again later" if left blank. 1–400 characters. |
Estimated queue time (EQT)
| Setting | Description |
|---|
| Process action | What customers see when the estimated wait time exceeds the maximum EQT when they attempt to join the queue. |
| Maximum EQT | The maximum estimated wait time in seconds. Maximum value is 36,000 seconds. |
| Message | Available when Process action is set to Hide webchat or Display a message. Defaults to "Currently the estimated queue time has been exceeded, please try again later" if left blank. 1–400 characters. |
Email form
Configure the email form here before setting any Process action above to Display email form. The form is displayed to customers in place of the webchat widget when one of the above conditions is met.
| Setting | Description |
|---|
| Email channel | The email channel that will receive the form submissions. |
| Email subject | The subject line applied to emails submitted via the form. |
The form always includes three primary questions that are mandatory and cannot be changed: Request name, Request email, and an Email body field. Up to 15 additional custom questions can be added. Each question can be set with a data type (Text, Text area, Number, True/False, Date, Time, or Dropdown), enabled or disabled, and made required.
Related articles